

How We Finished Building A Camper Van in Just 4 Days Before Driving Across the Country
If you've ever watched a camper van build on YouTube, you've probably seen the perfectly edited montages where everything seems to come together effortlessly. This isn’t one of those builds.
Our van was far from finished. We had only four days before leaving on a cross-country road trip, and somehow, we still had to turn a mostly empty Mercedes Sprinter into something we could actually live in.
Looking back, I am still somewhat mind blown we actually pulled it off. Here is what happened…
Why We Only Had Four Days
The original plan wasn't to rush our camper van build.
My wife, Claire, our trail-loving Vizsla Spoke, and I were preparing to leave Oregon and spend the next month exploring the country from our partially self-converted Sprinter van. We were planning to mountain bike, hike, climb, and photograph our way across the country through destinations like Salt Lake City Utah, Moab Utah, Crested Butte Colorado, the Maroon Bells, and so many more amazing places on our way to Hilton Head Island South Carolina.
Instead of flying across the country, we wanted the journey itself to become part of the adventure. We'd never driven across the United States together, and we saw it as the perfect opportunity to test the van, capture incredible photography, ride new mountain bike trails, and begin documenting our life on the road.
But during the build process, shortly before we were supposed to leave, we got some bad news. My grandmother had passed away. I flew home to be with my family and celebrate the incredible life she had the opportunity to live, while knowing she had been reunited with our grandfather in Heaven, whom she had missed dearly for some time.
When I returned to Oregon, our departure date hadn't changed. We still had to be in South Carolina by a specific date and had an entire country to cross.
That left just four days to finish enough of the van that we could safely and comfortably live and travel in it.

To my Grandma and Grandpa who showed me what lasting love looks like and taught me to love to travel and relish new experiences, I love you.
What We Had Already Finished
Fortunately, we weren't starting completely from scratch.
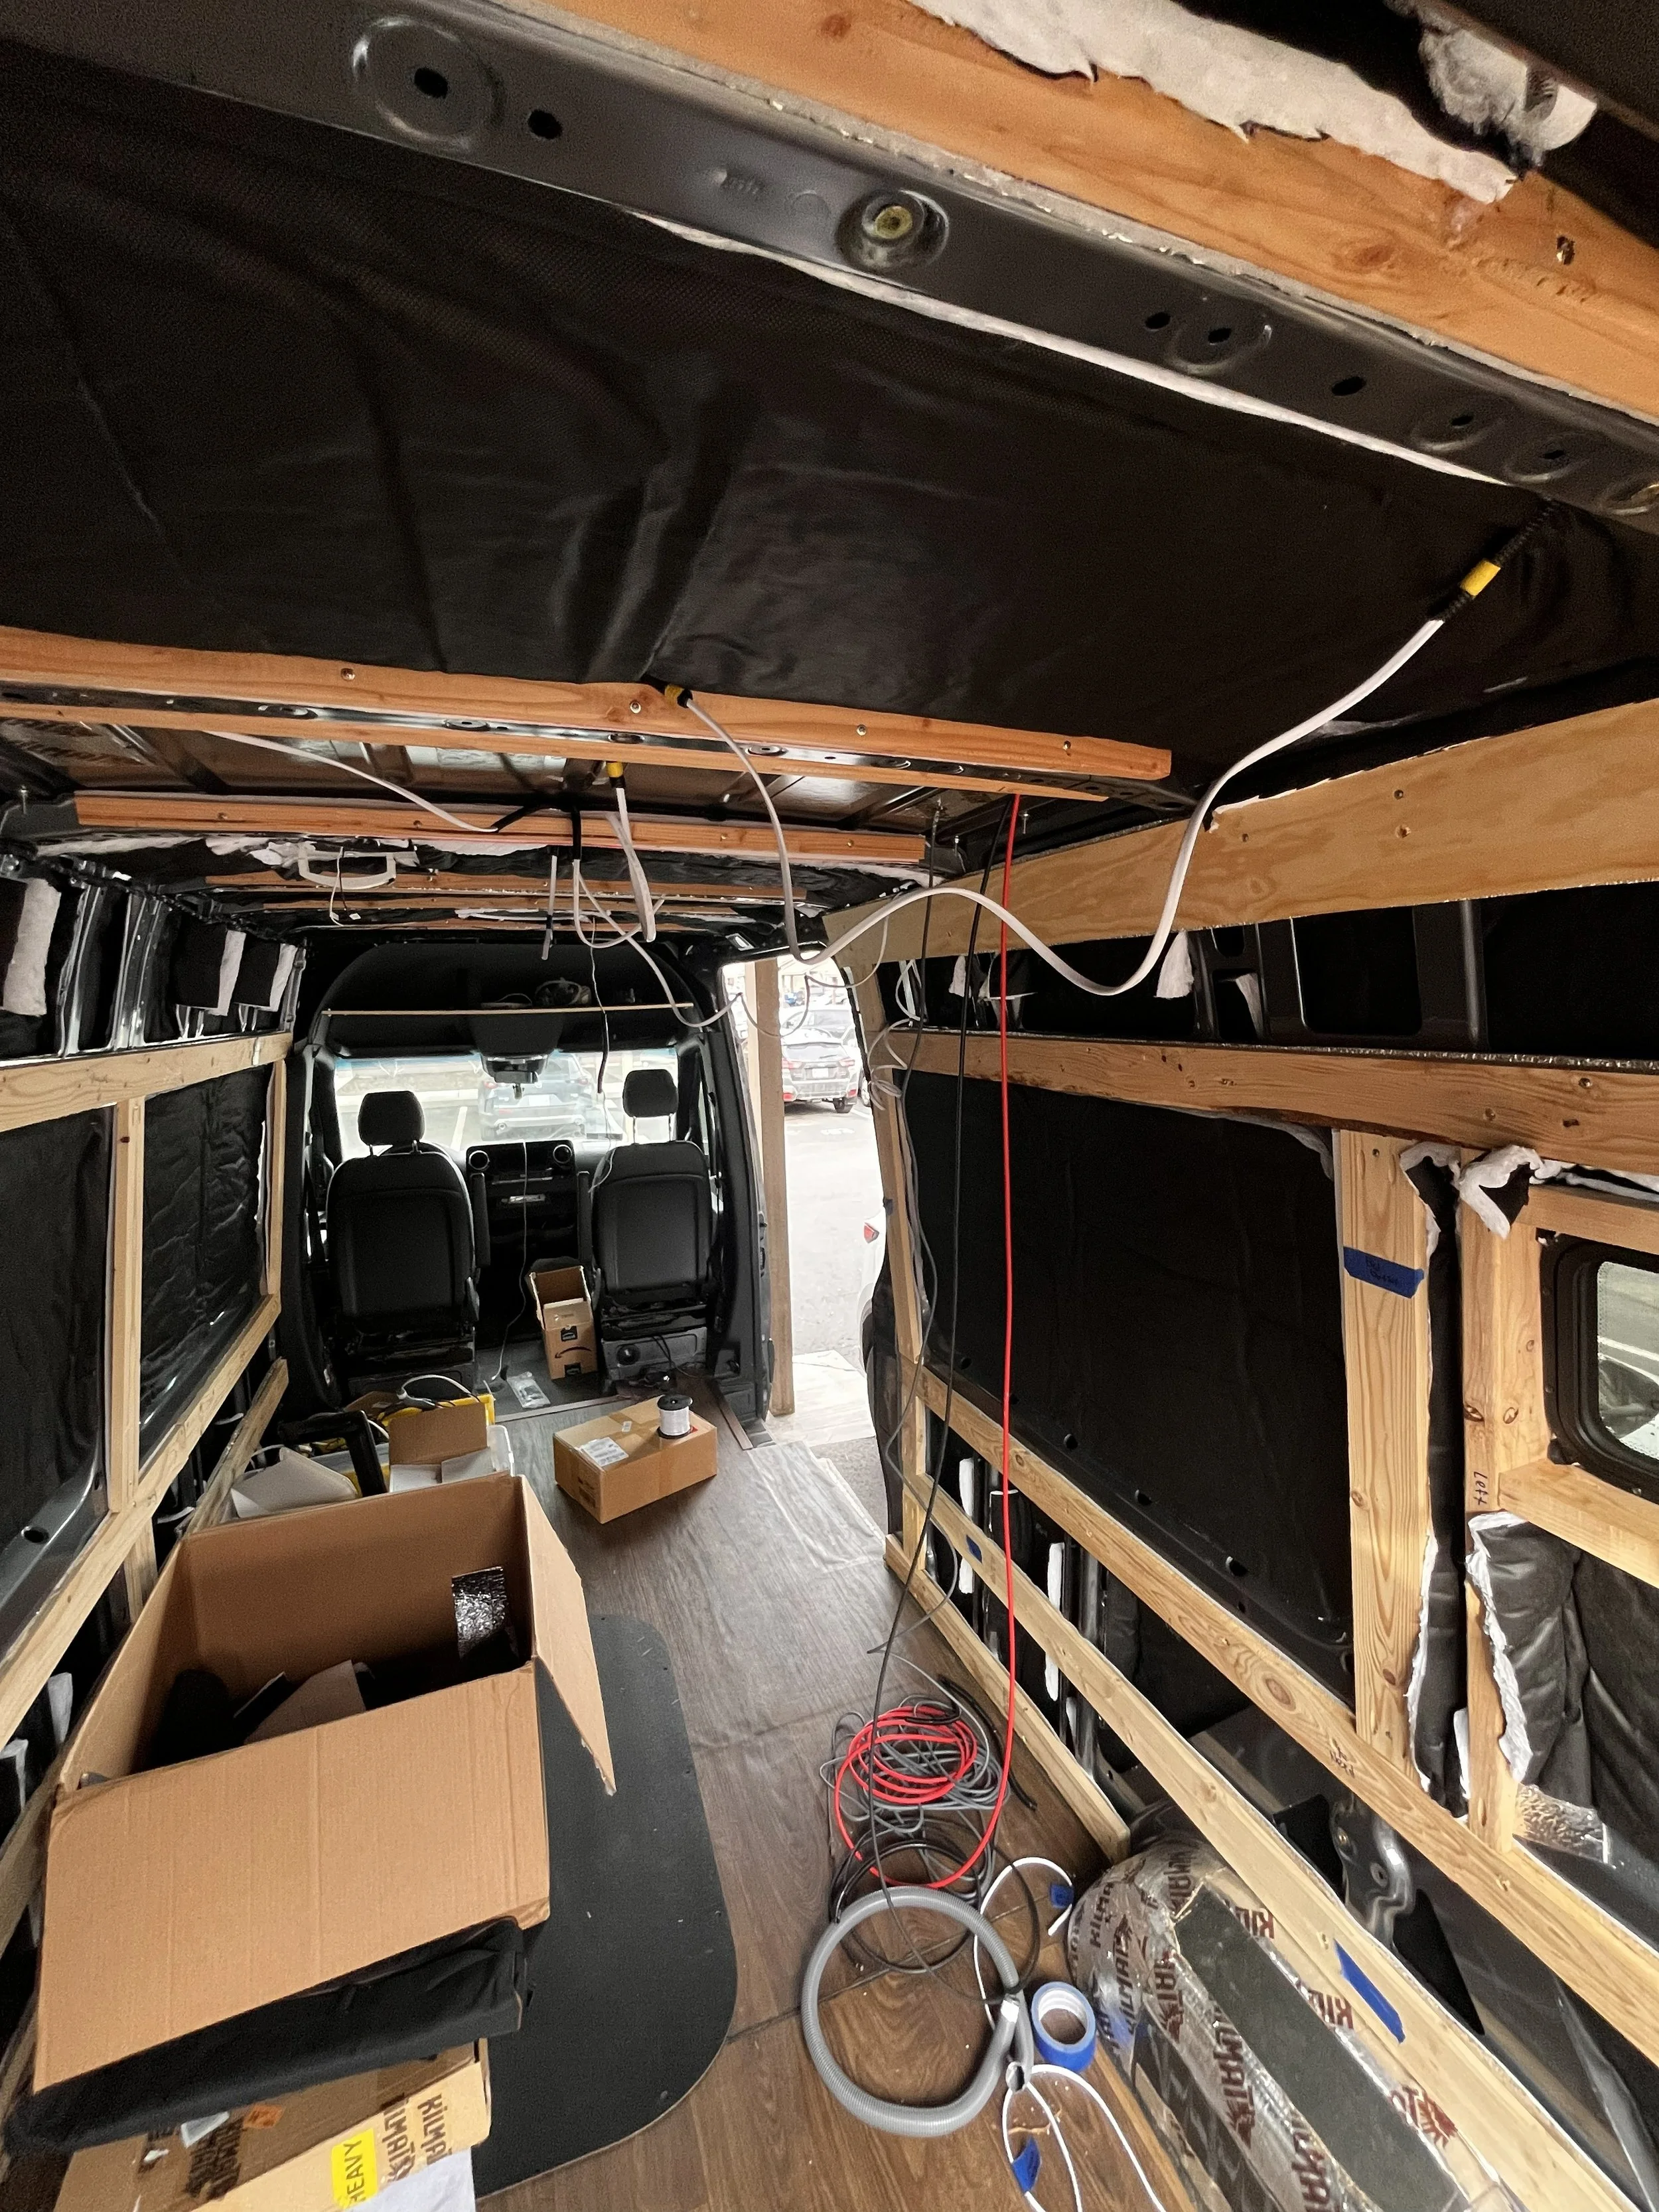
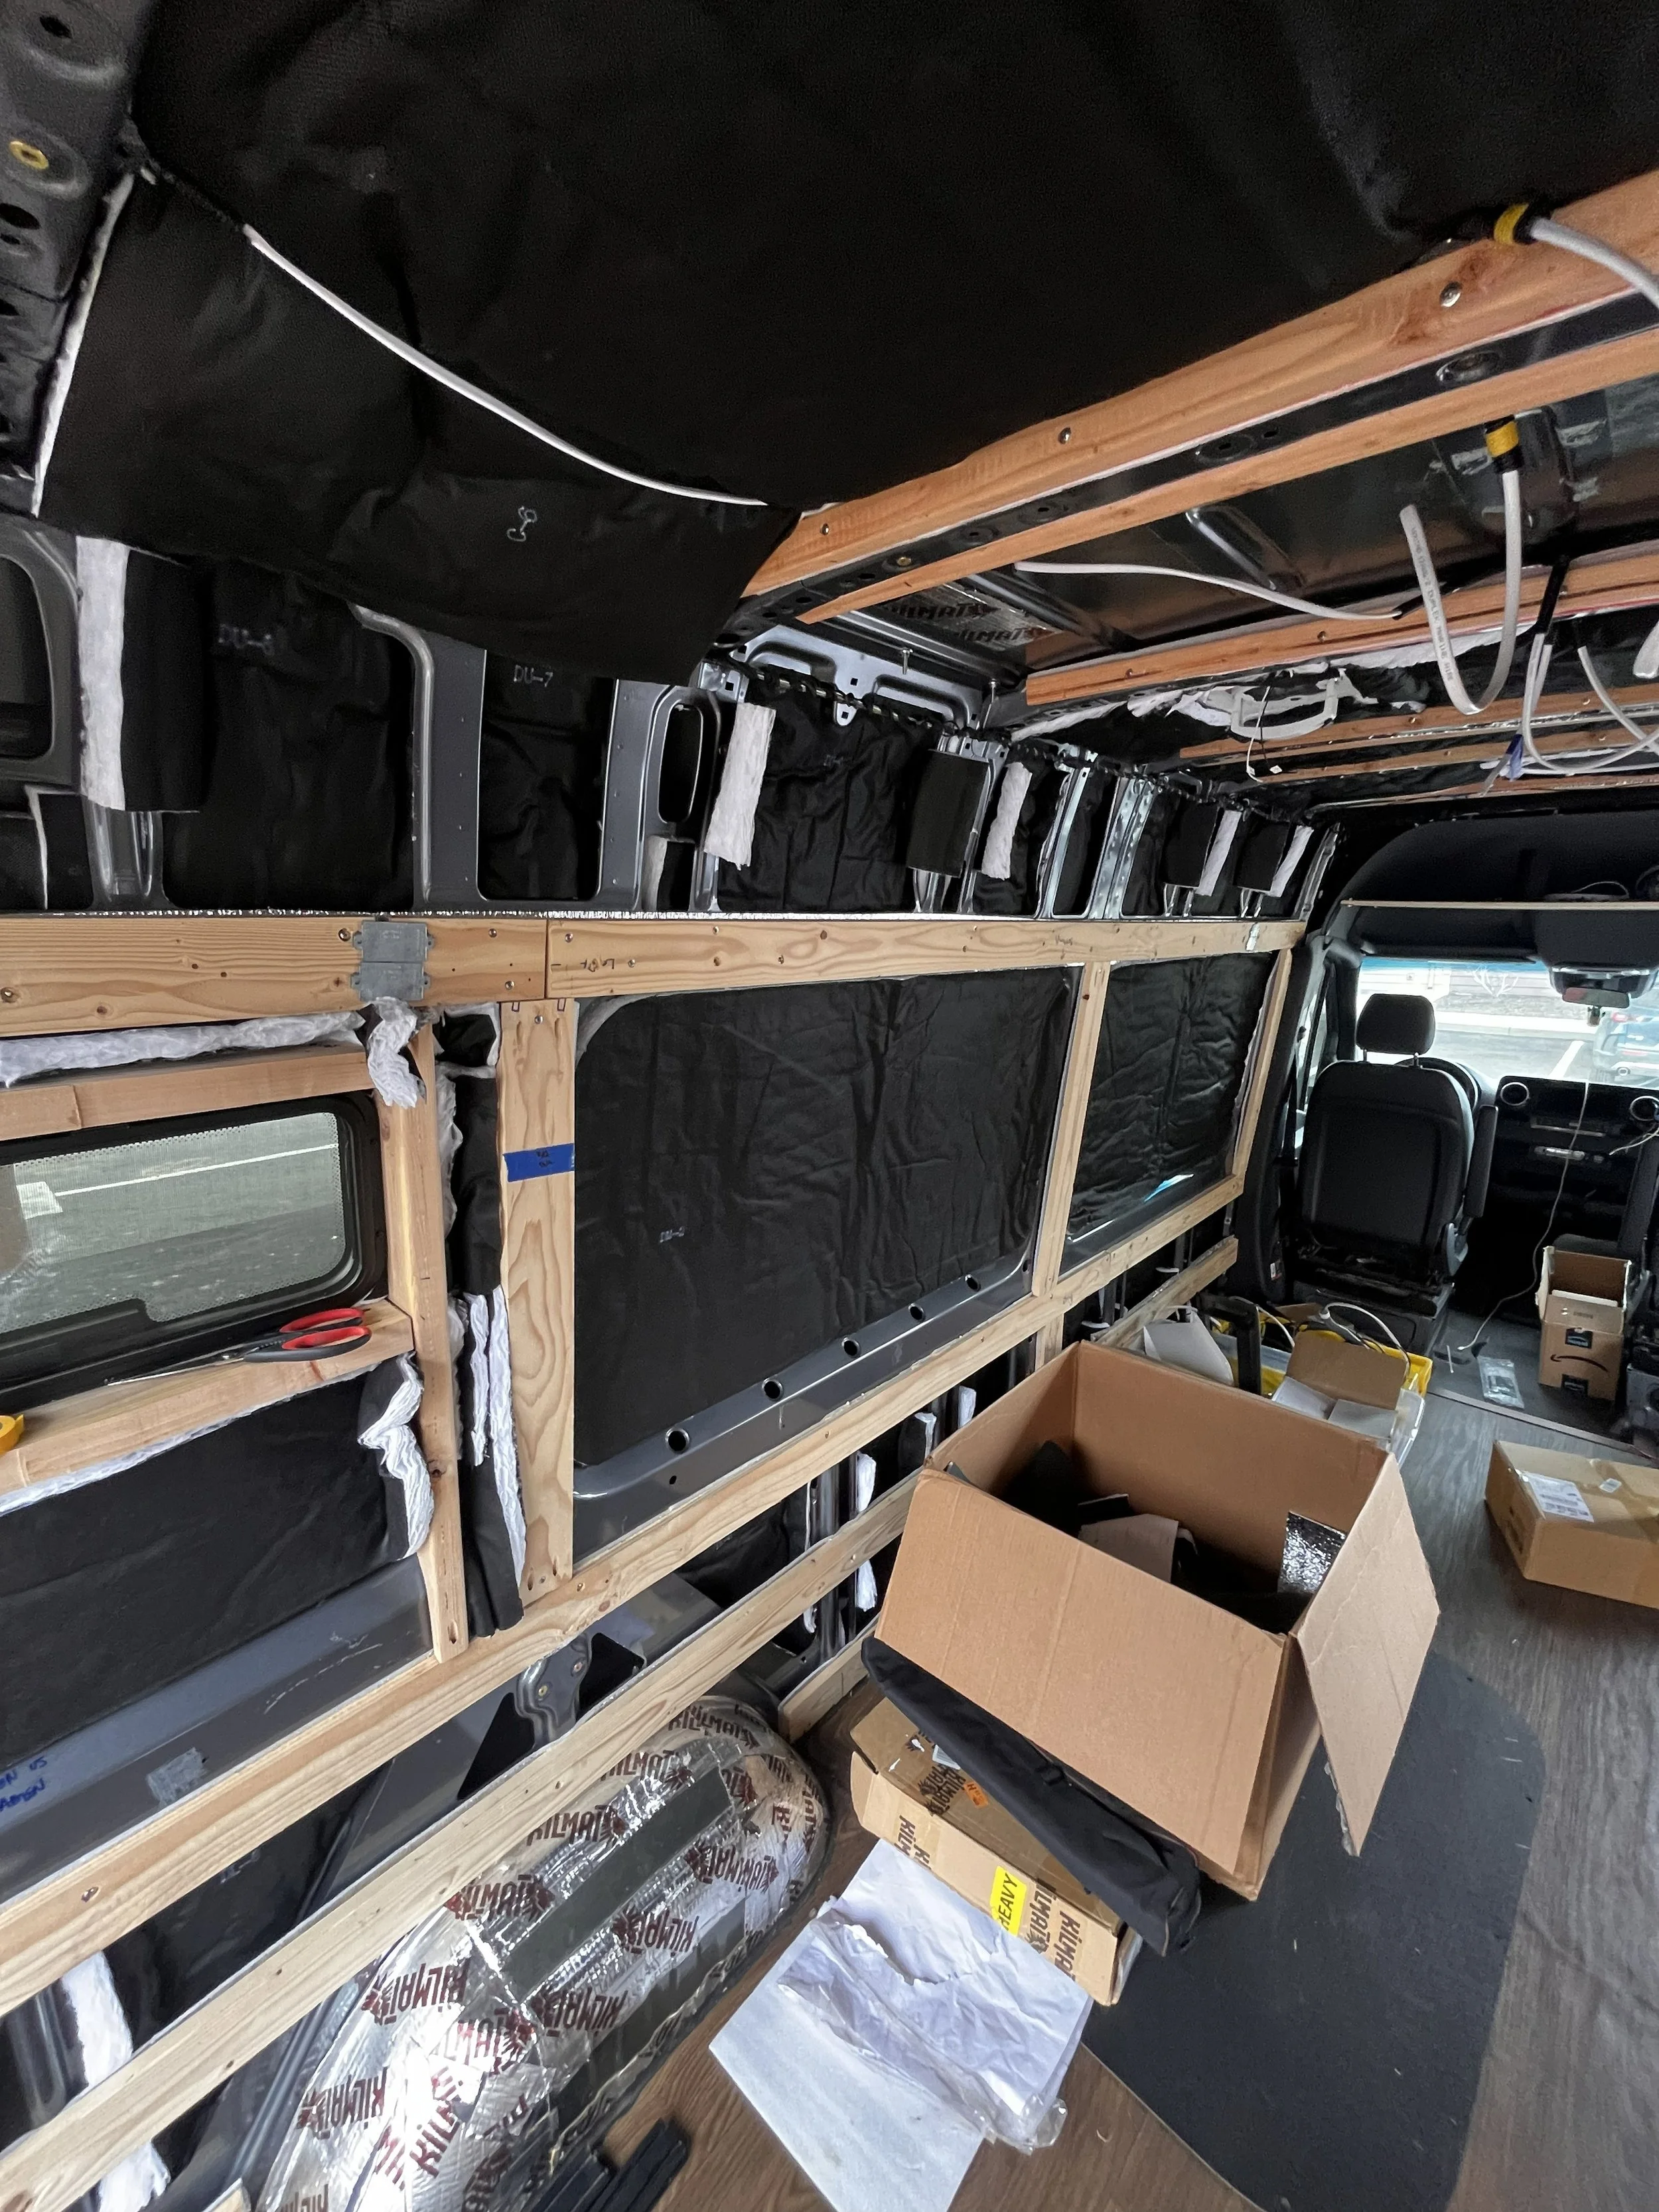
Before the final sprint, we had already completed several of the biggest structural projects:
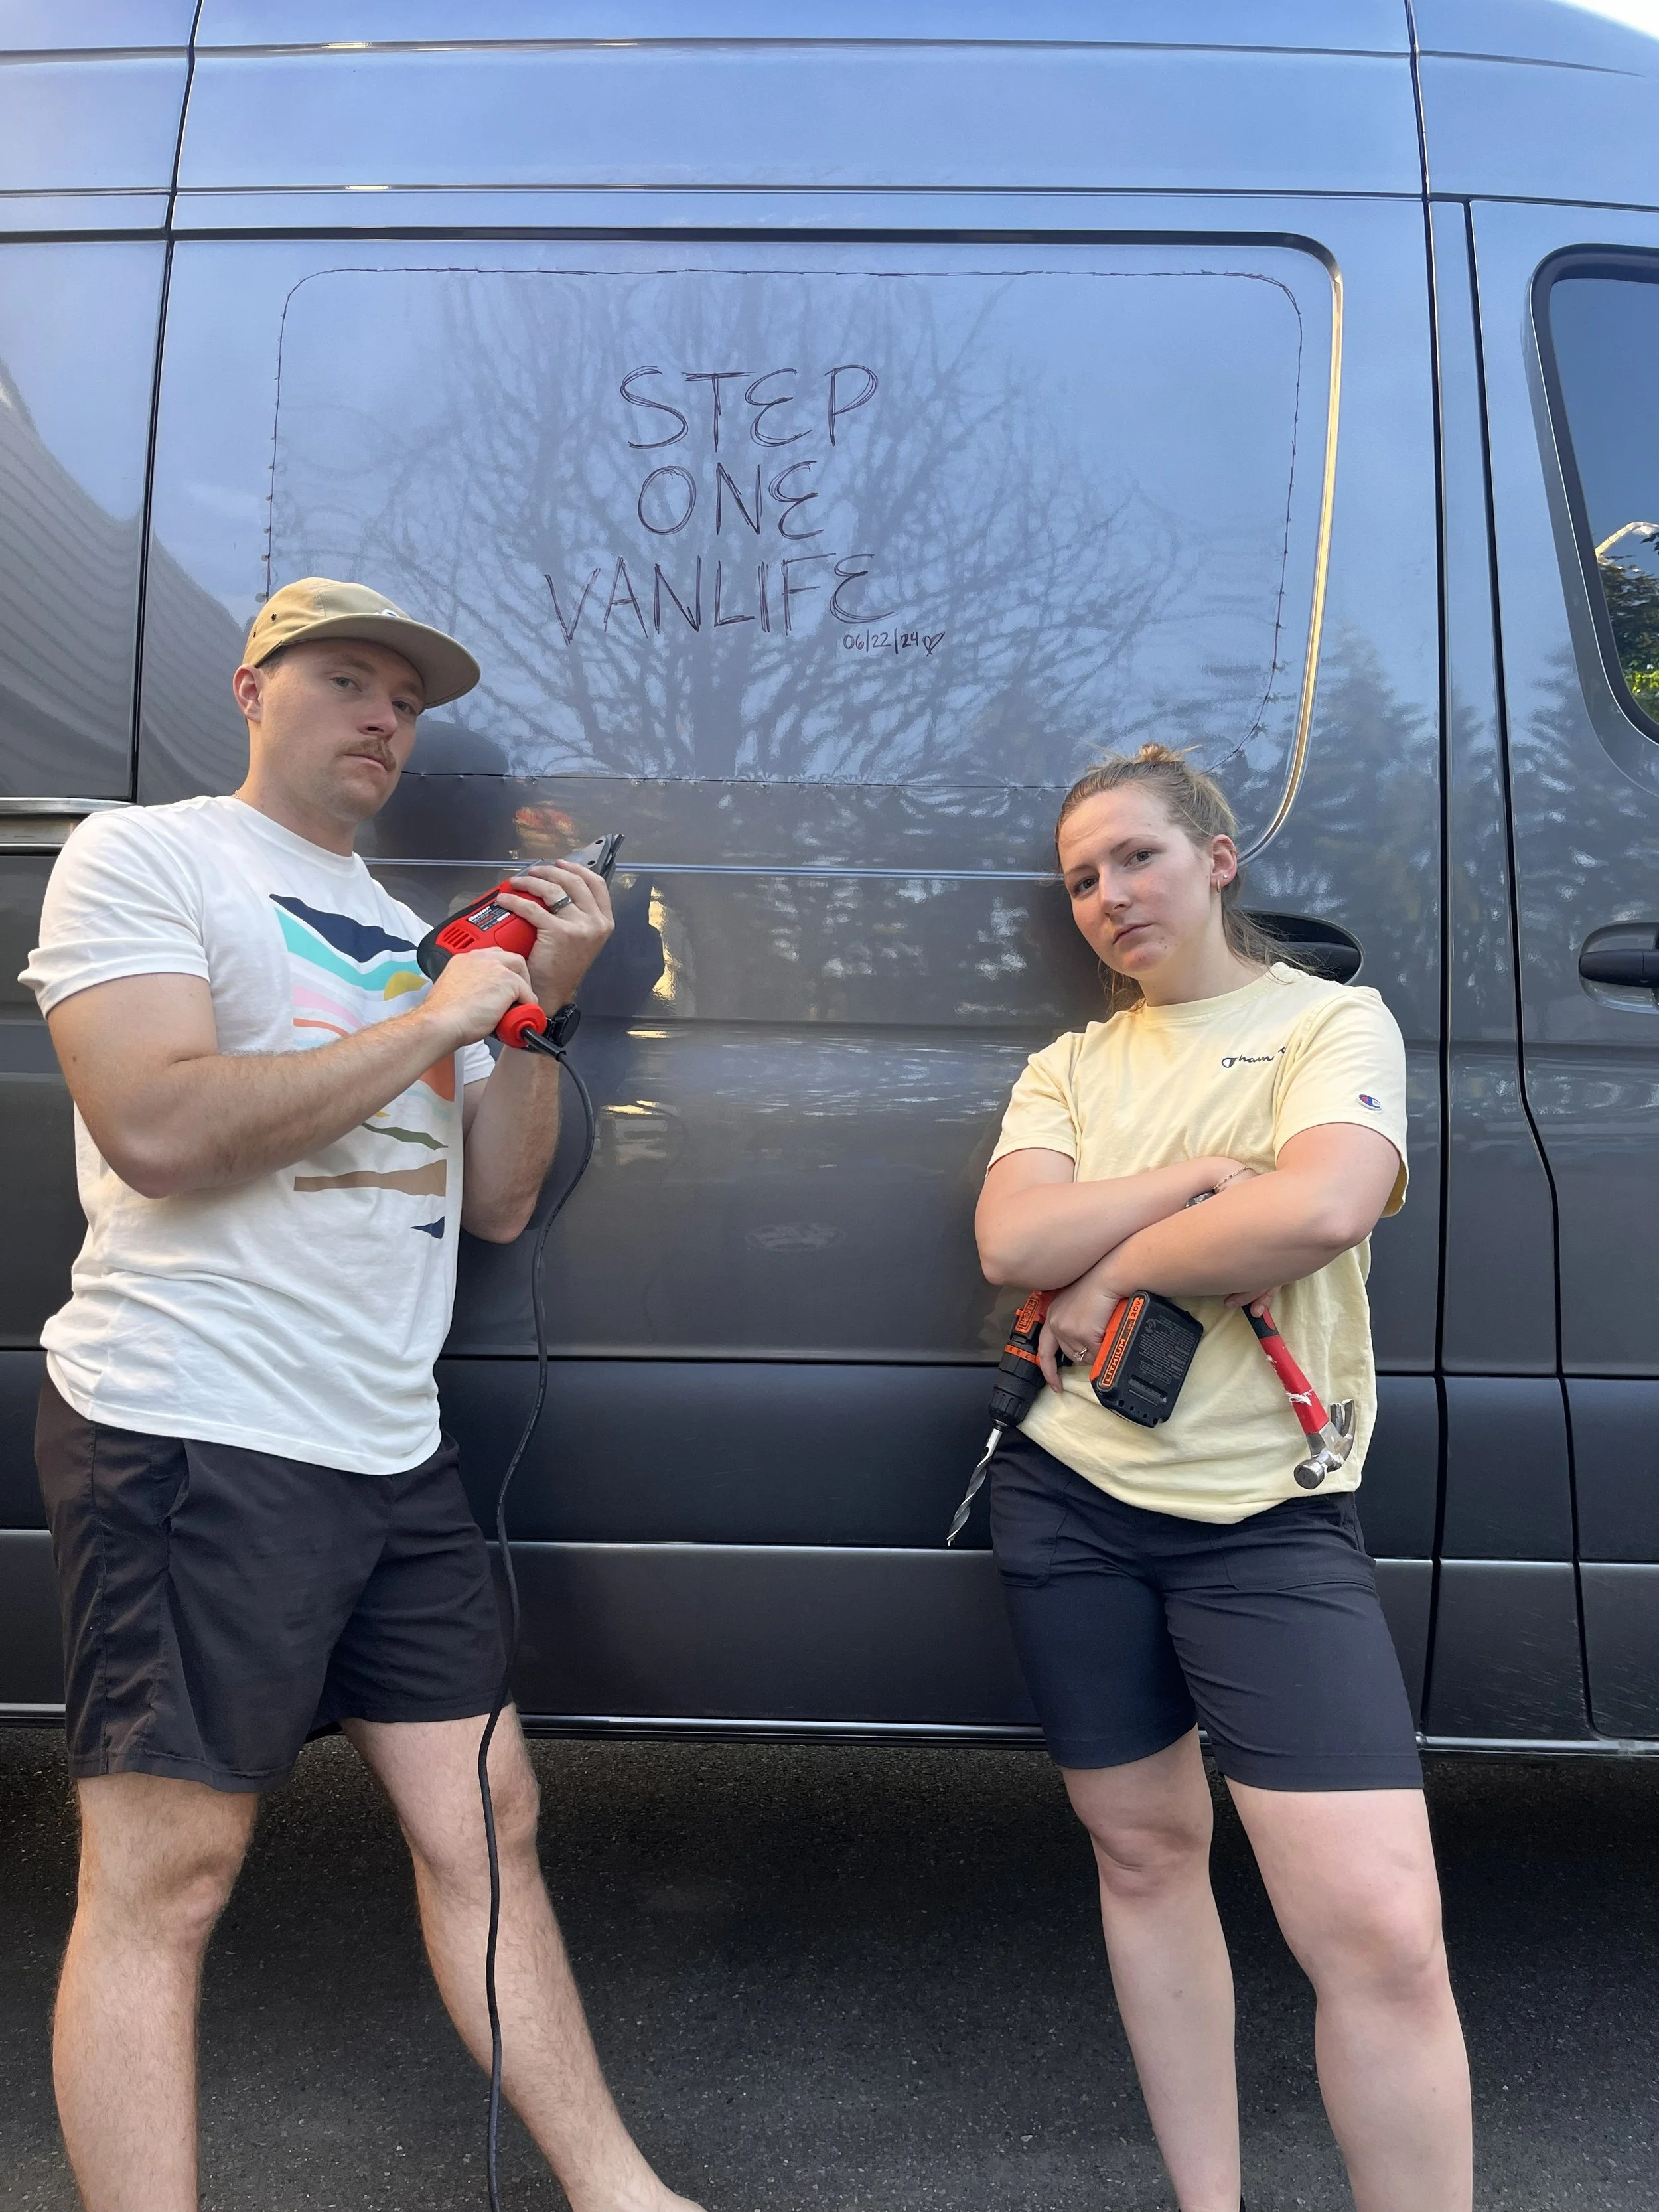
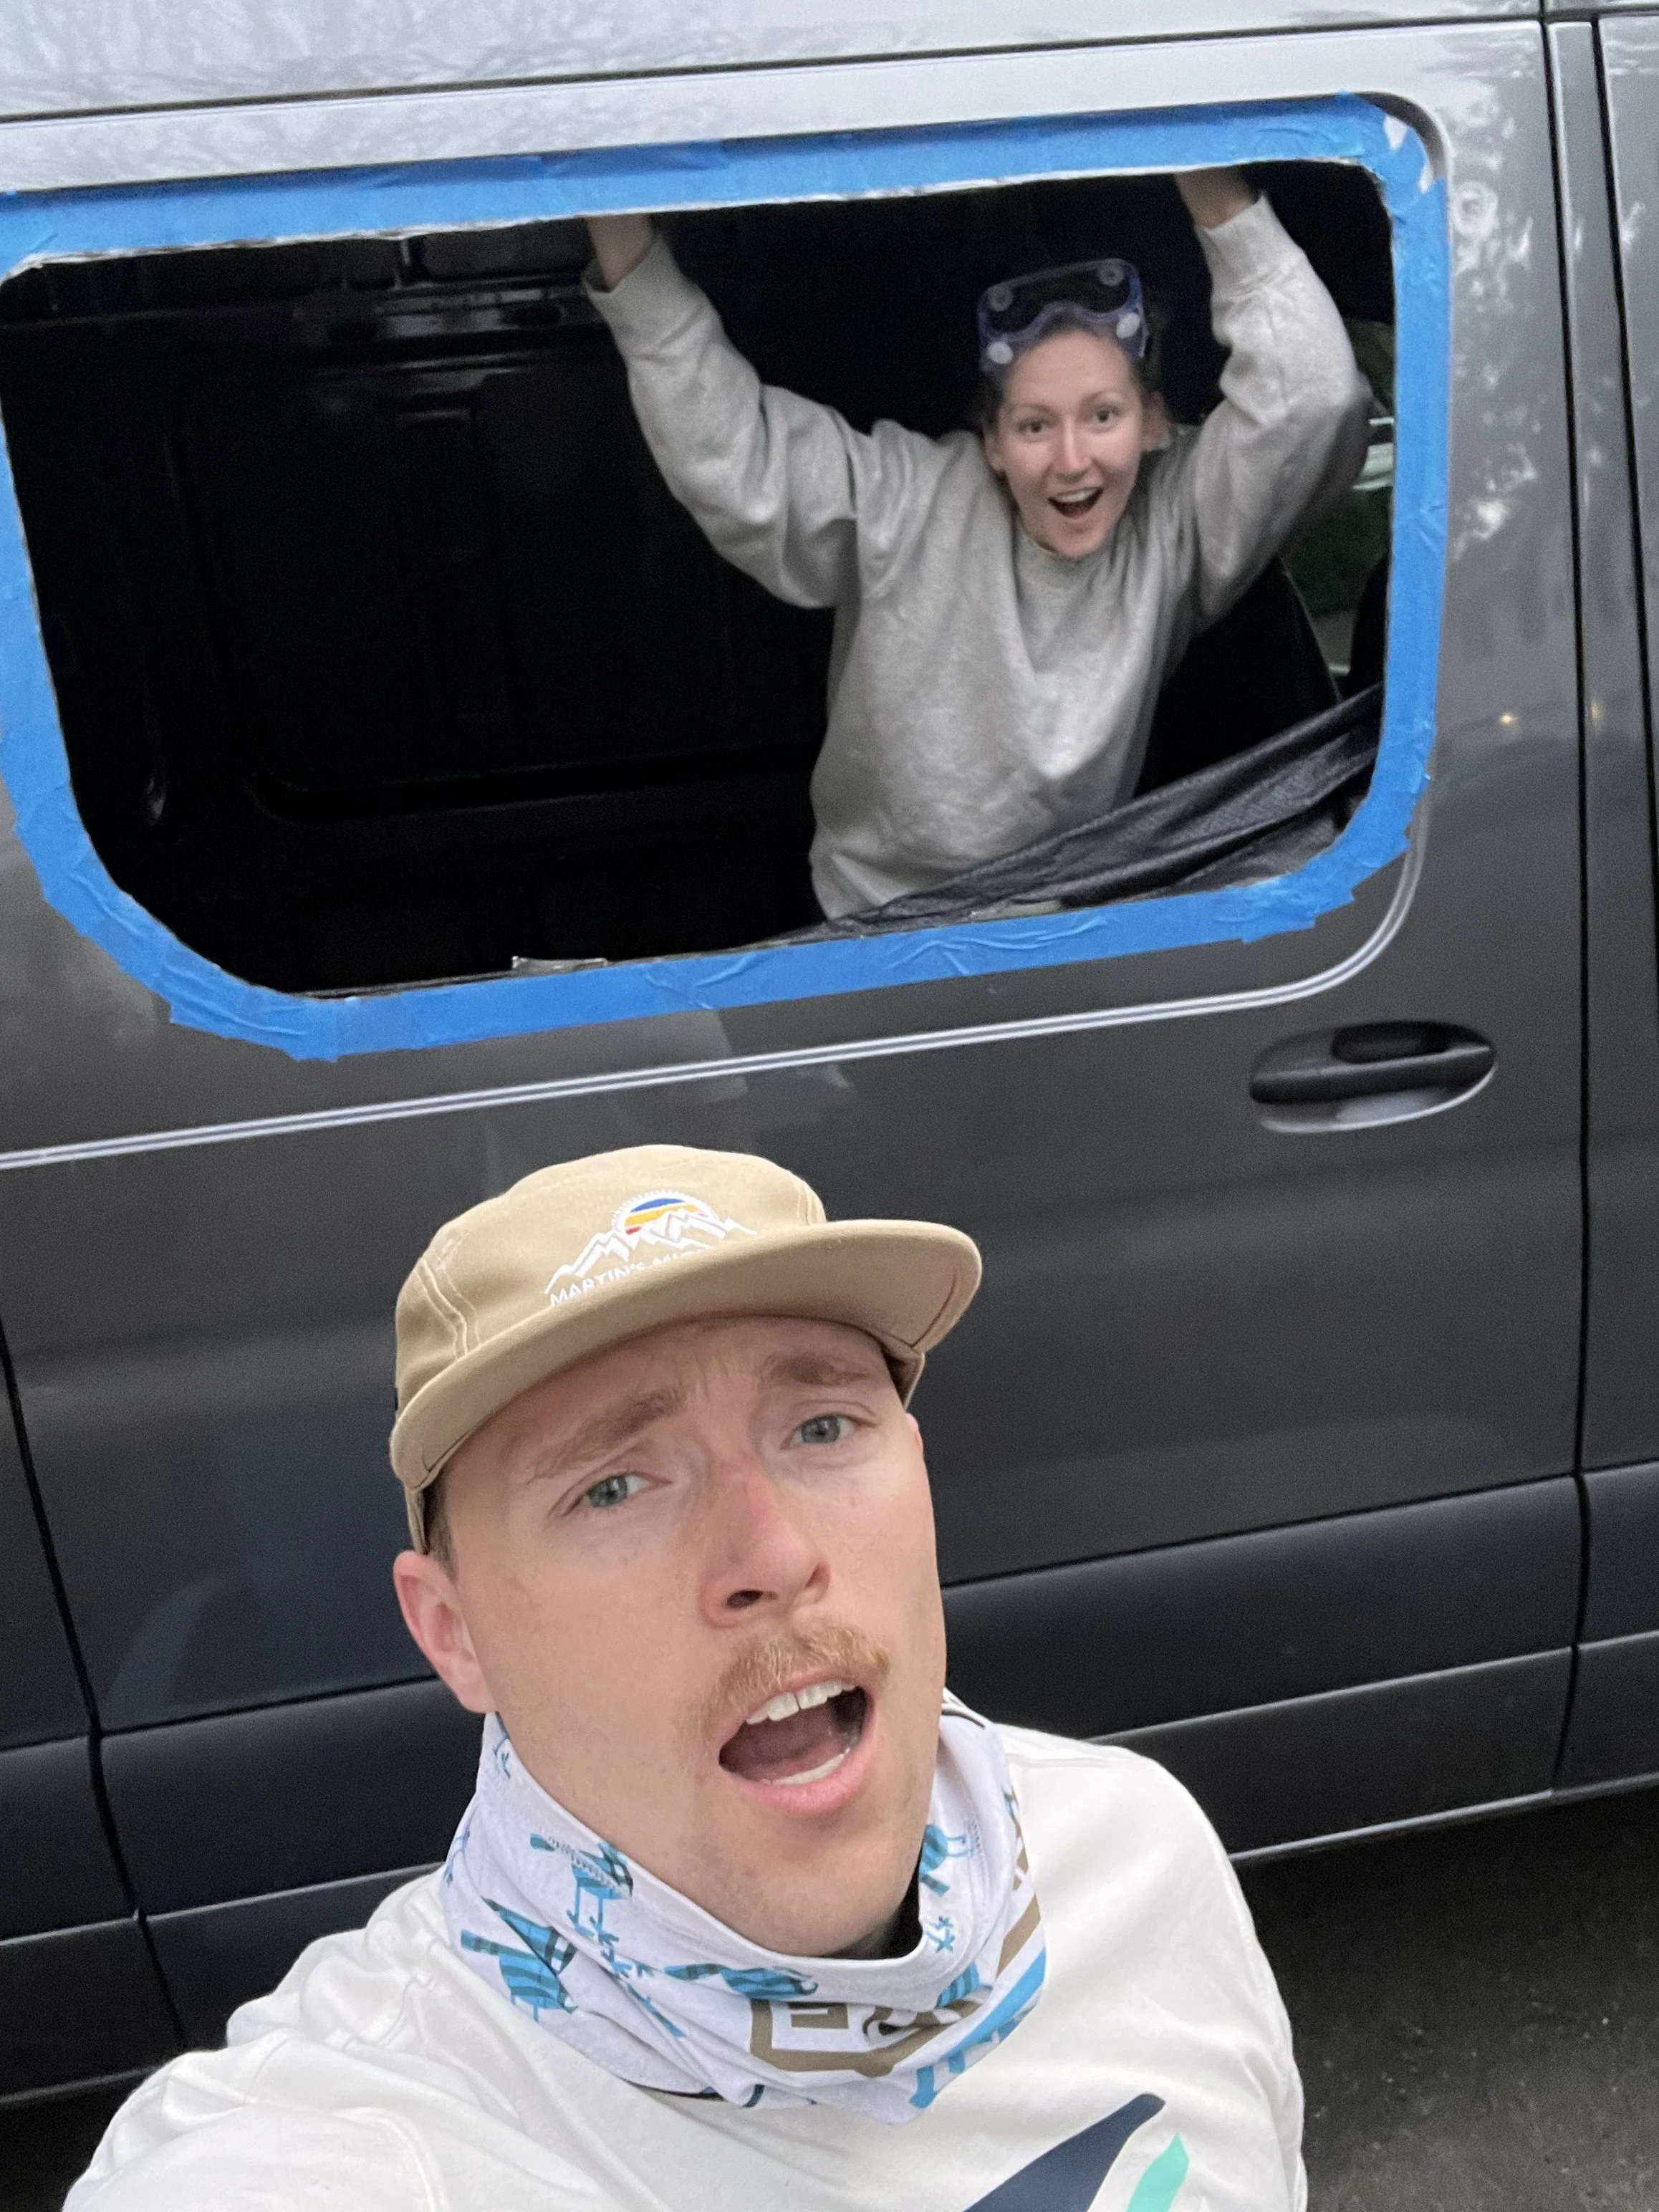
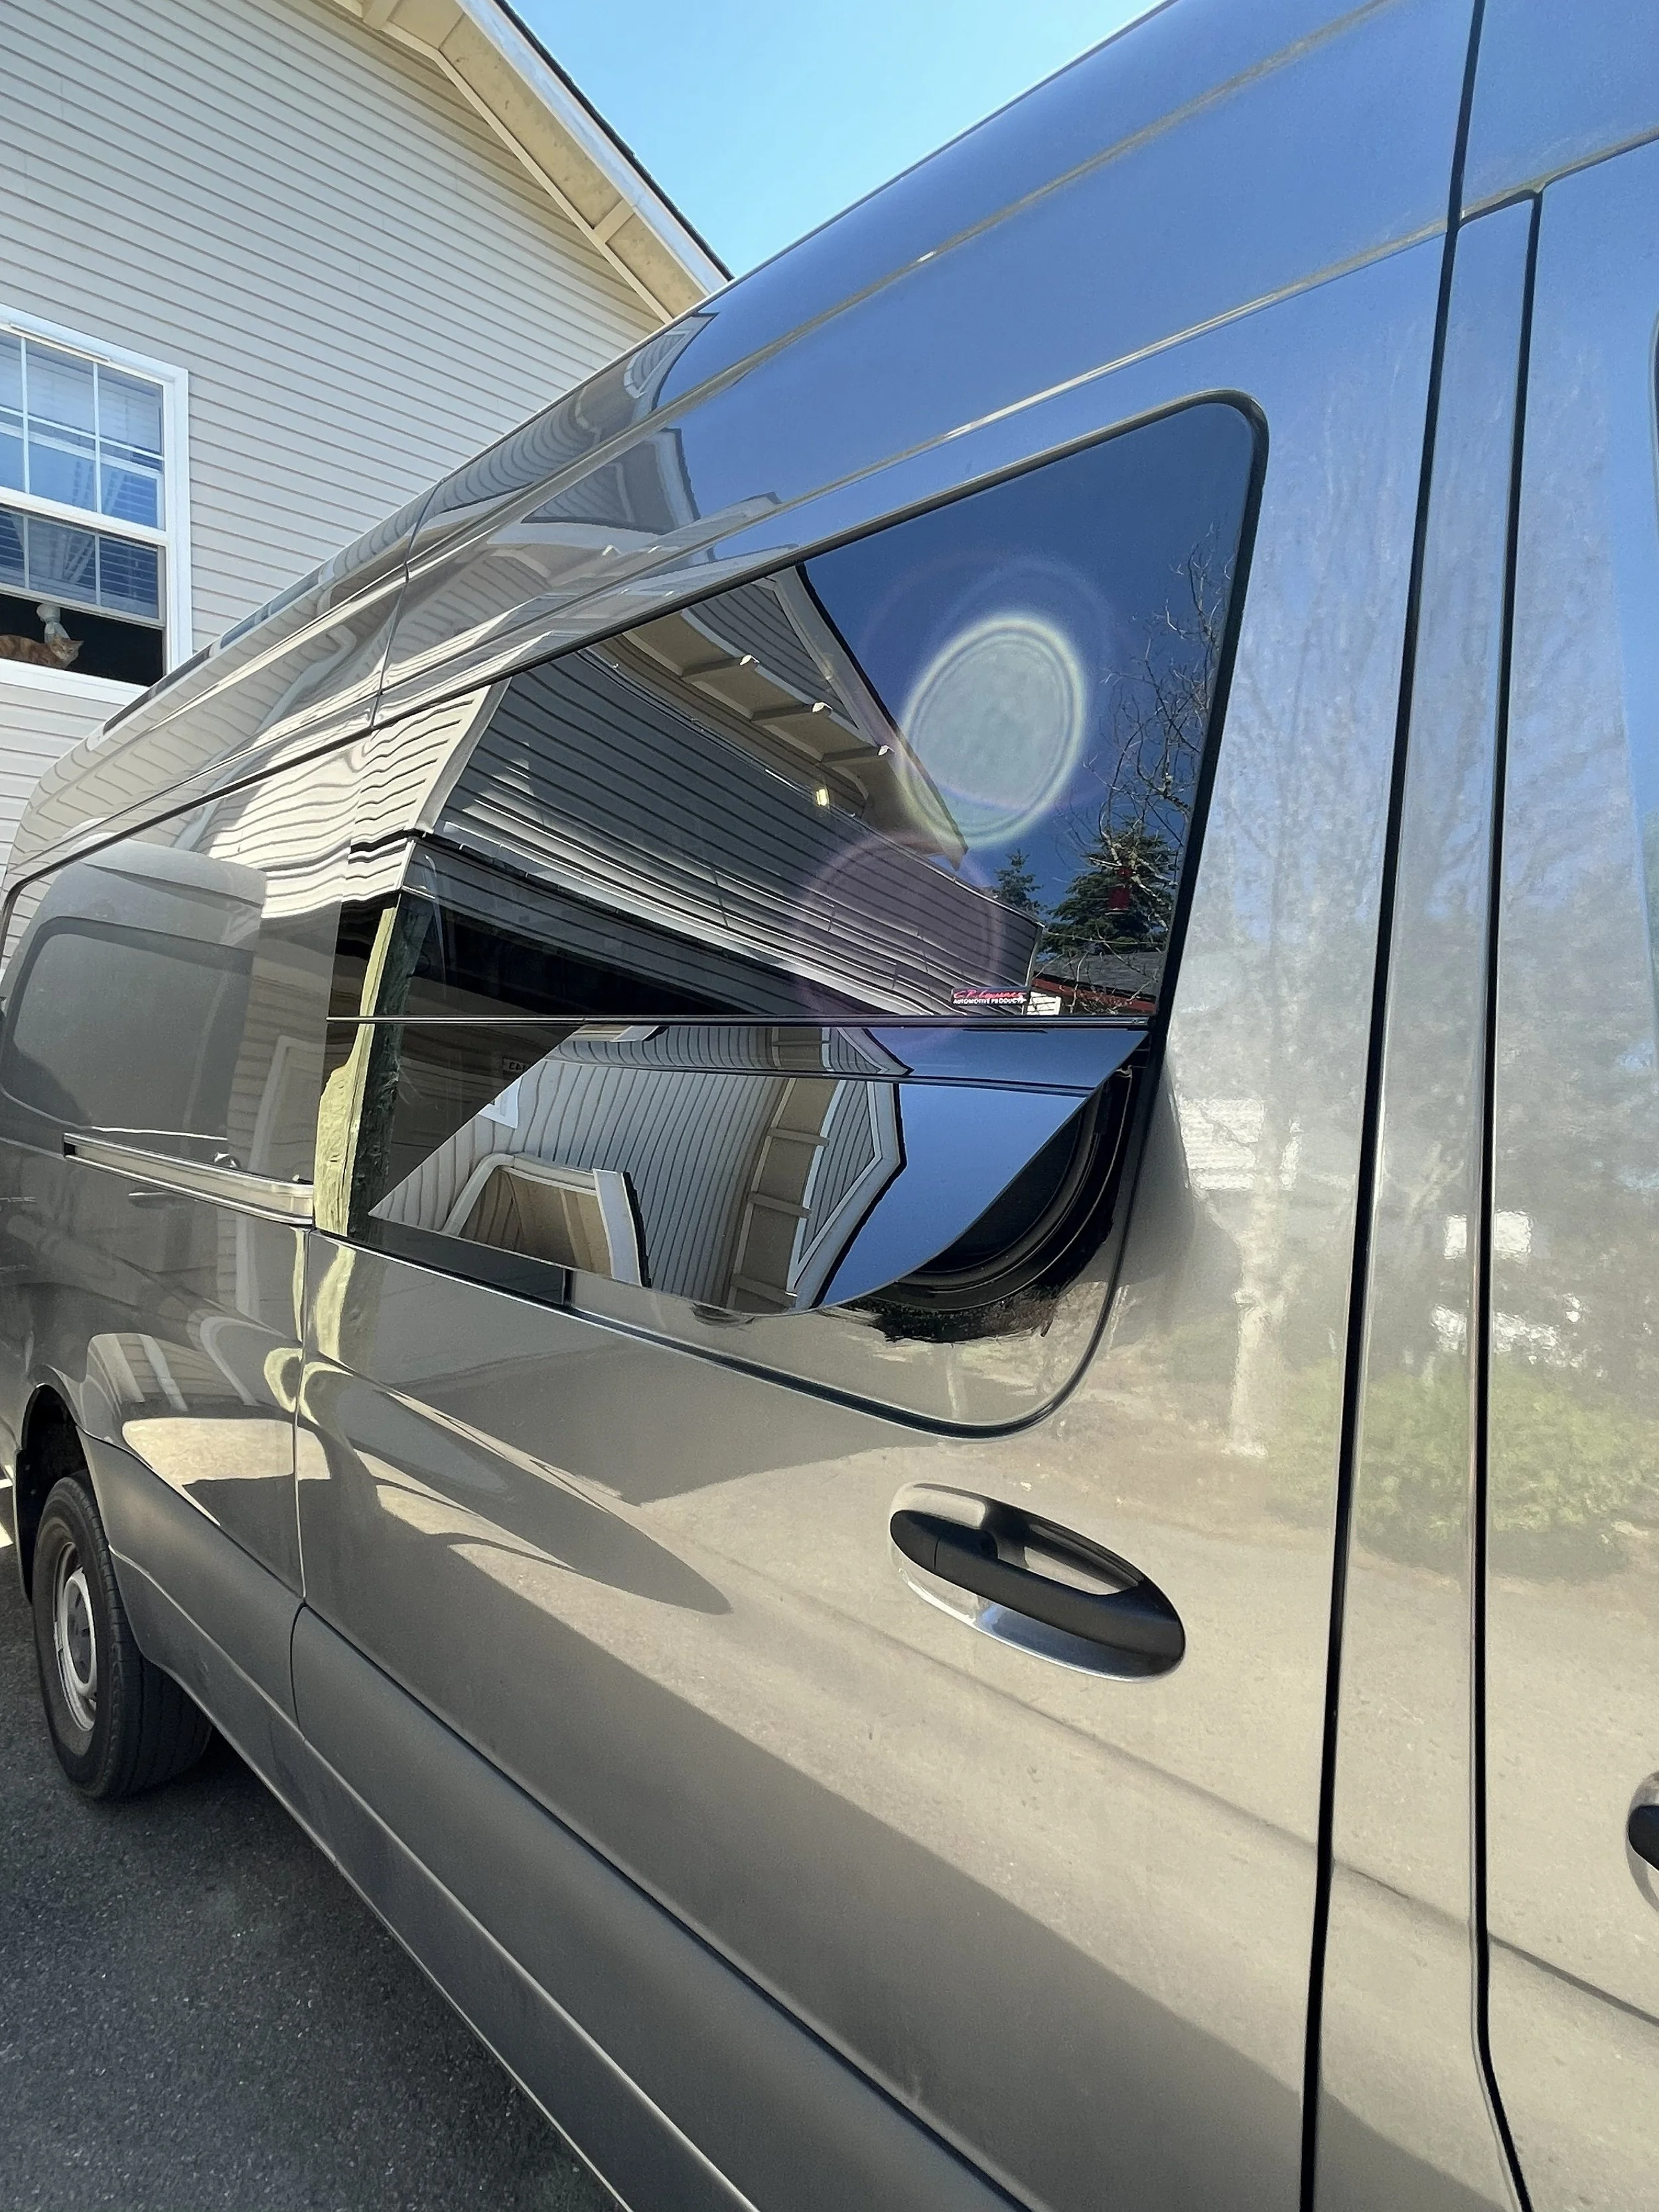
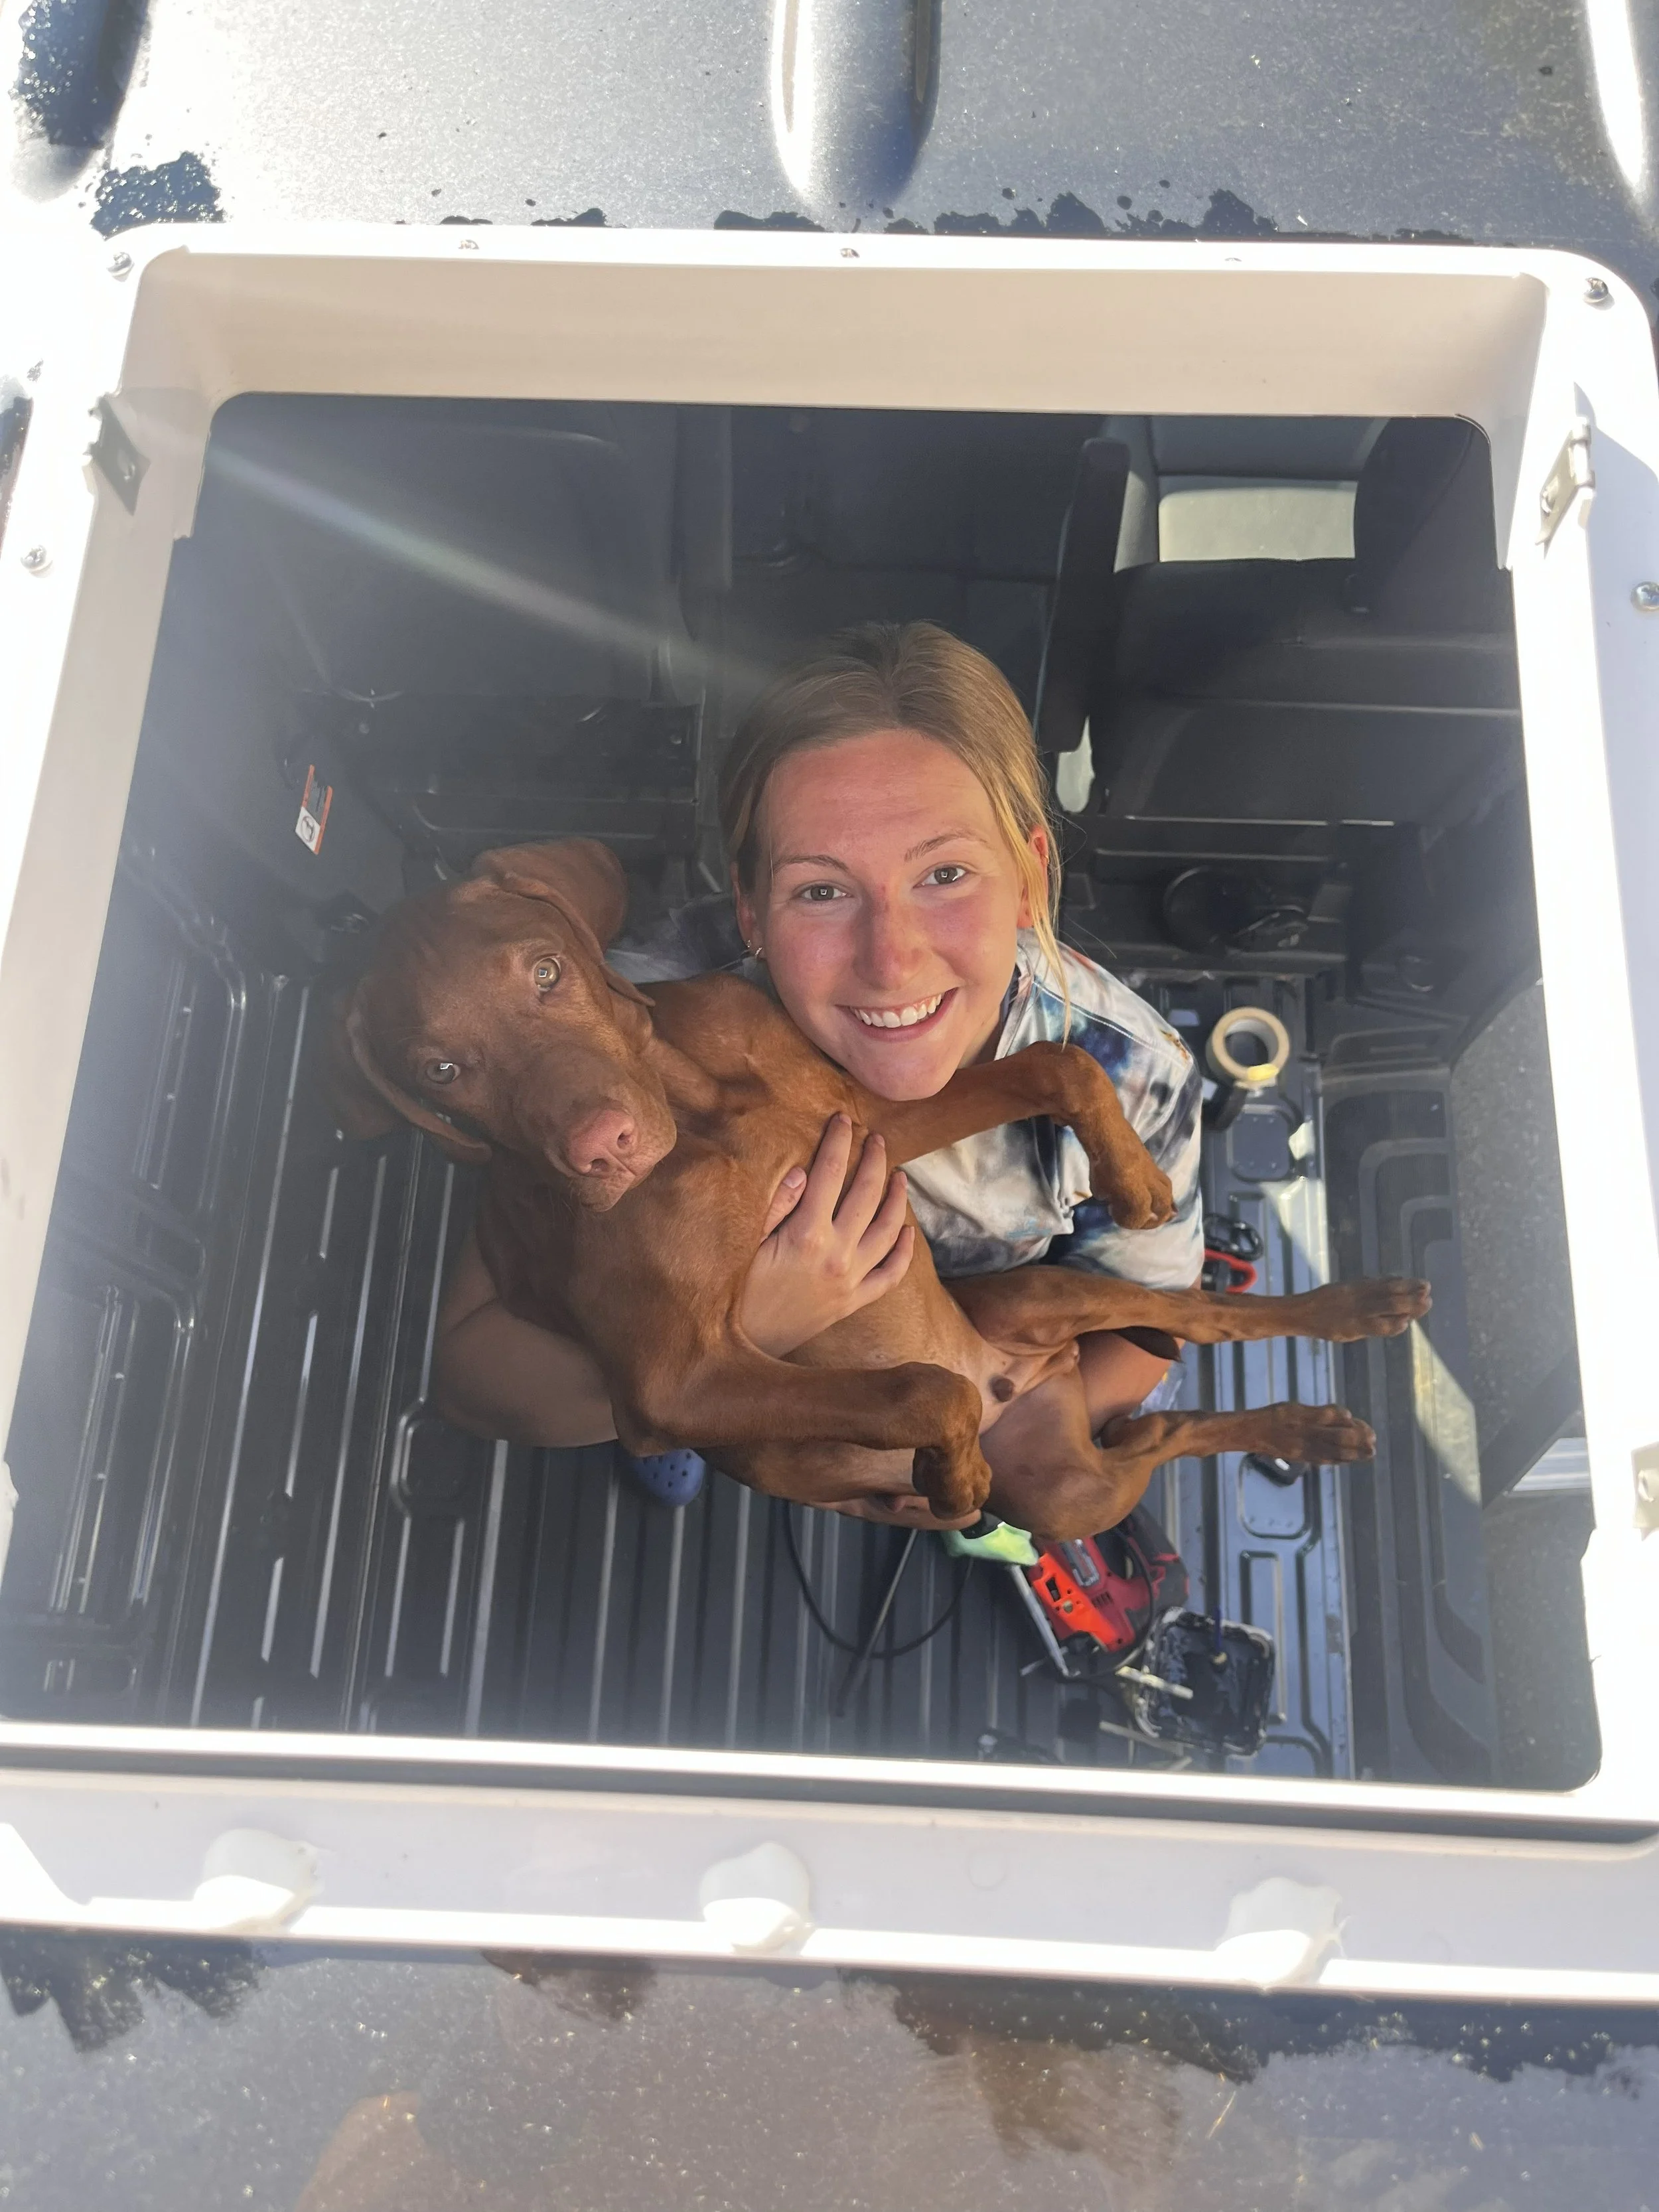
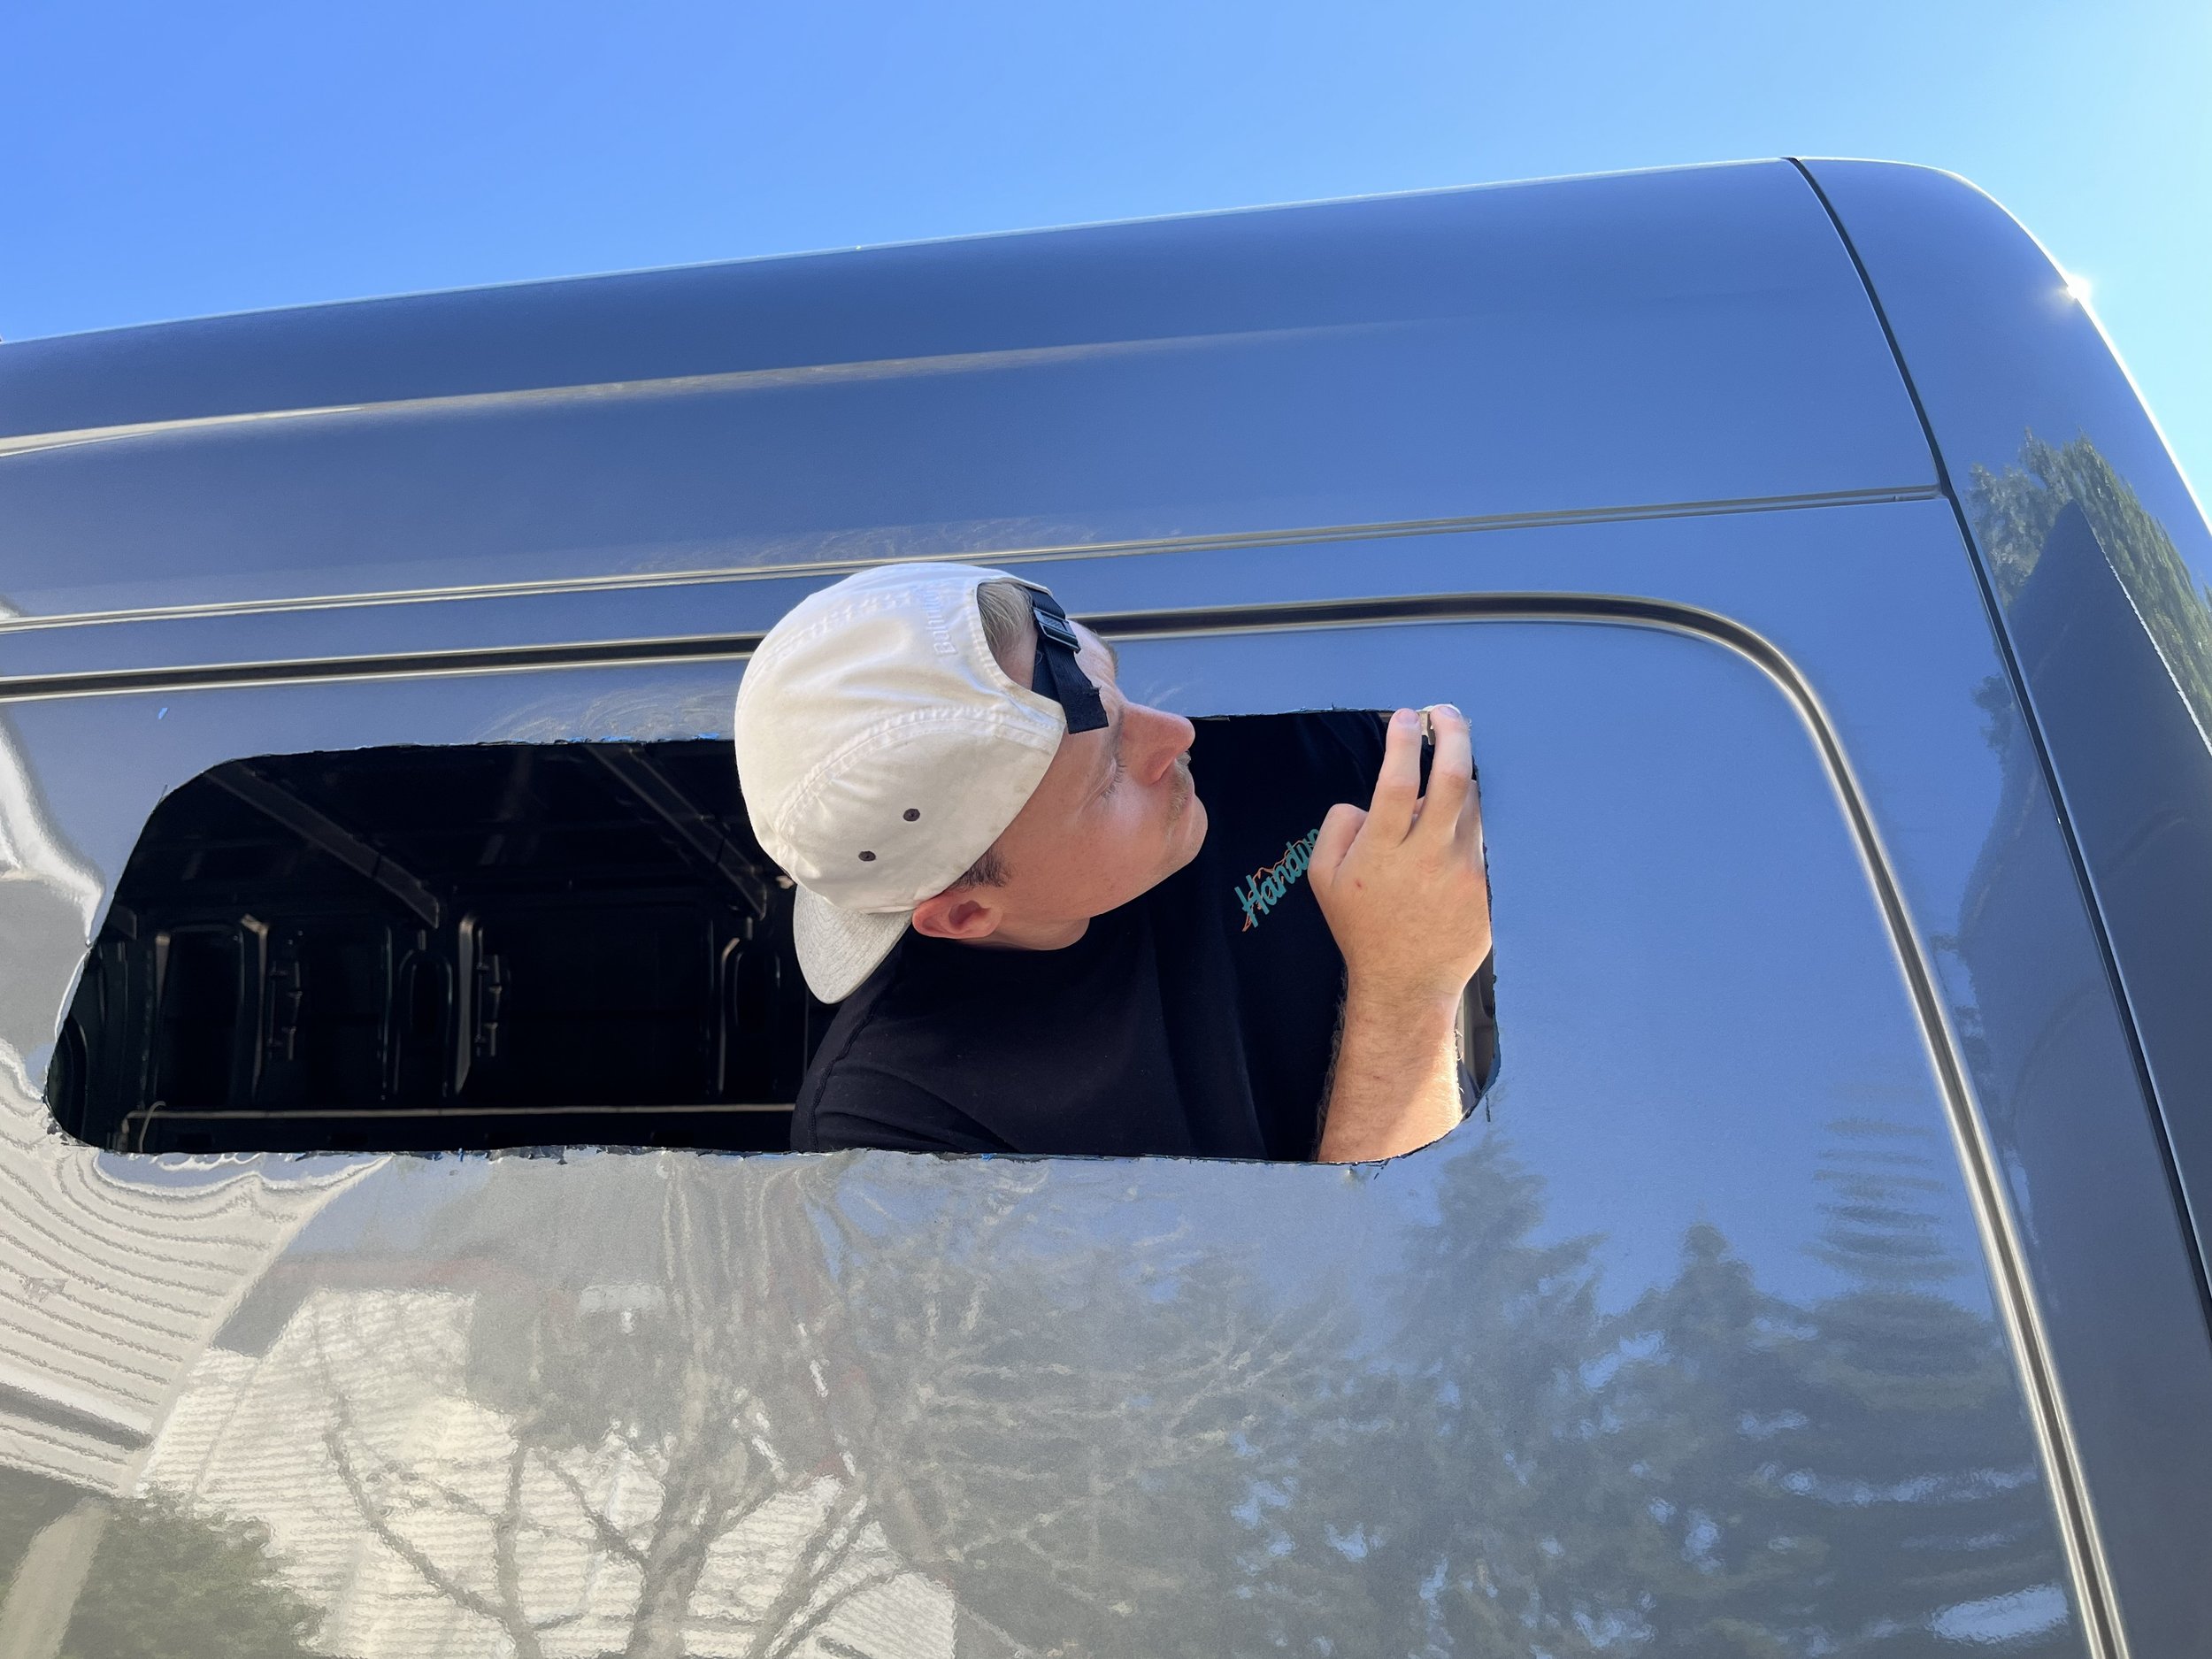
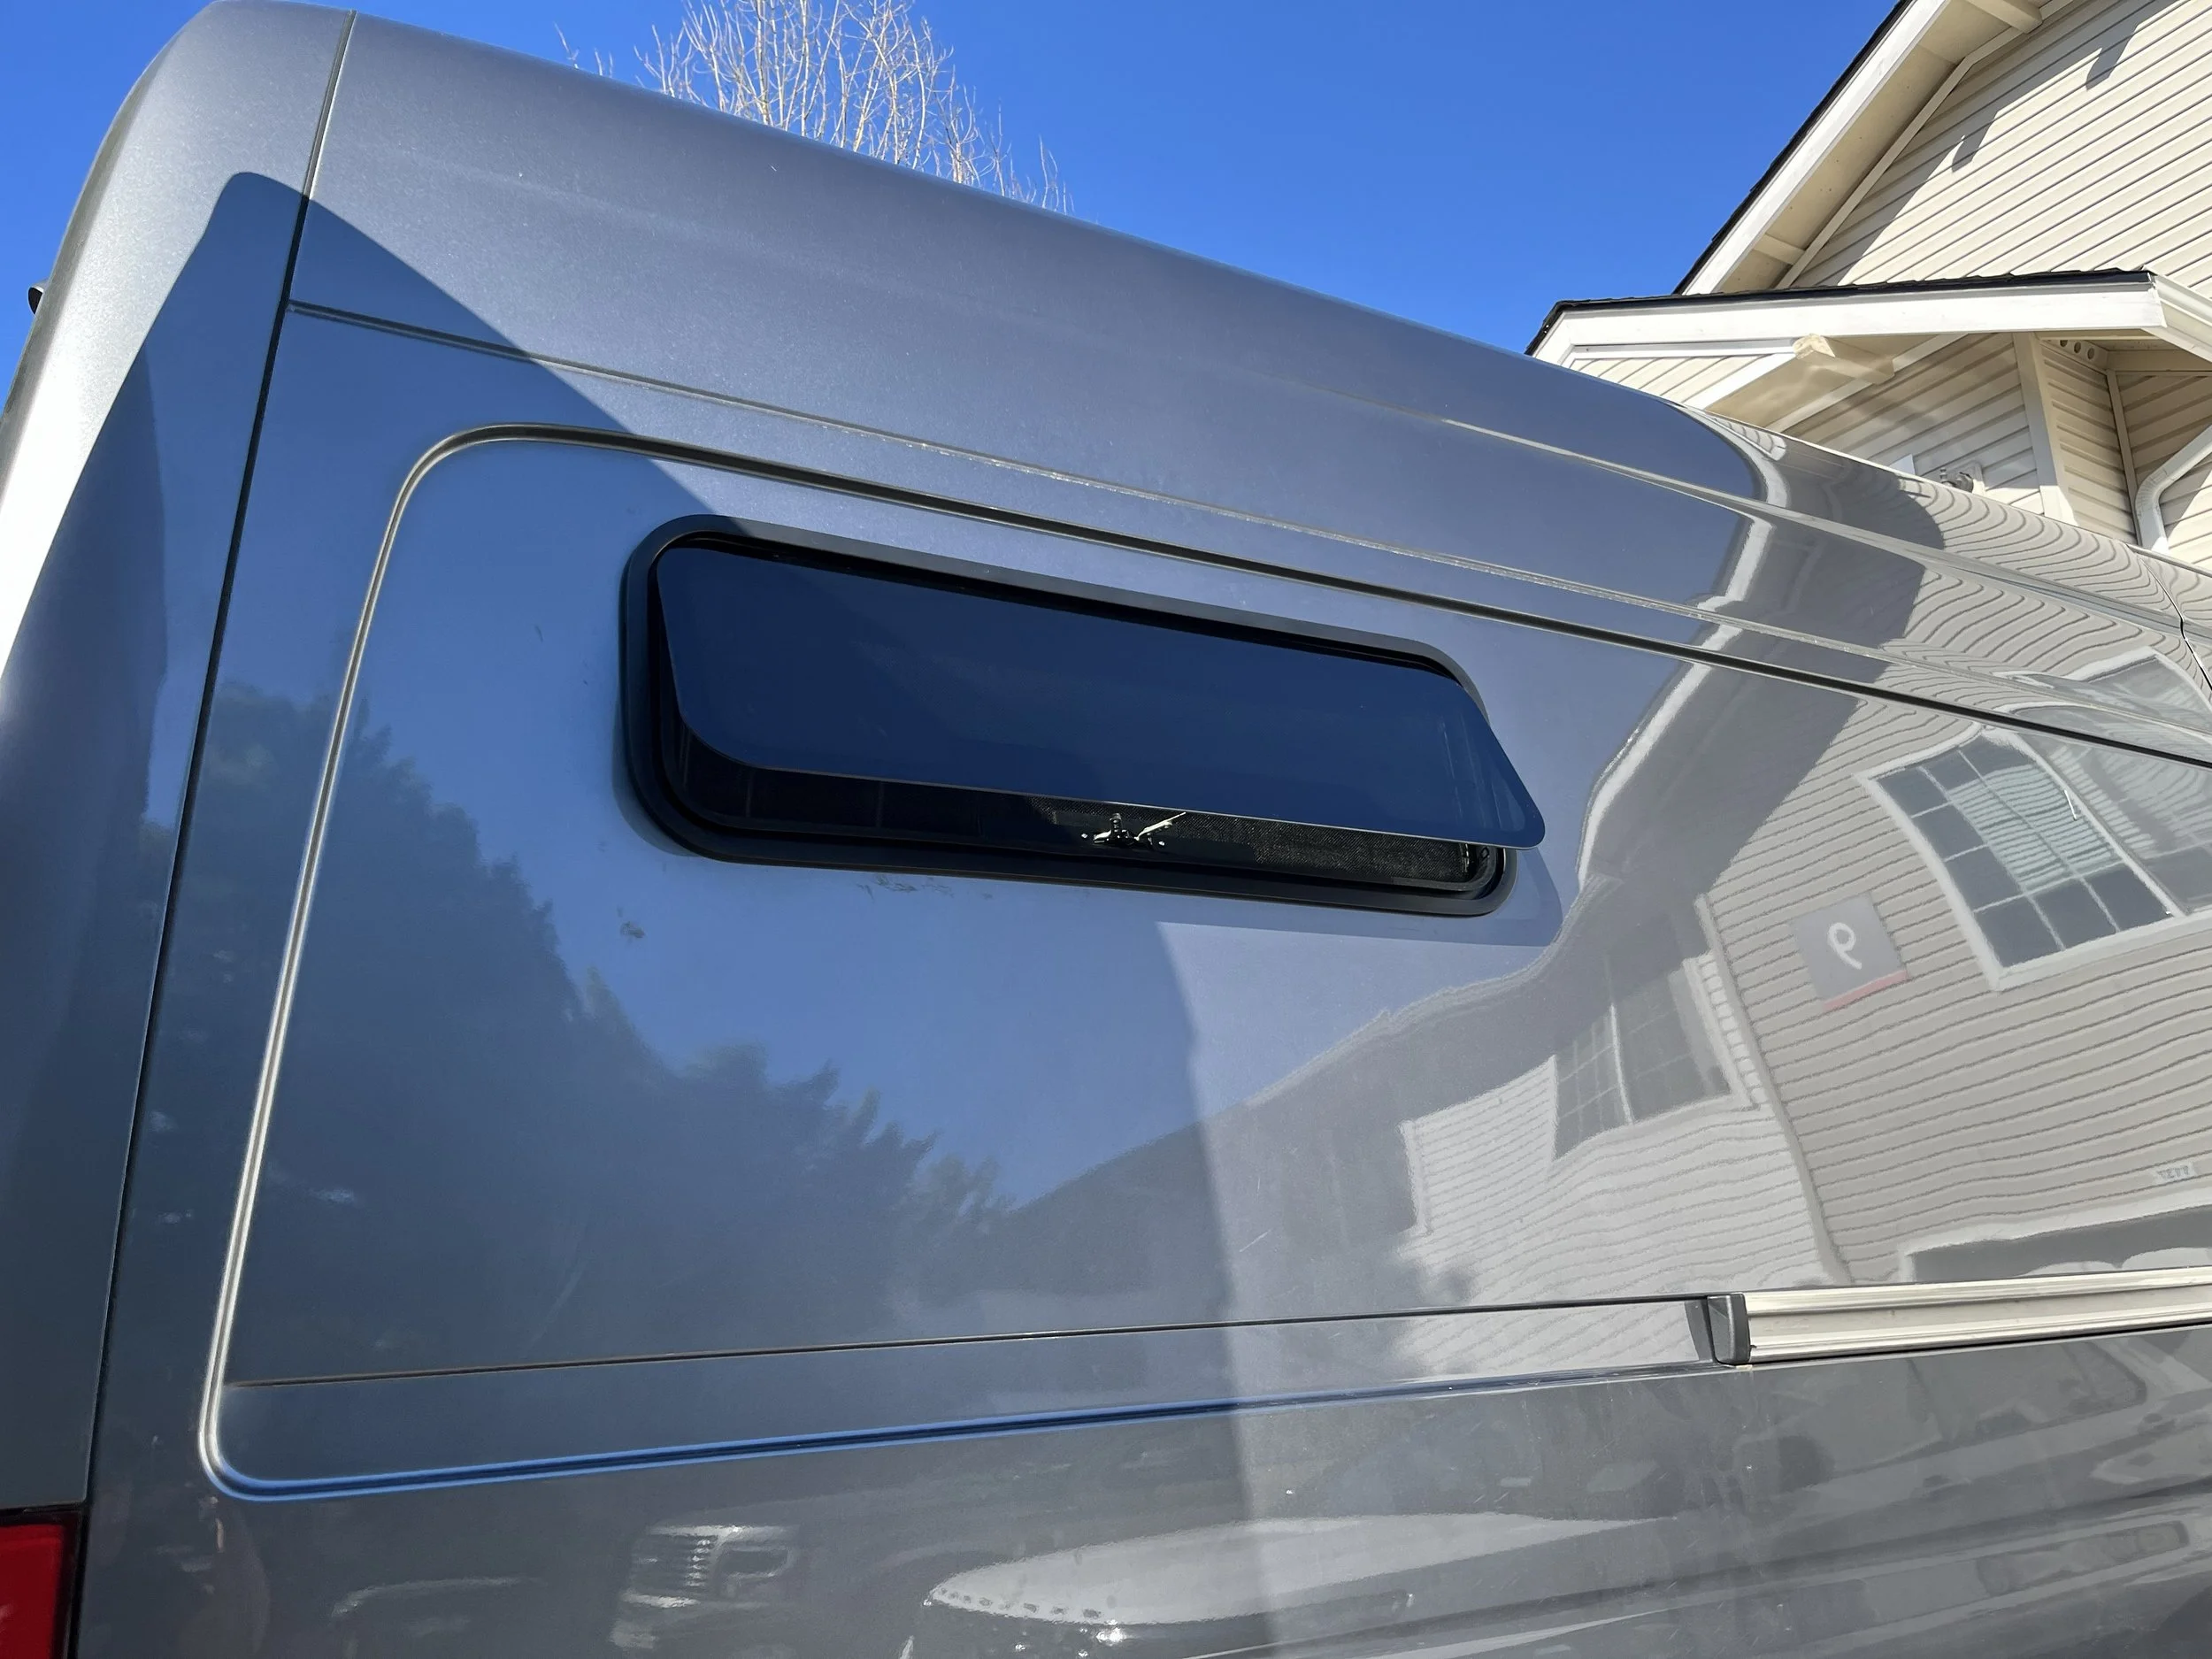
Installed all of the windows (bunk and sliding door)
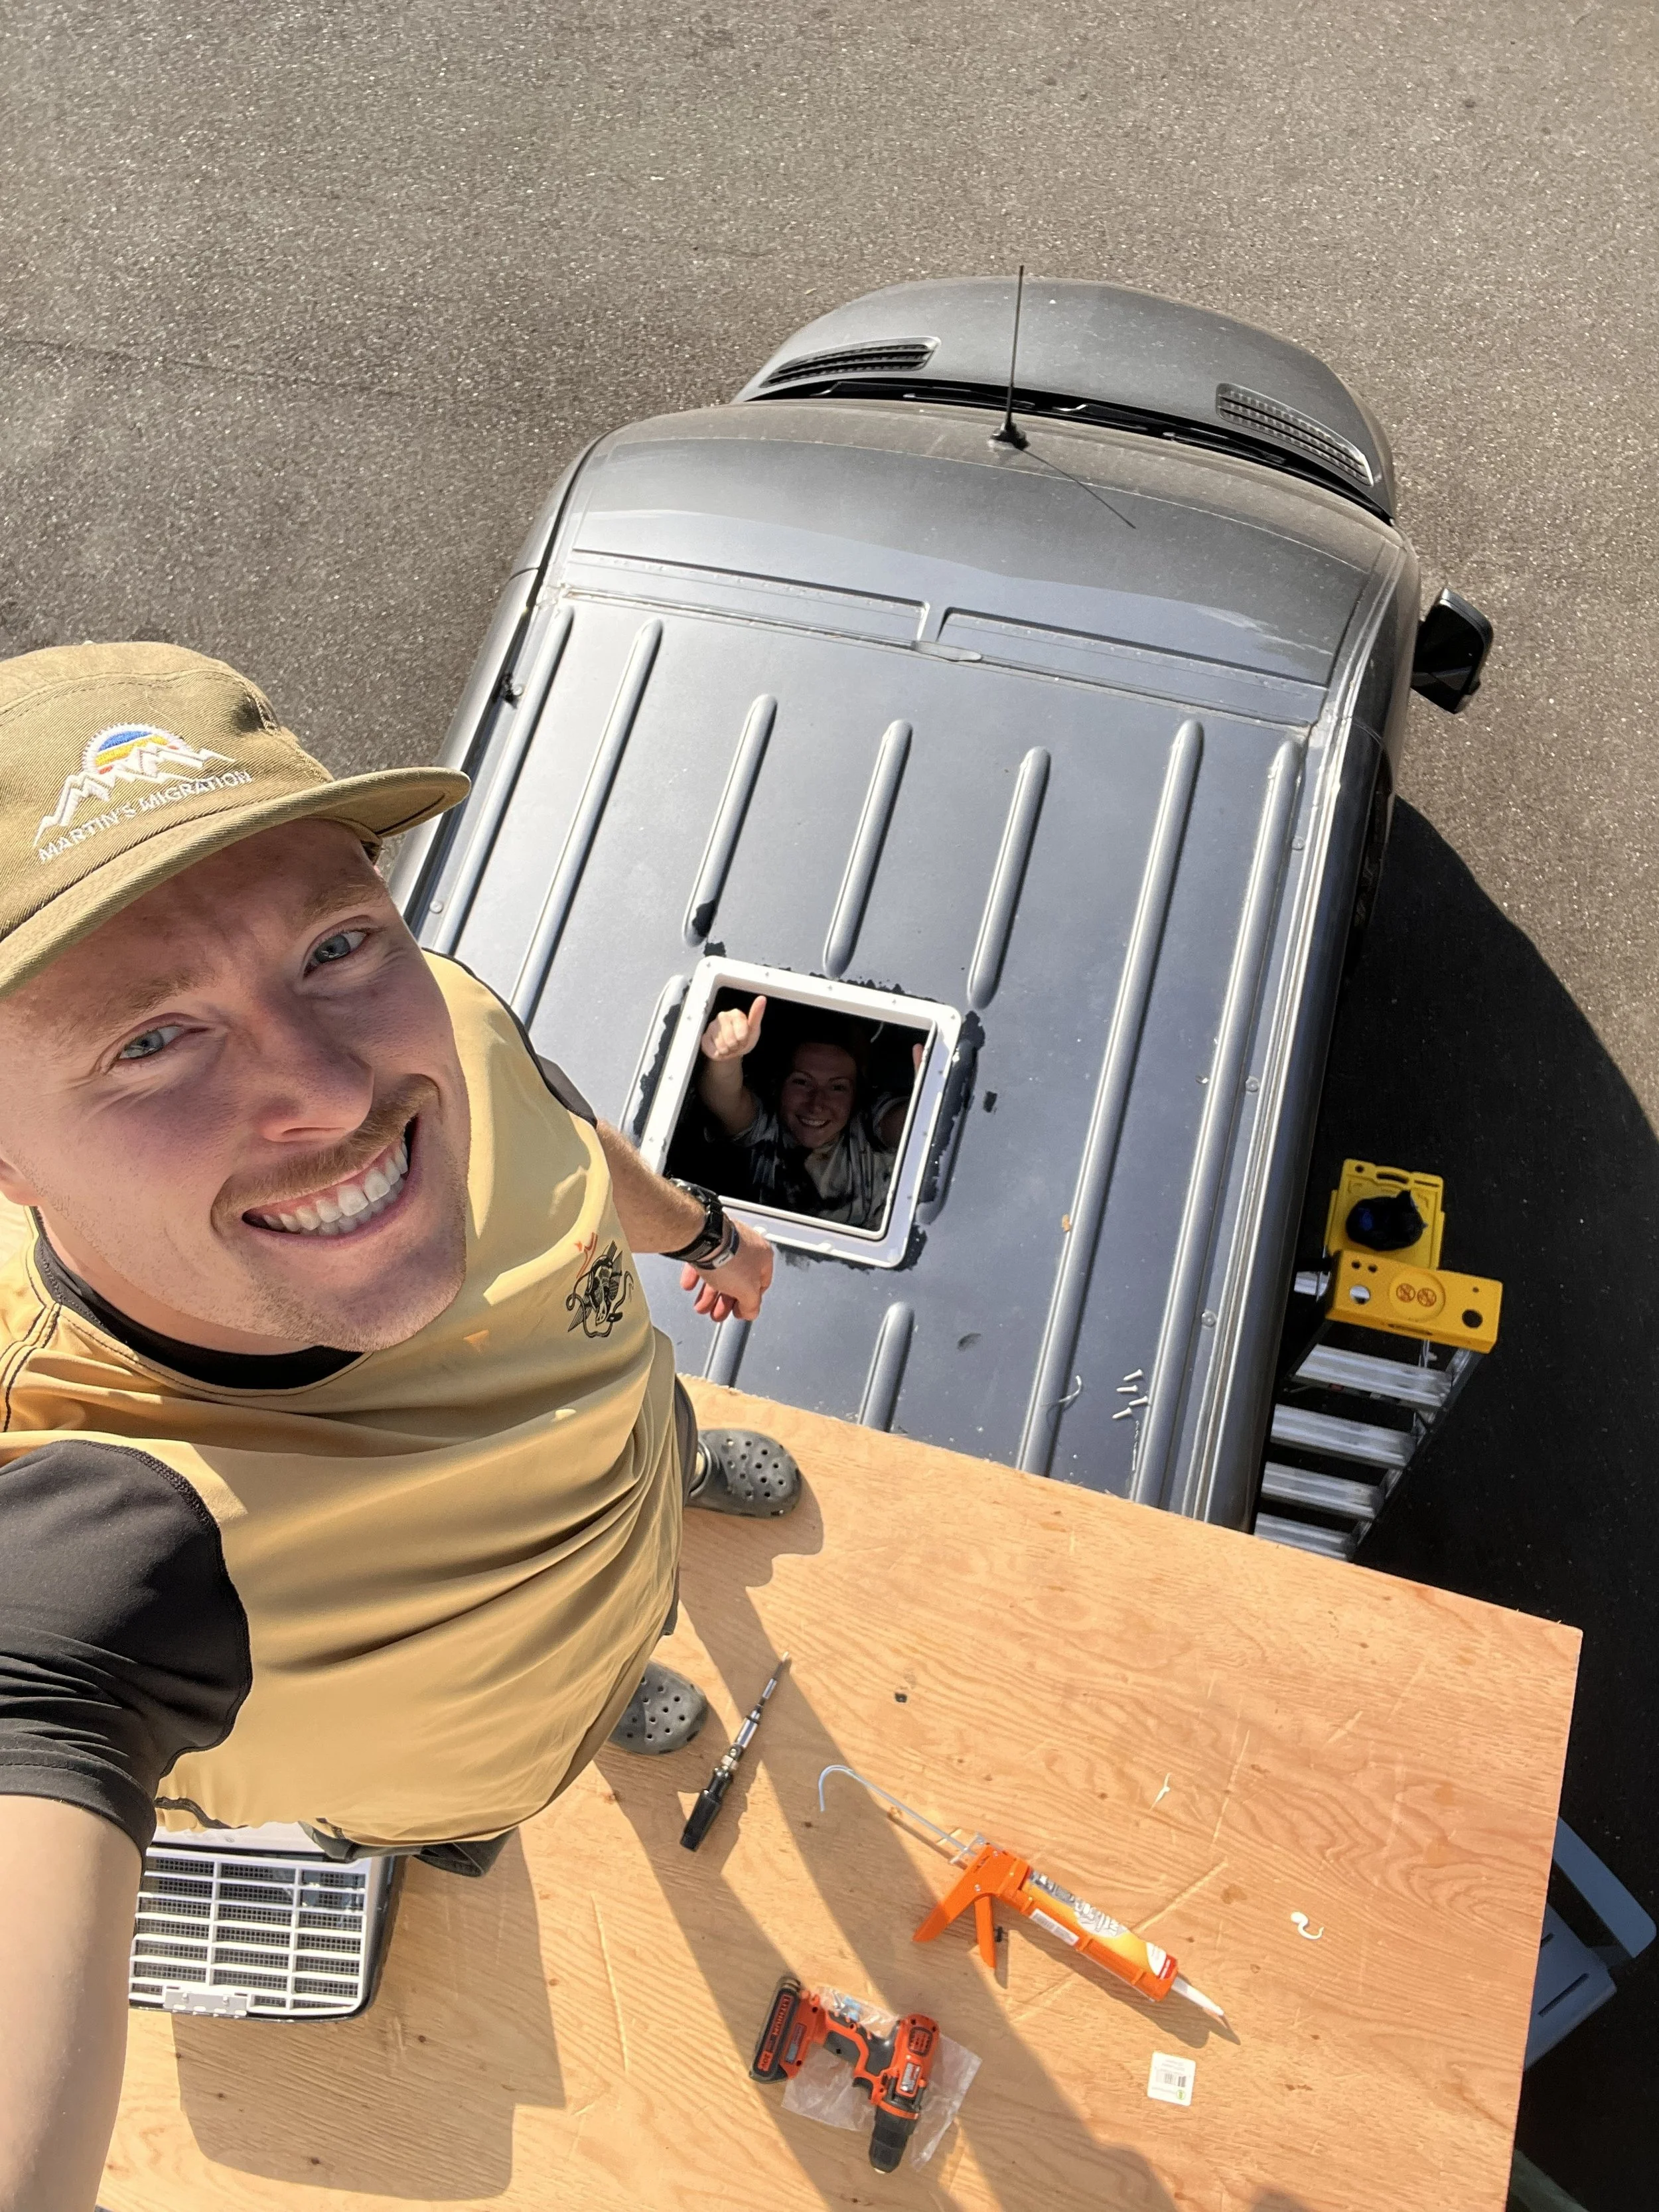
Installed the MaxxAir fans (primary deluxe and small dome for shower)
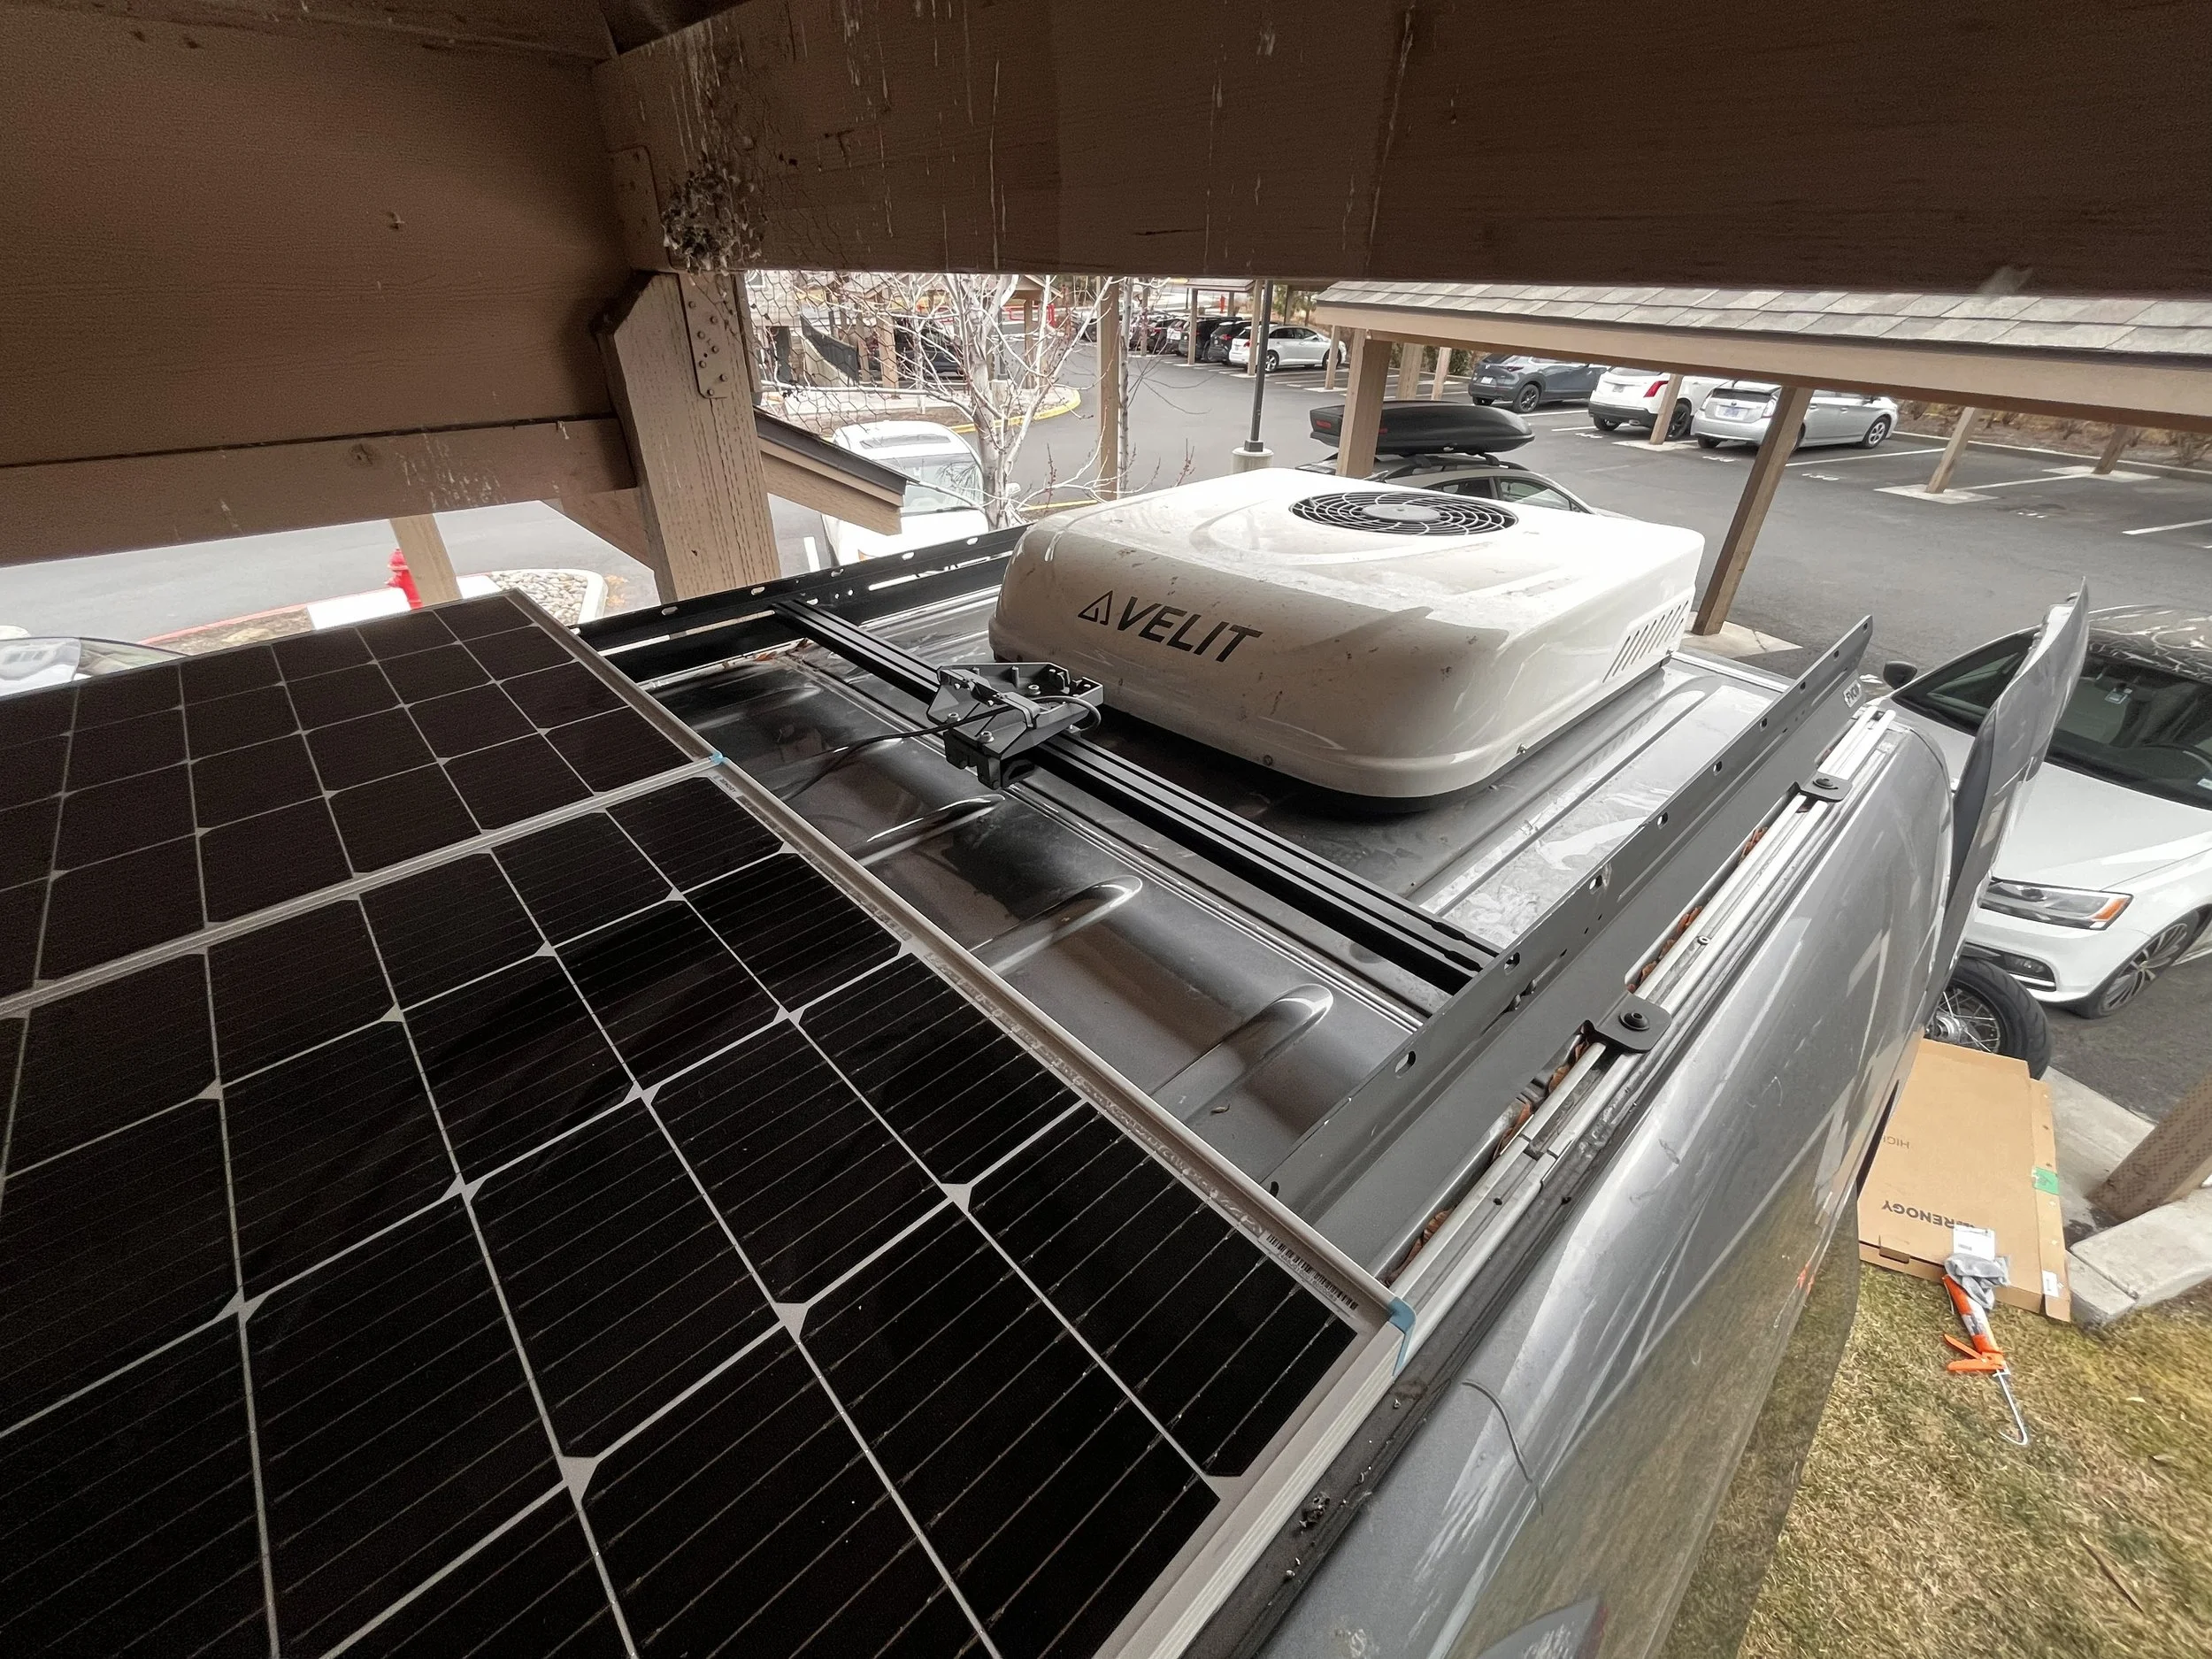
Installed the air conditioner
Added the shore power inlet
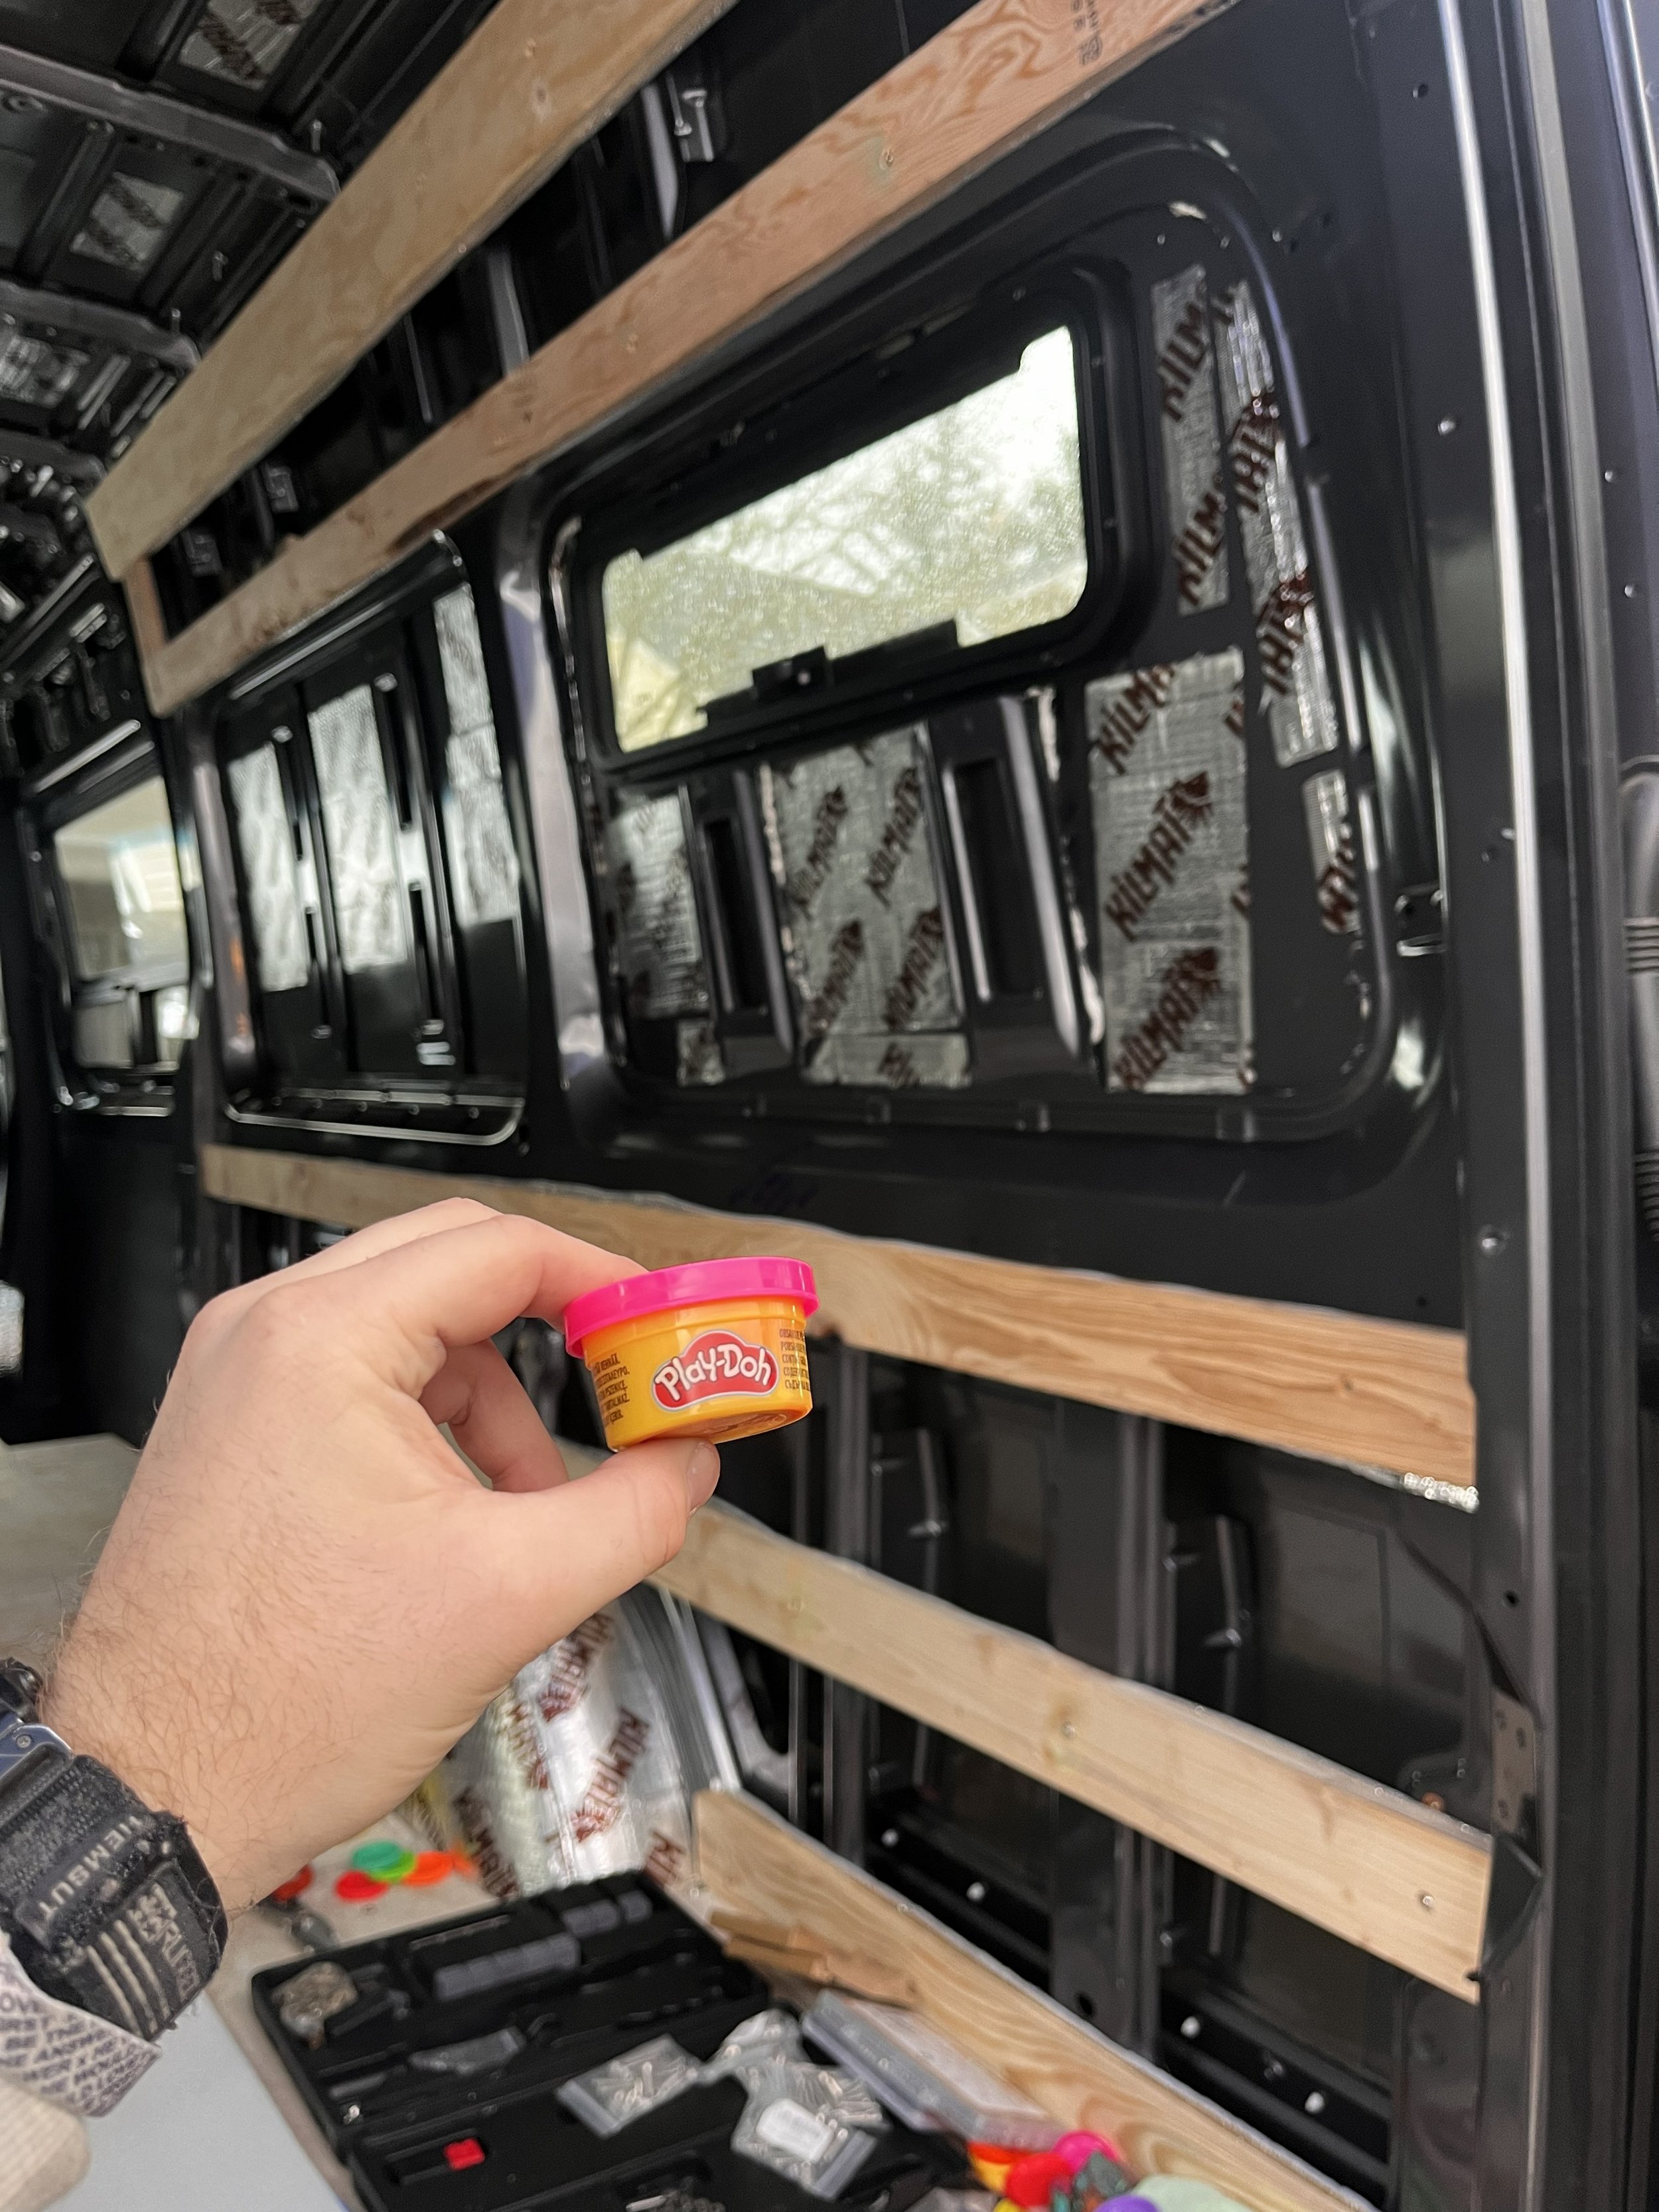
Installed the furring strips using wood, self-tapping metal screws, plus nuts, pocket holes
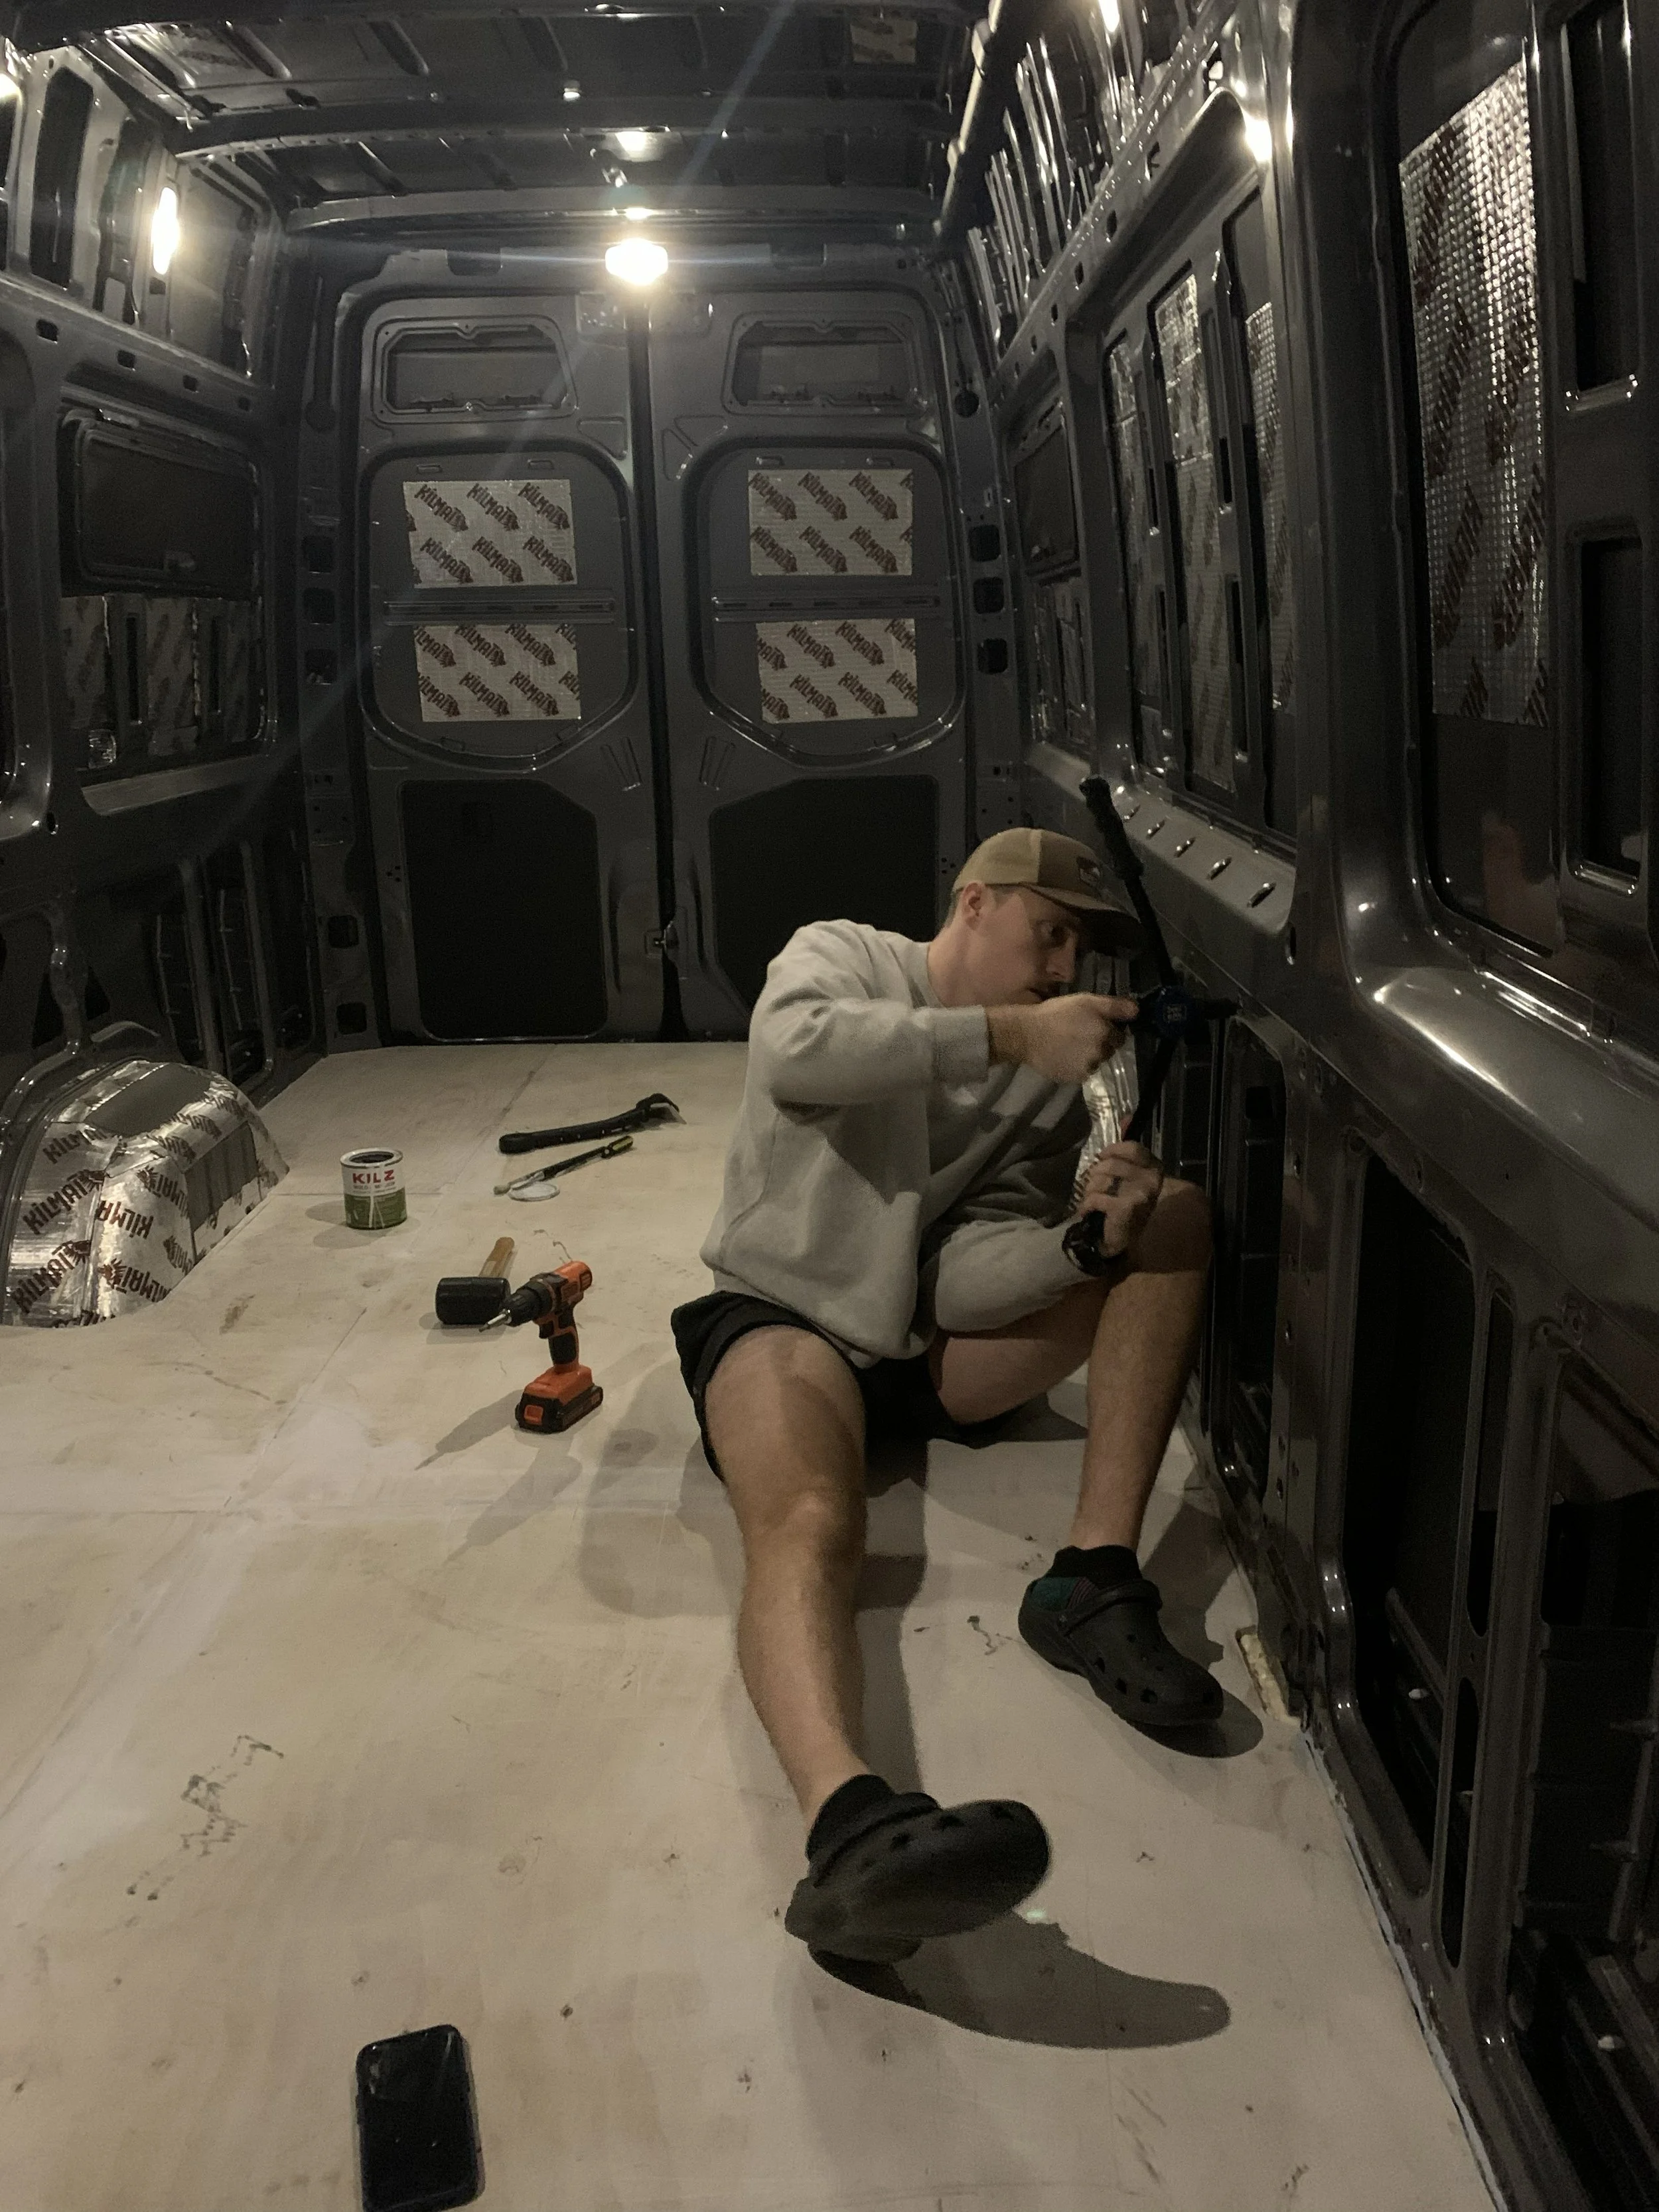
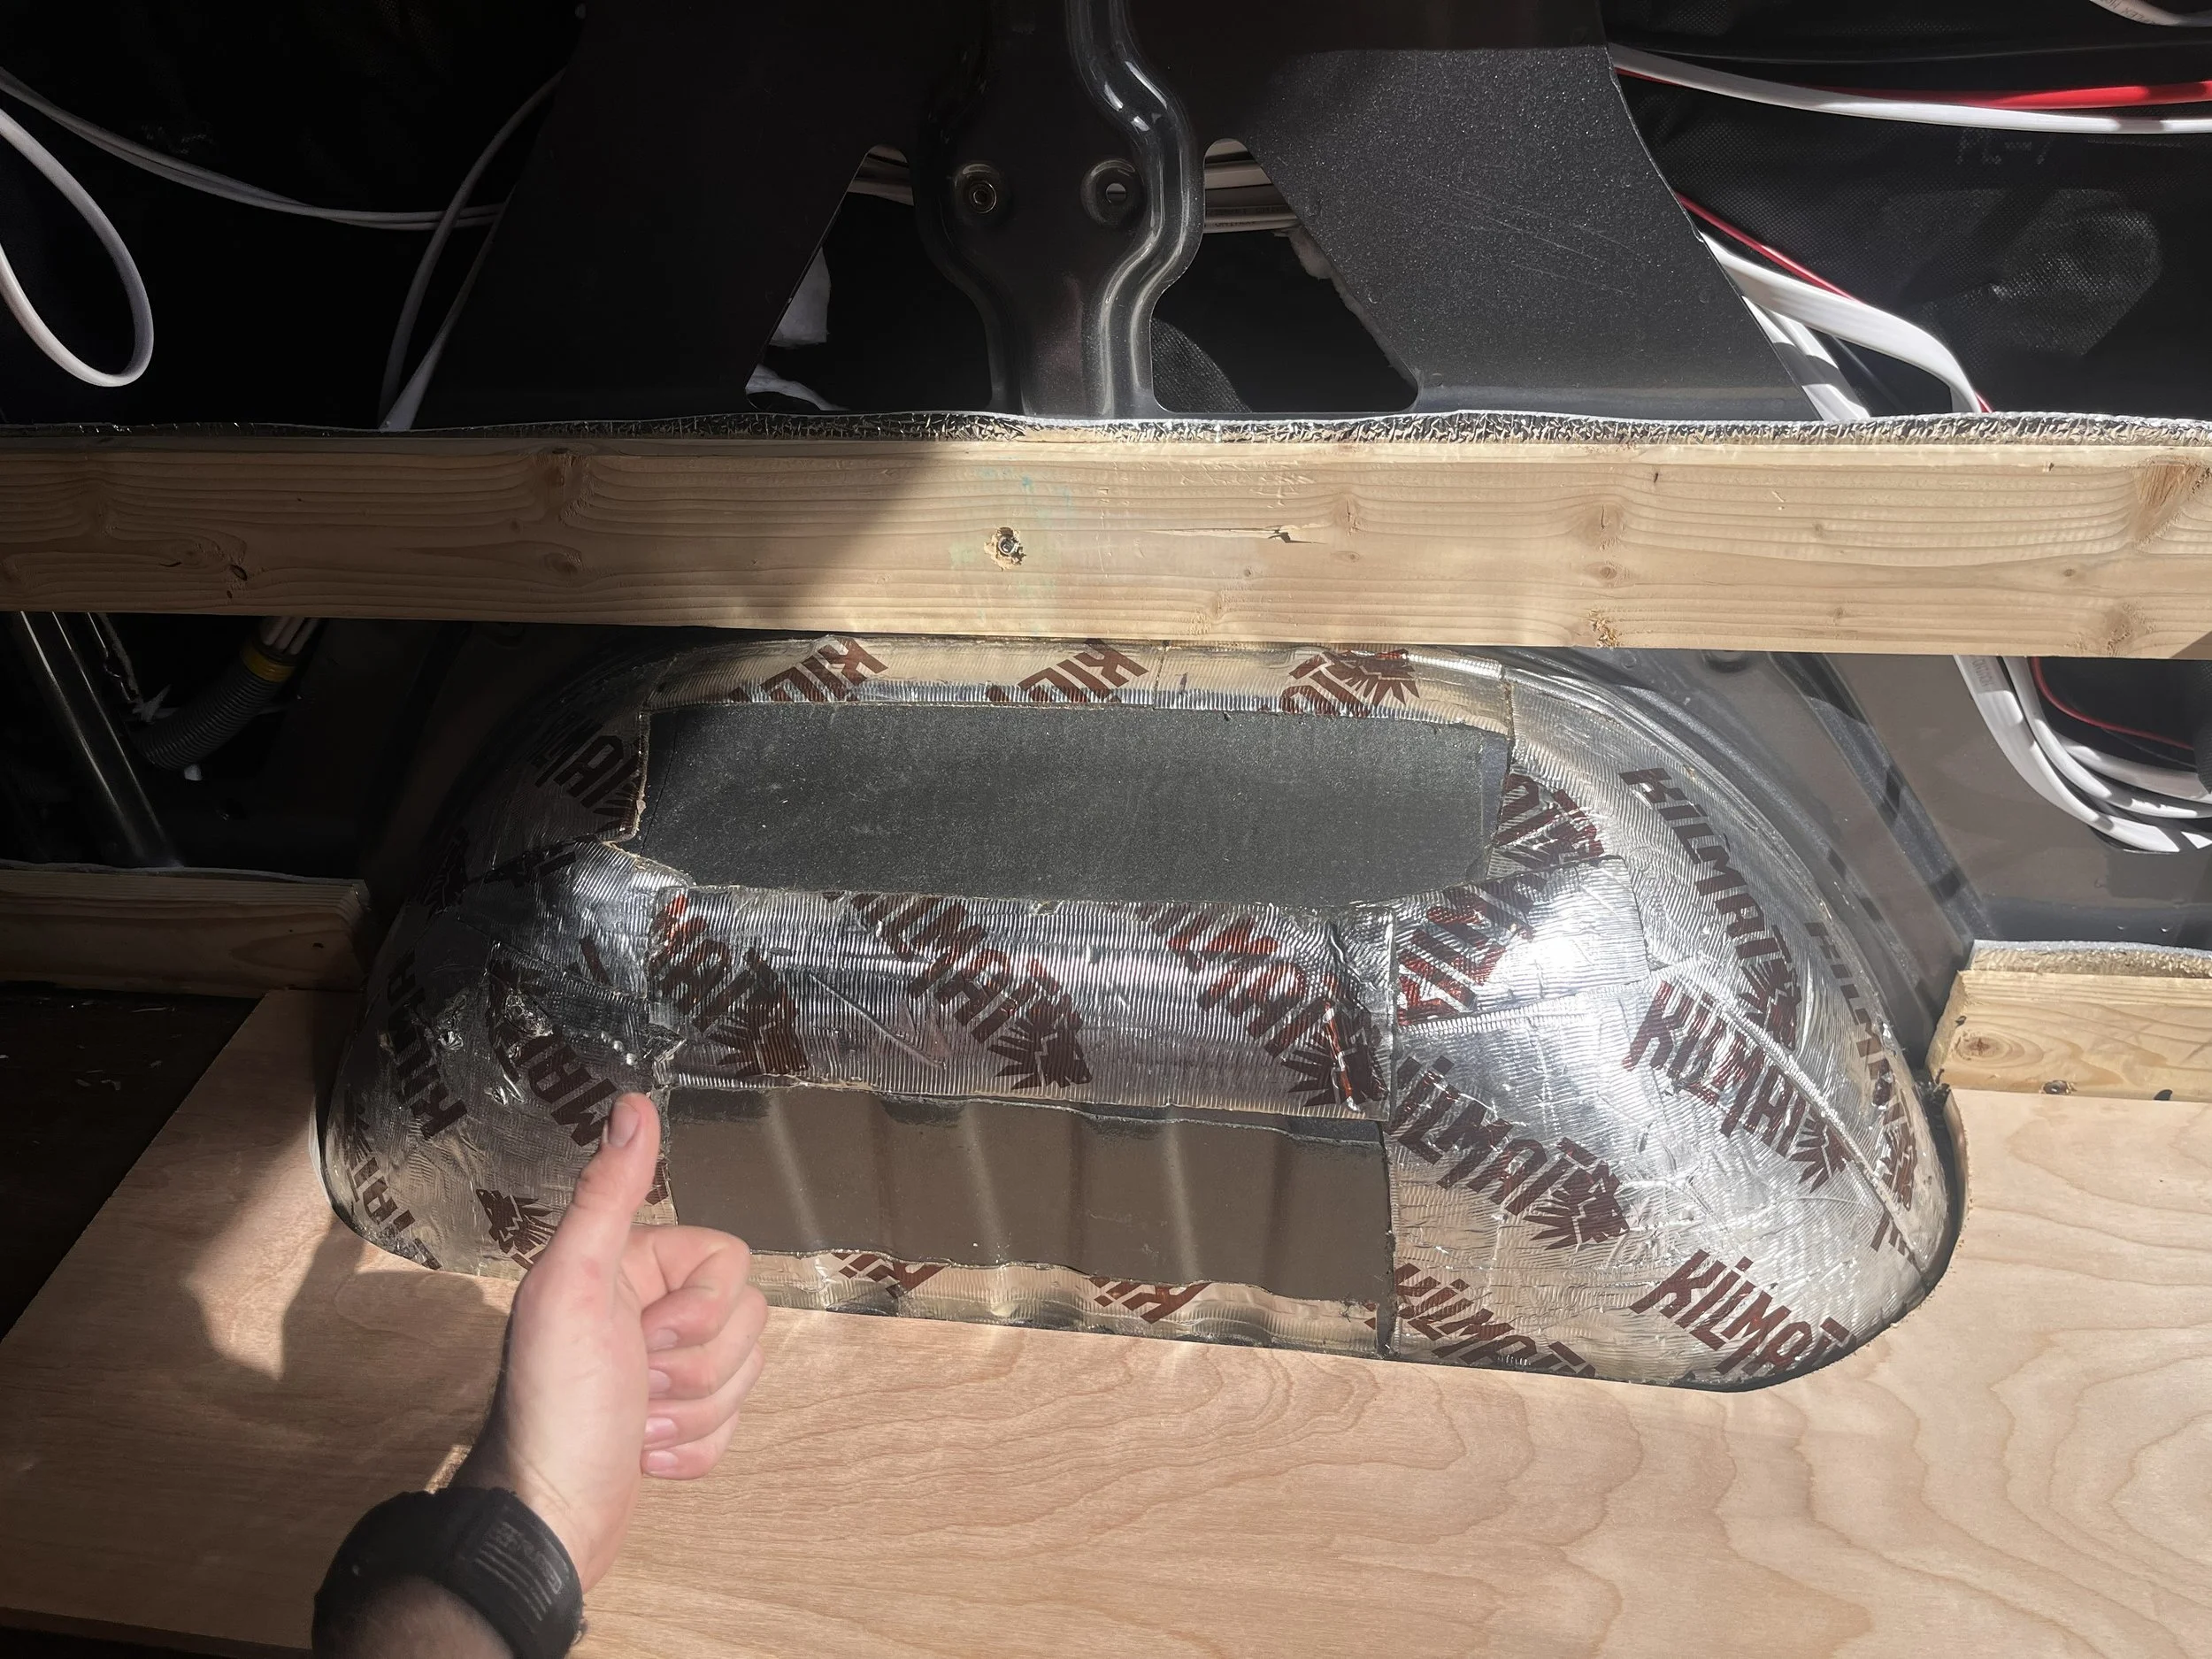
Installed Kilmat sound-deadening material
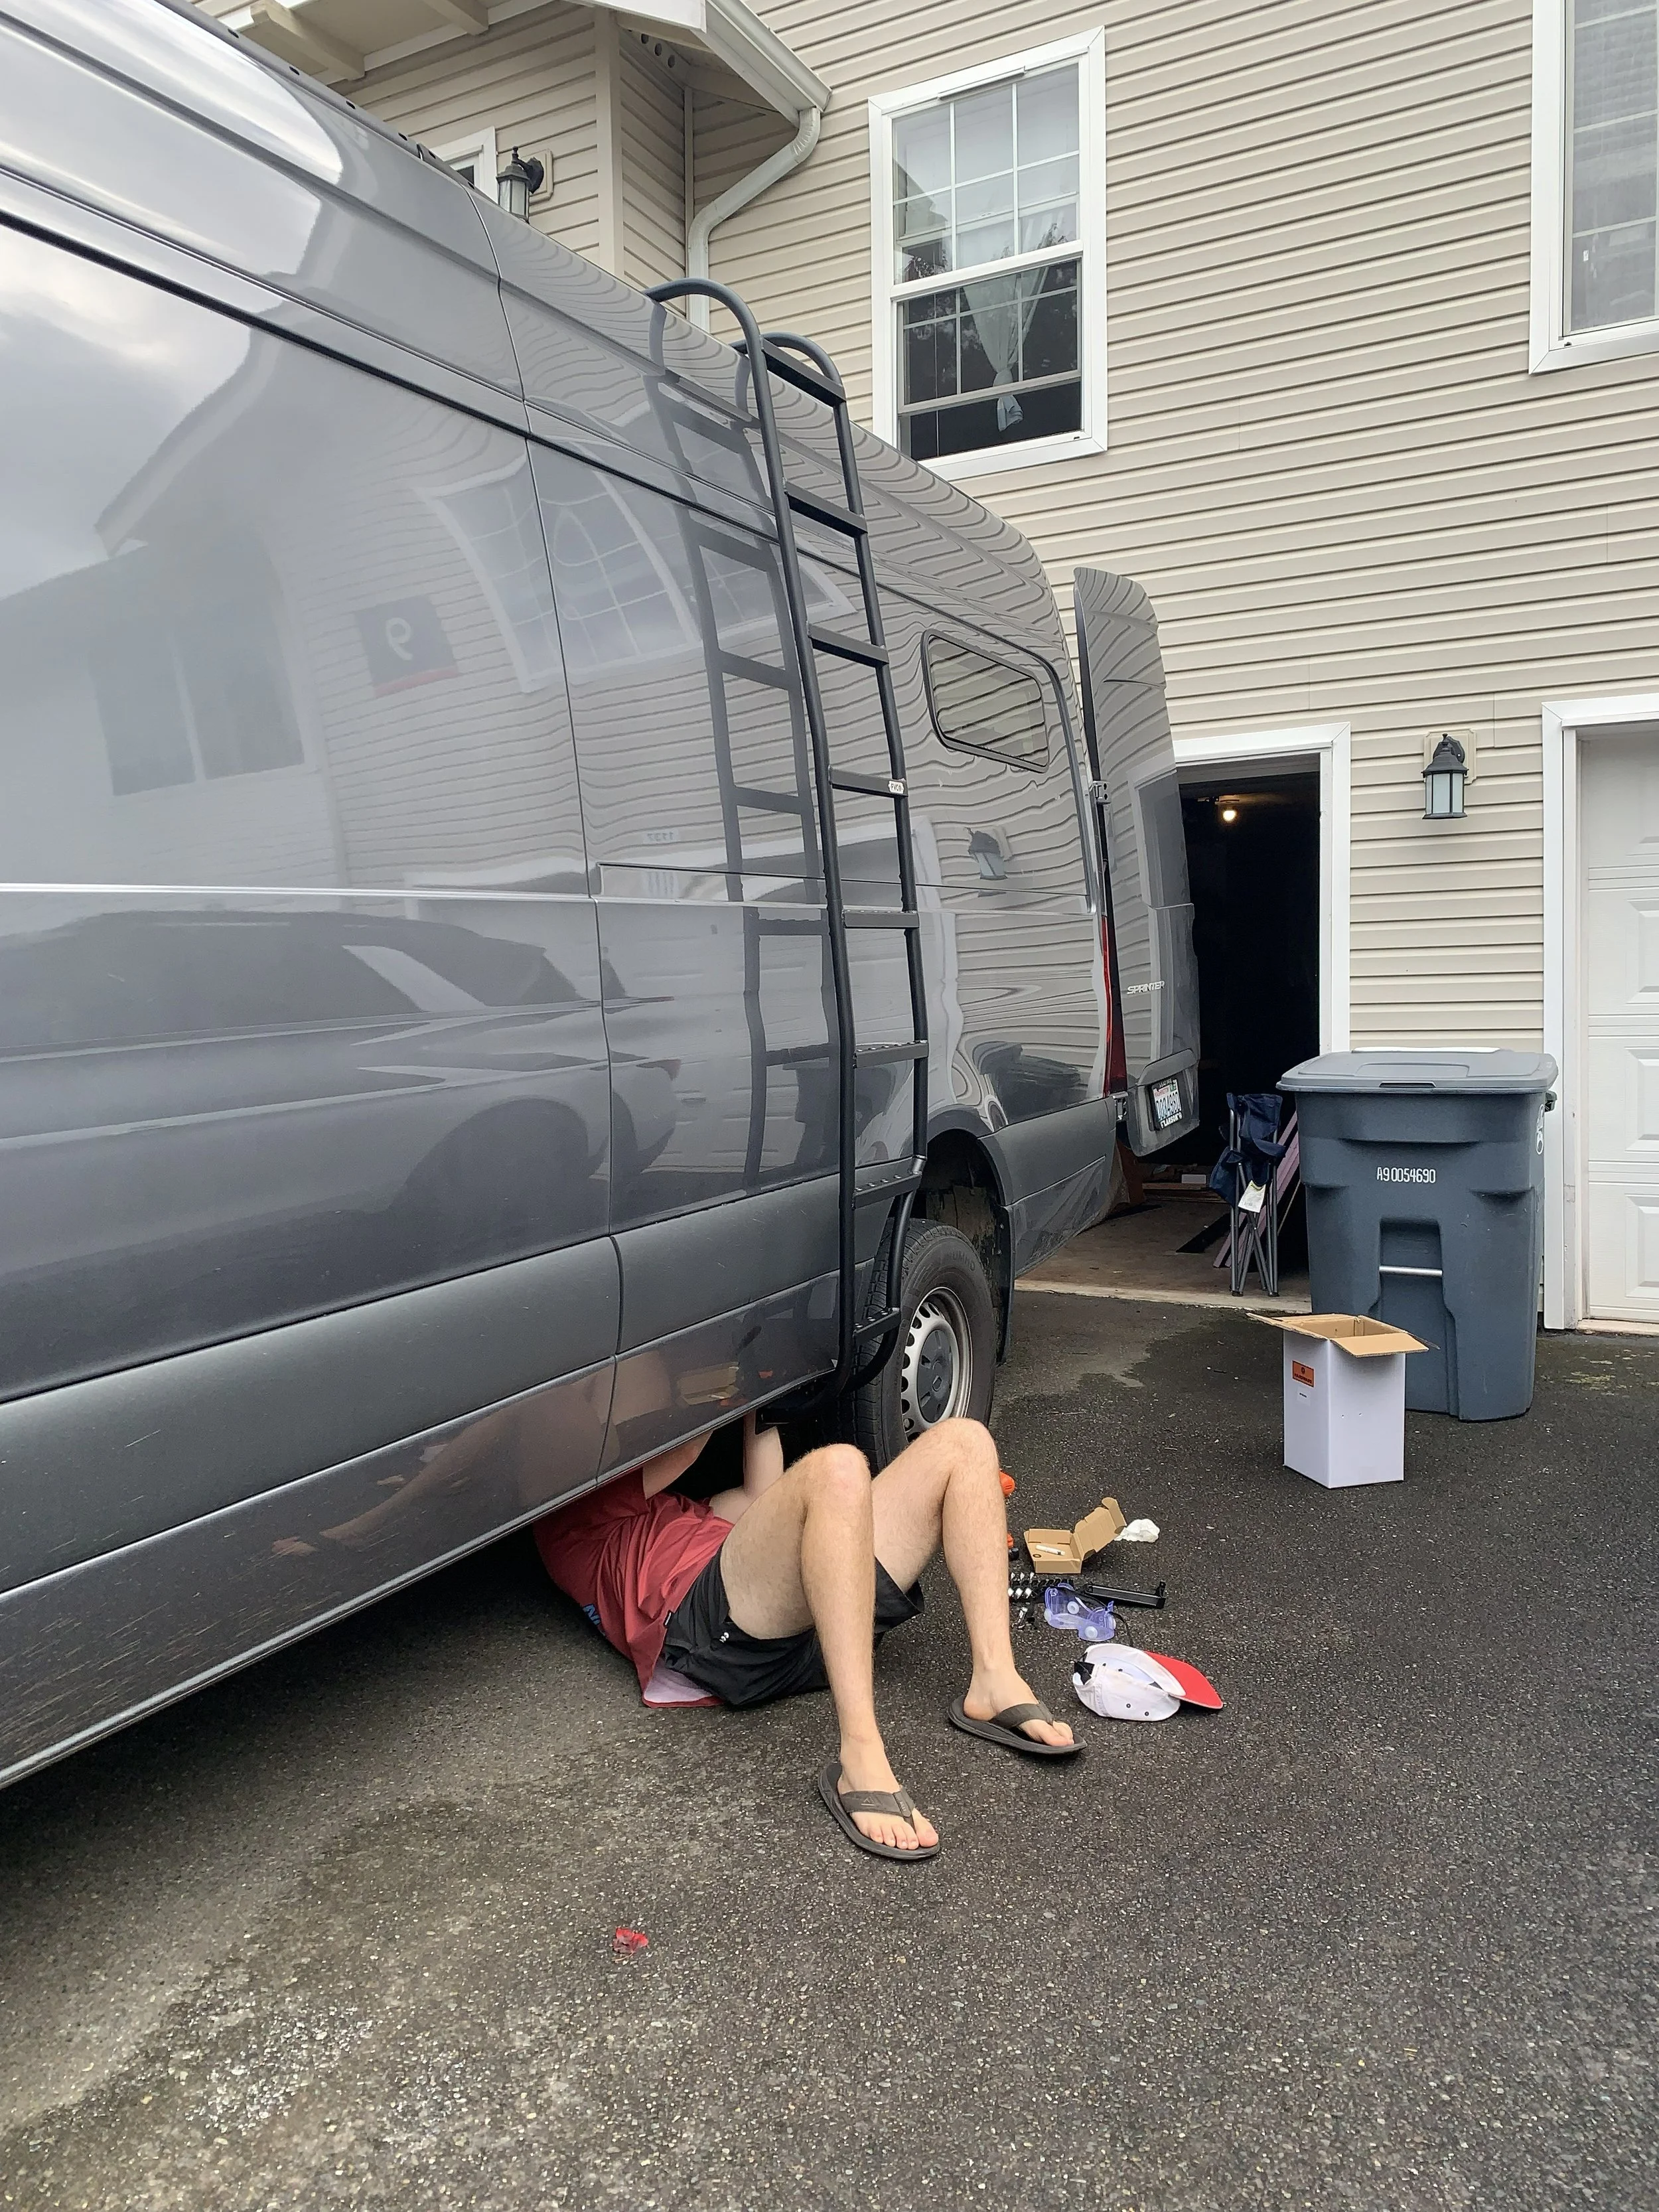
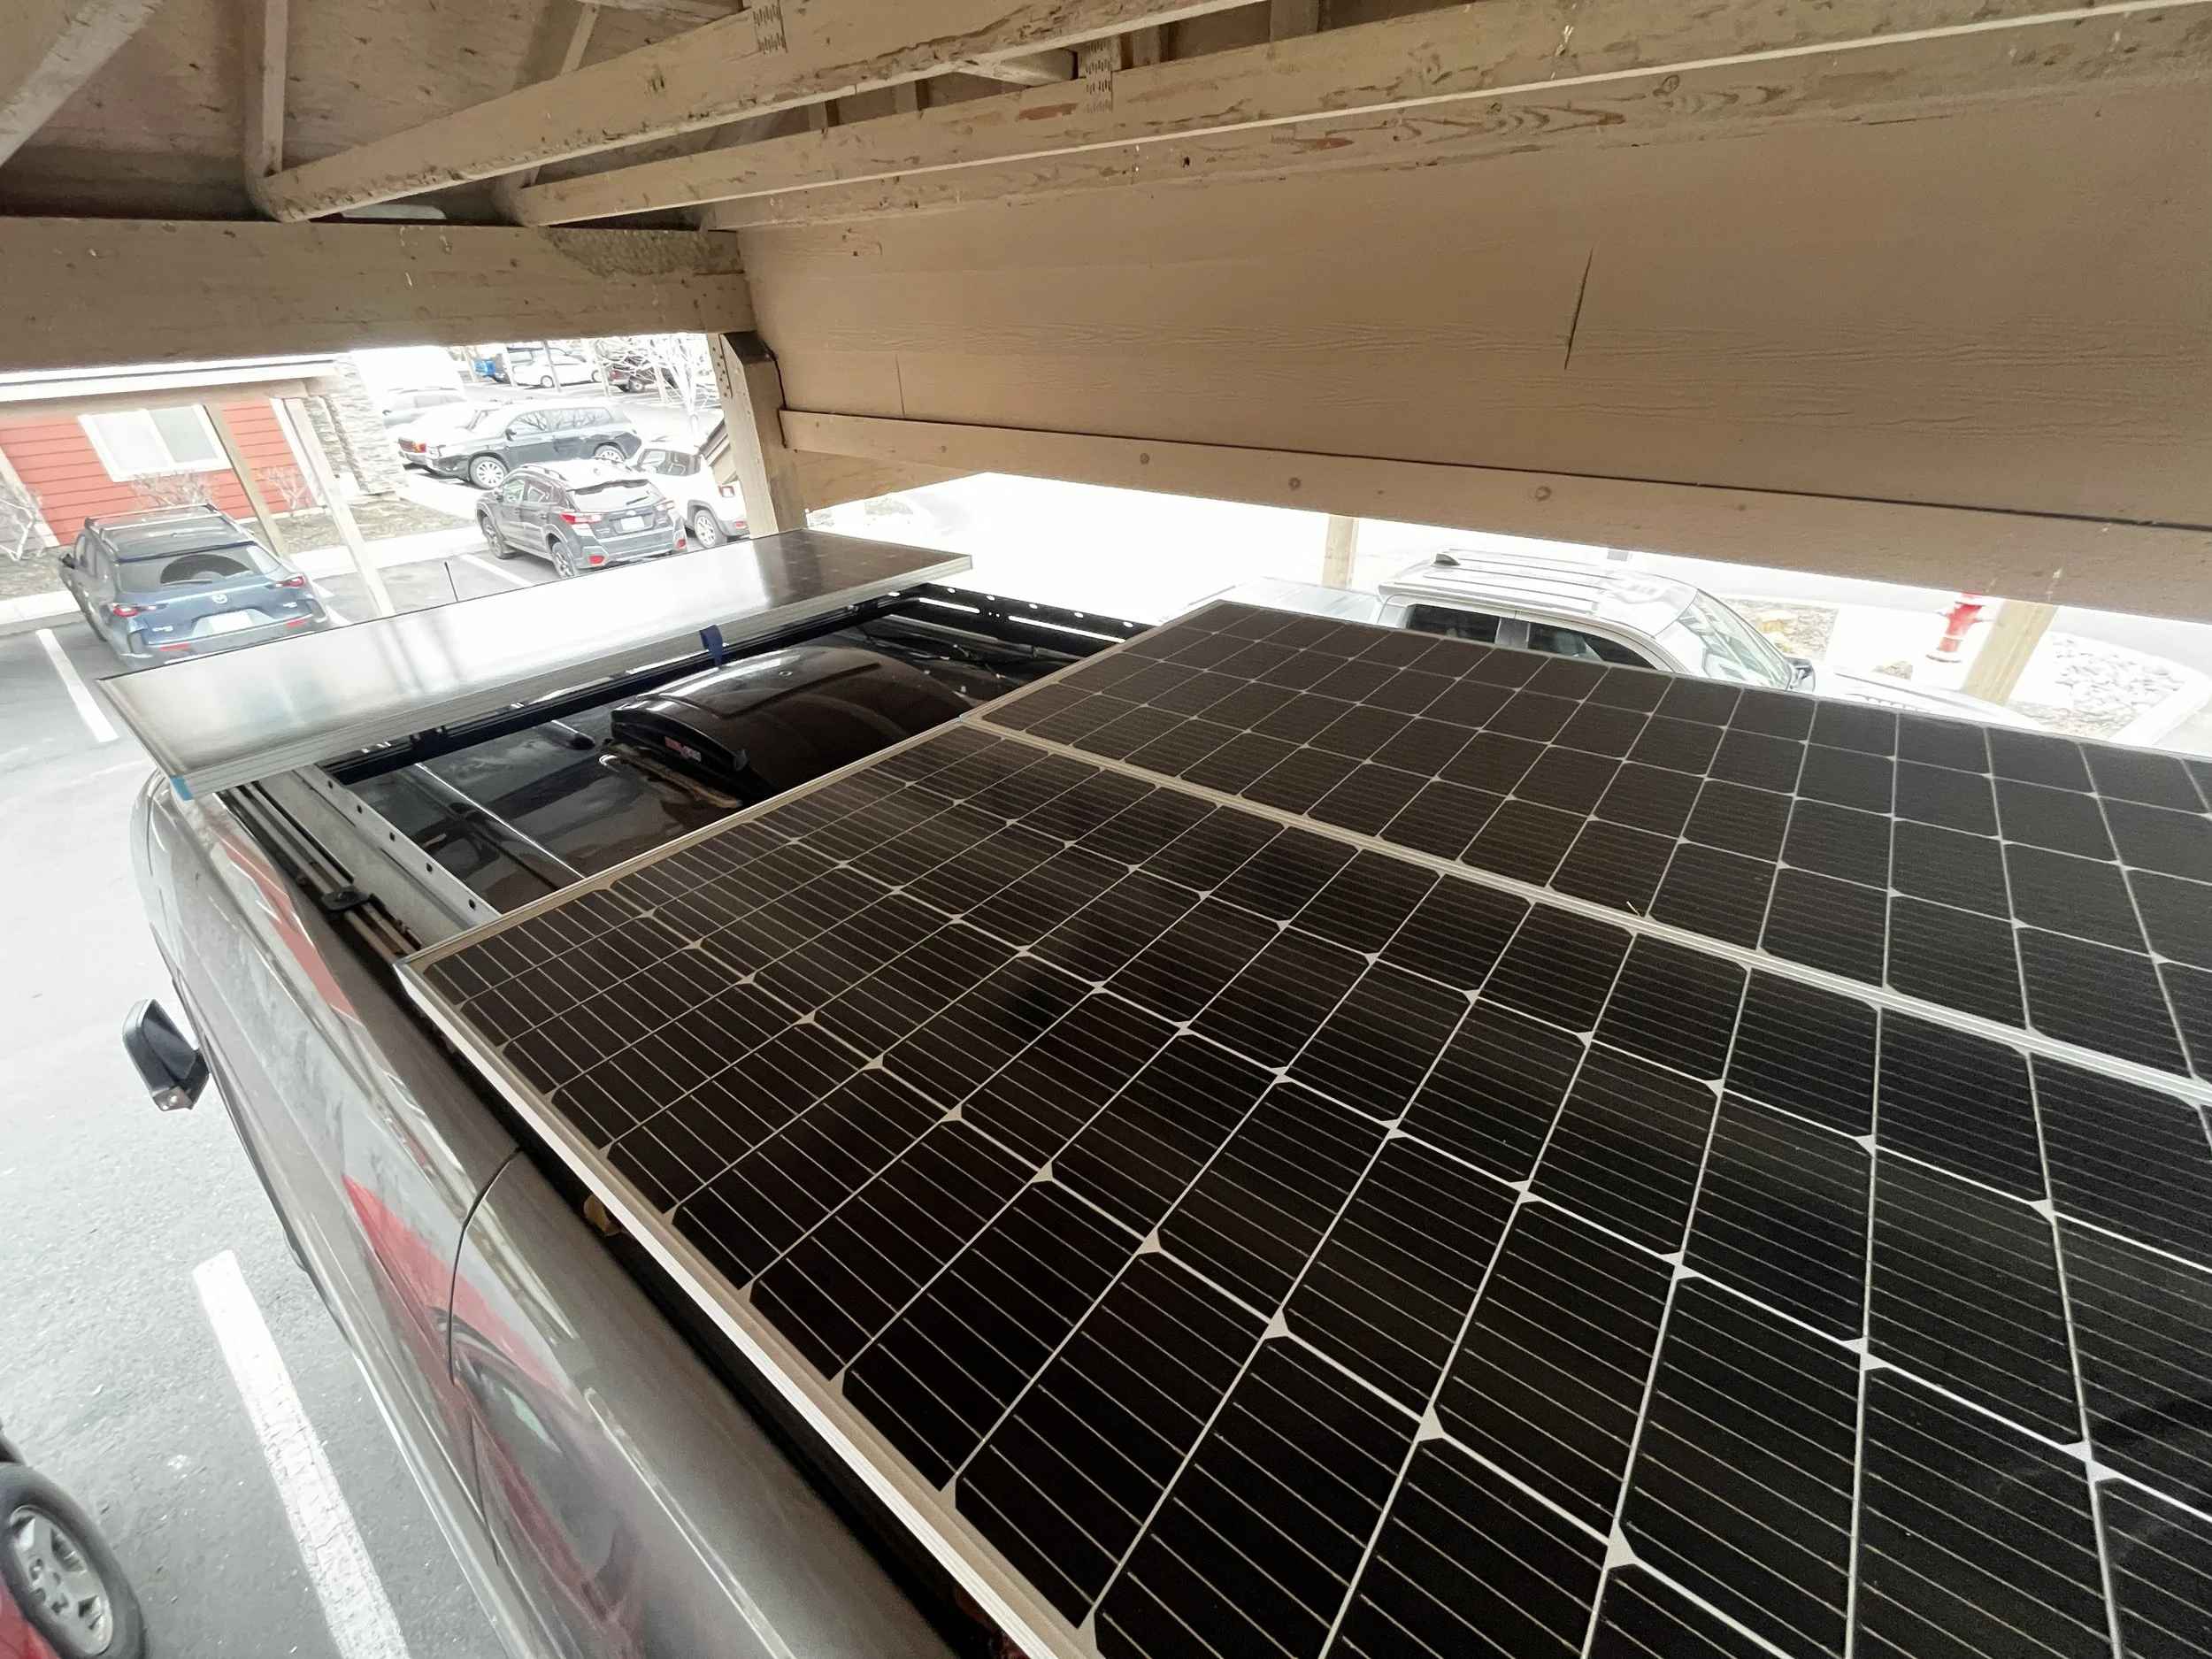
Installed Roof rails, roof rack, ladder, solar panels with inlet, and Starlink mount with inlet
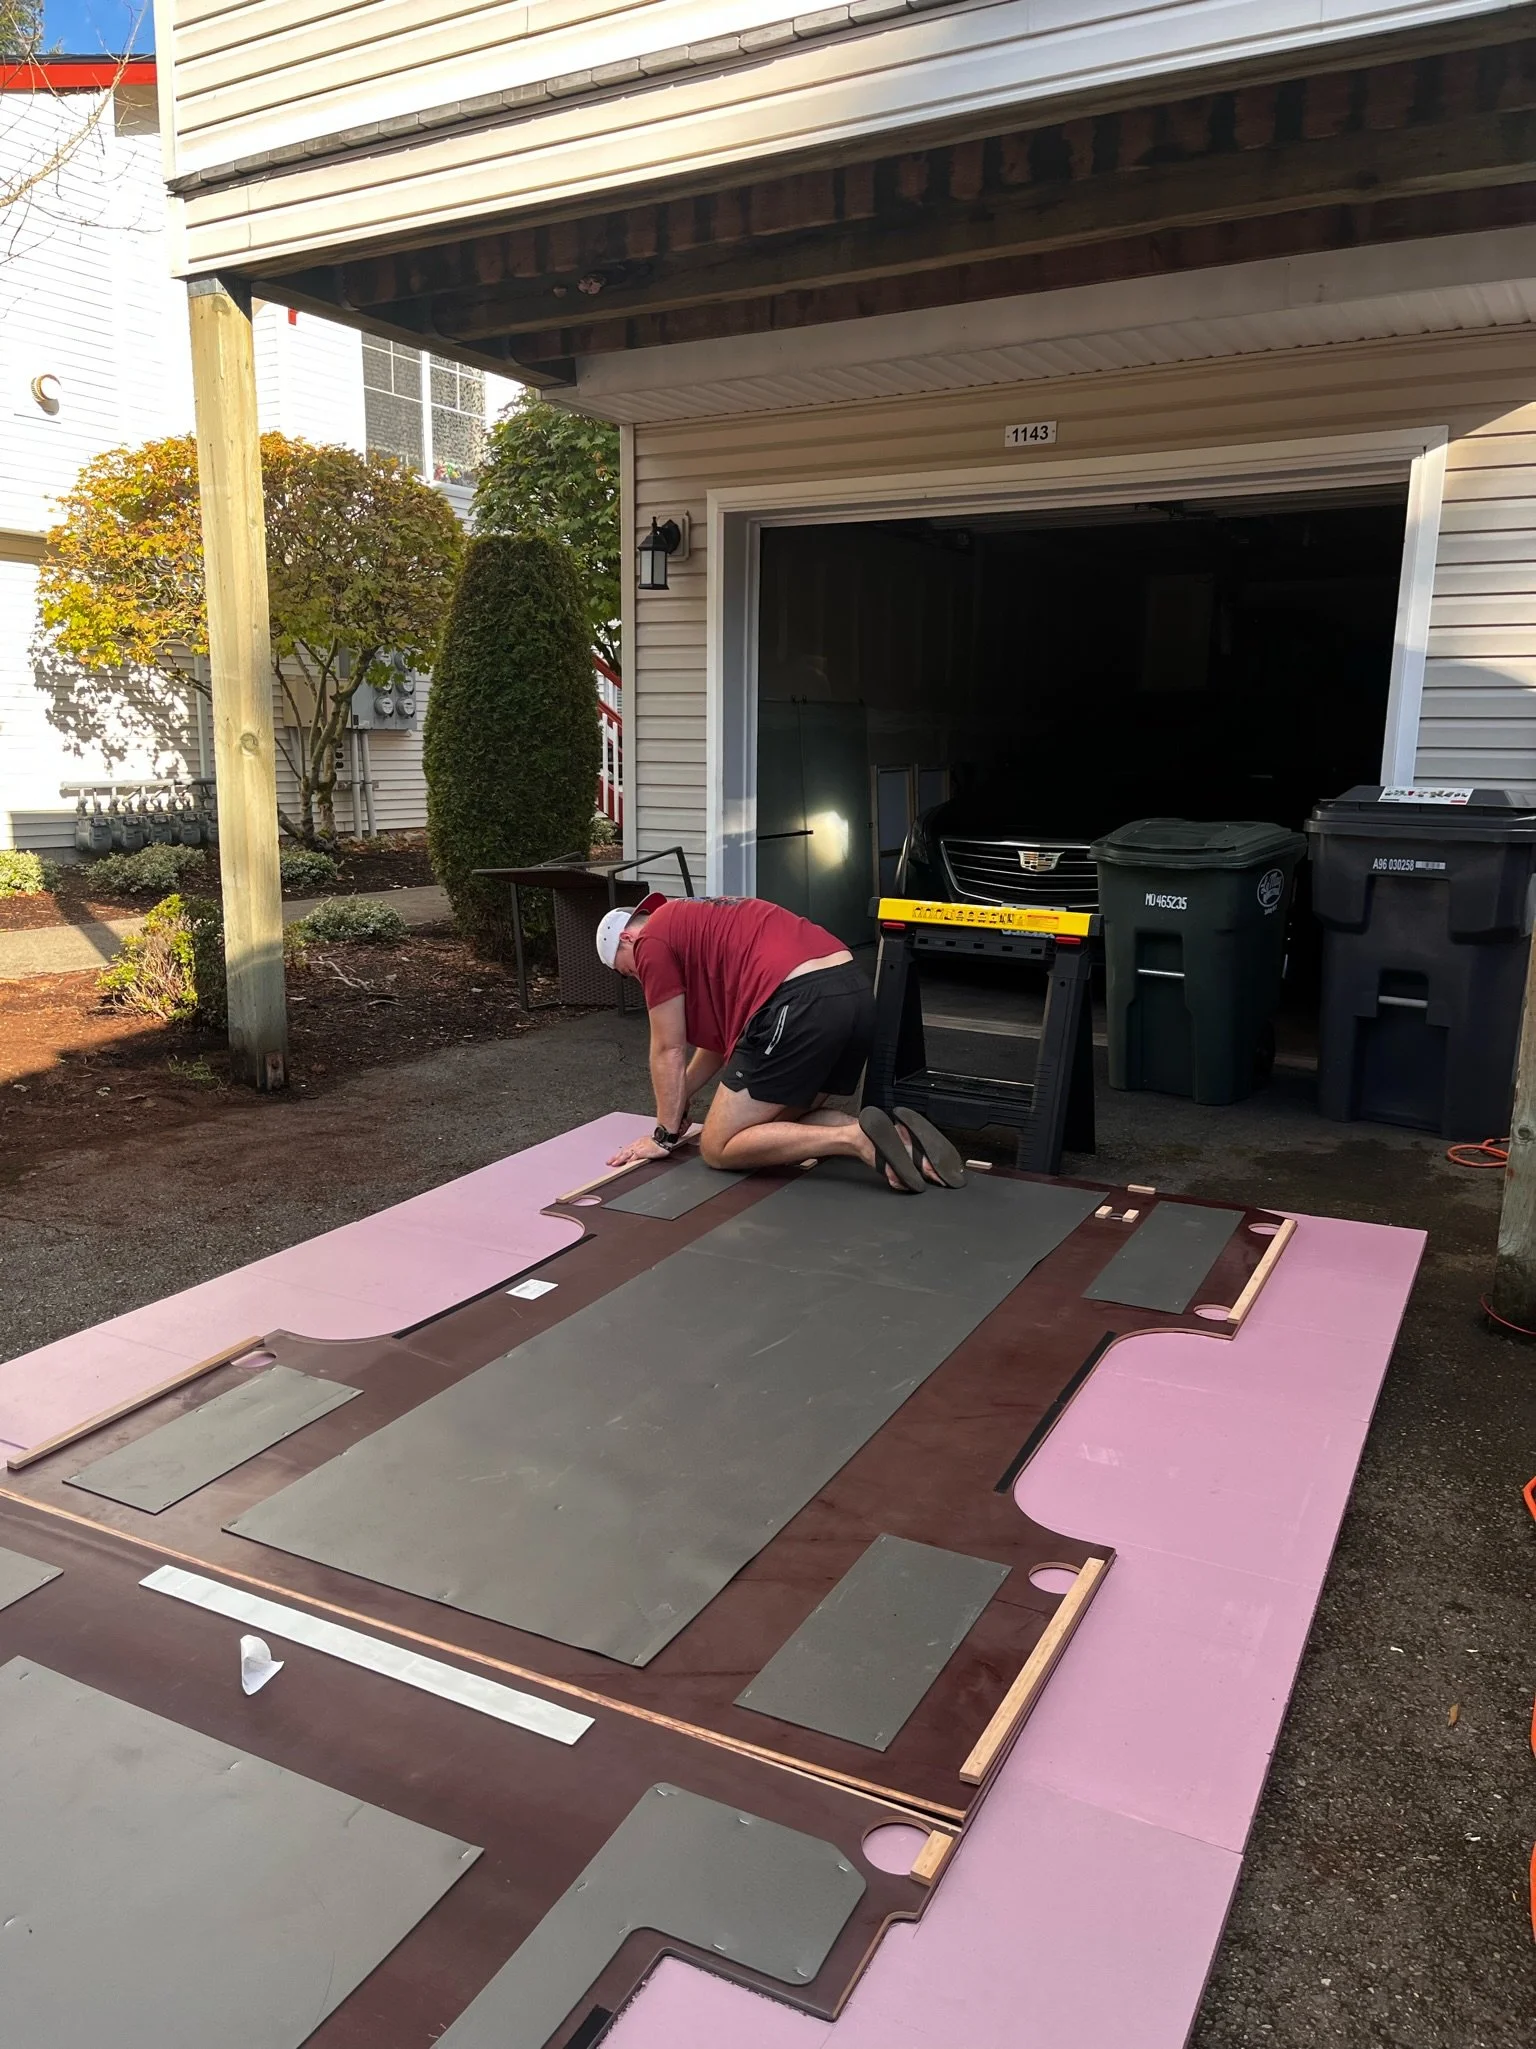
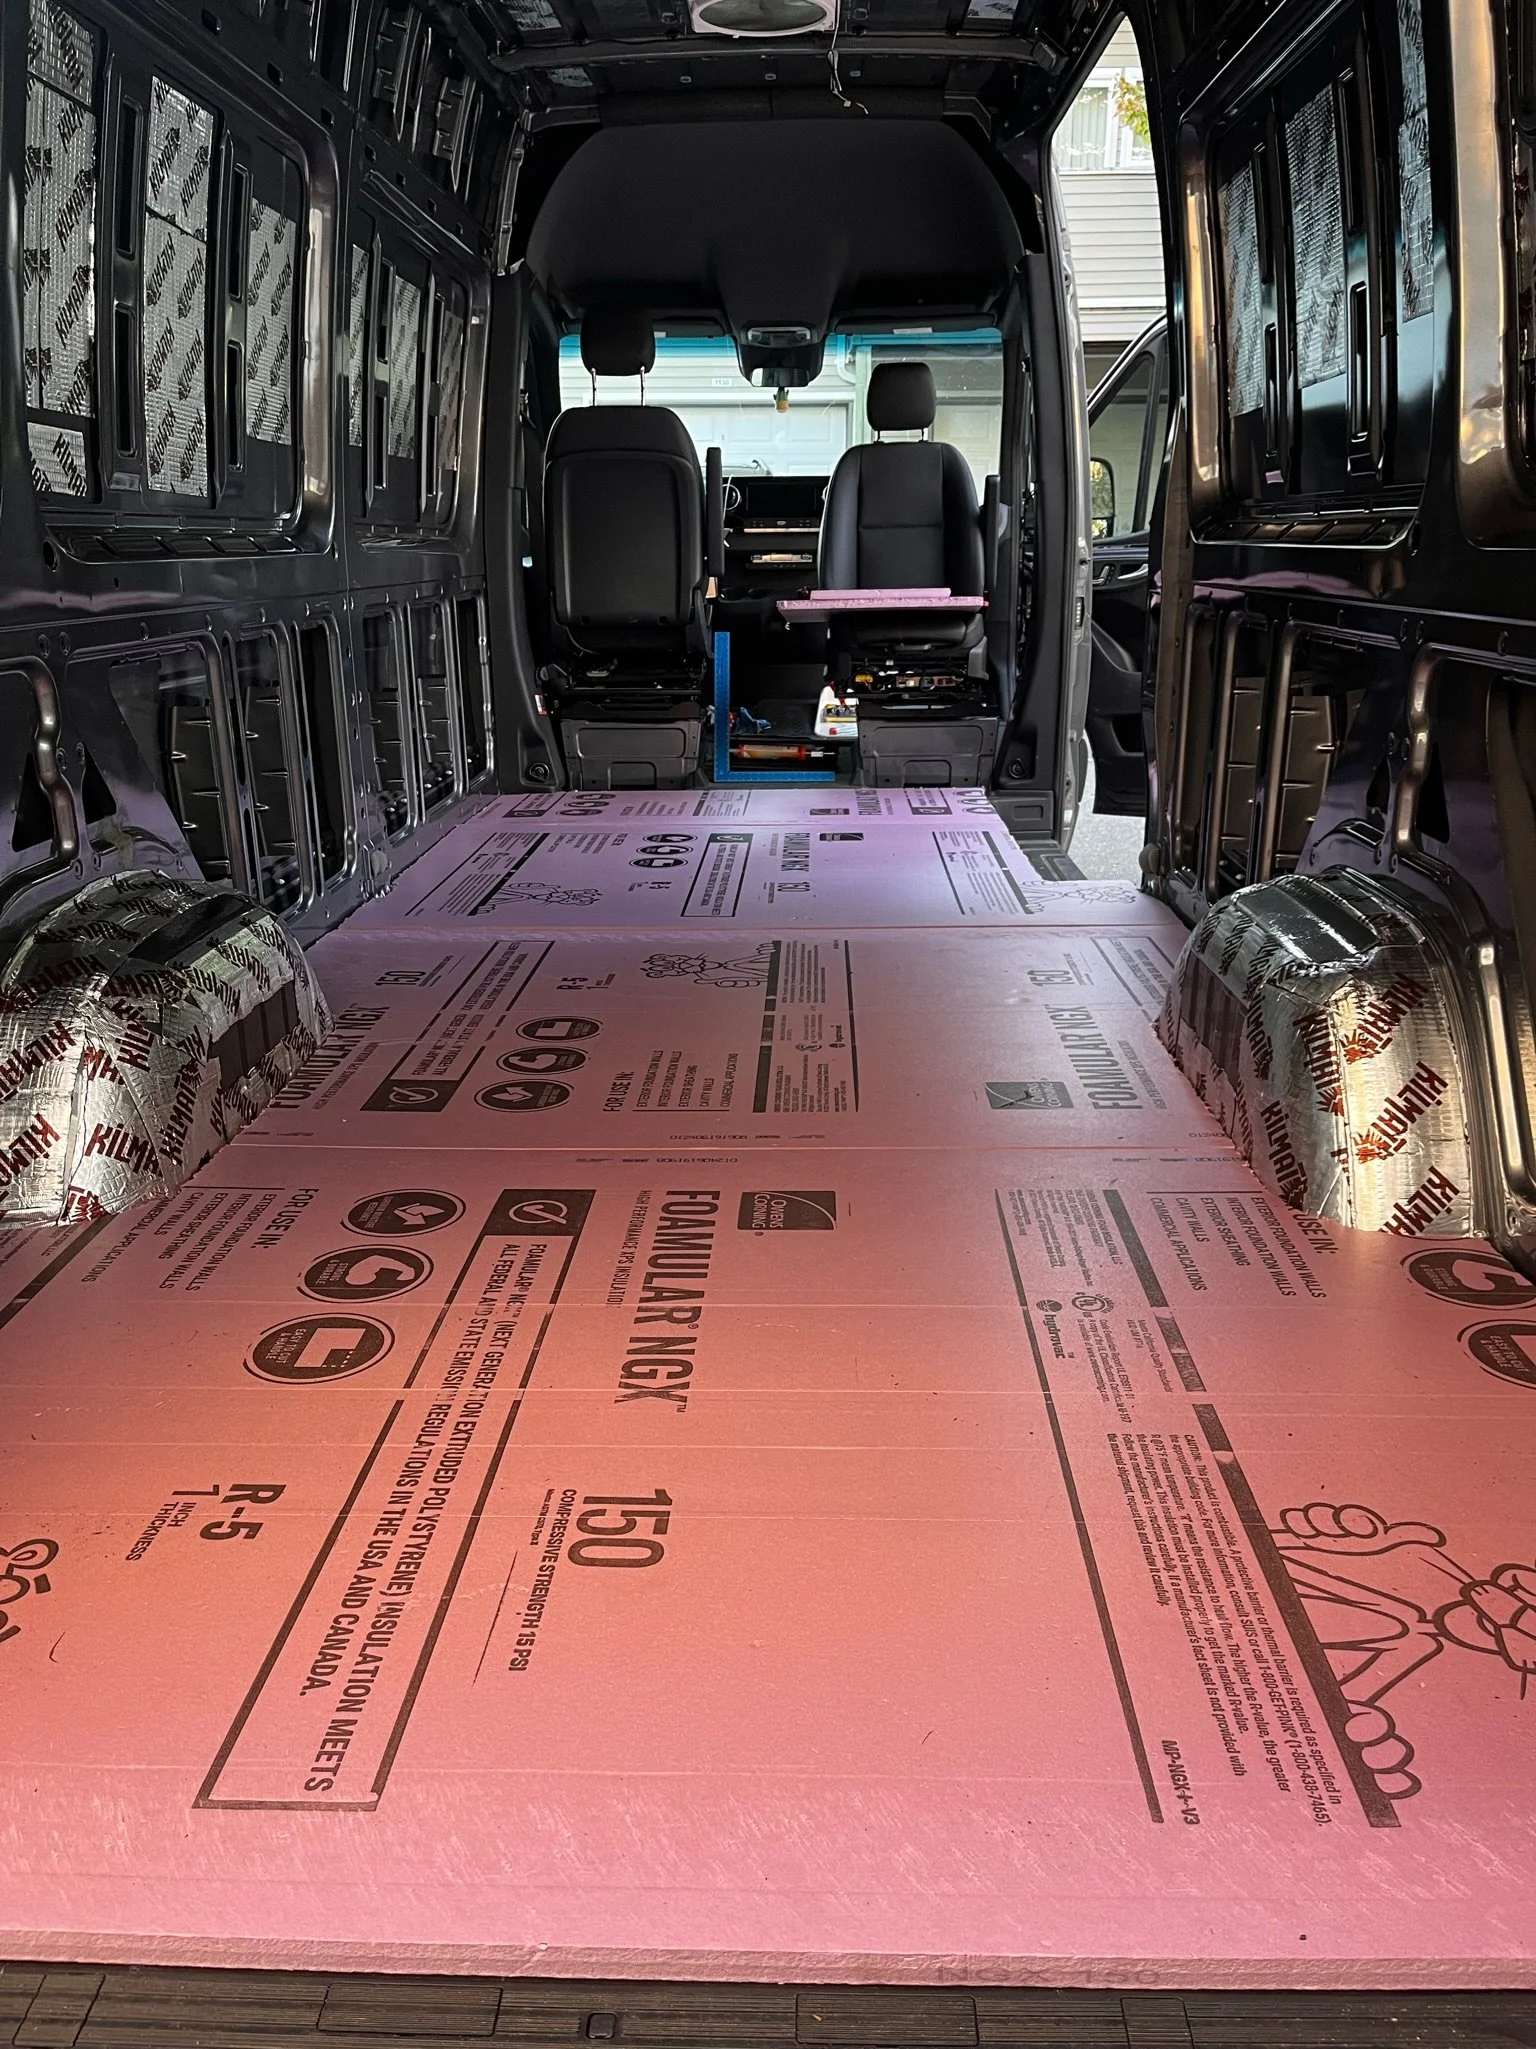
Insulated and finished the floor with XPS foam board, ½ inch plywood sheets, and a nice vinyl
Built custom overhead storage shelves
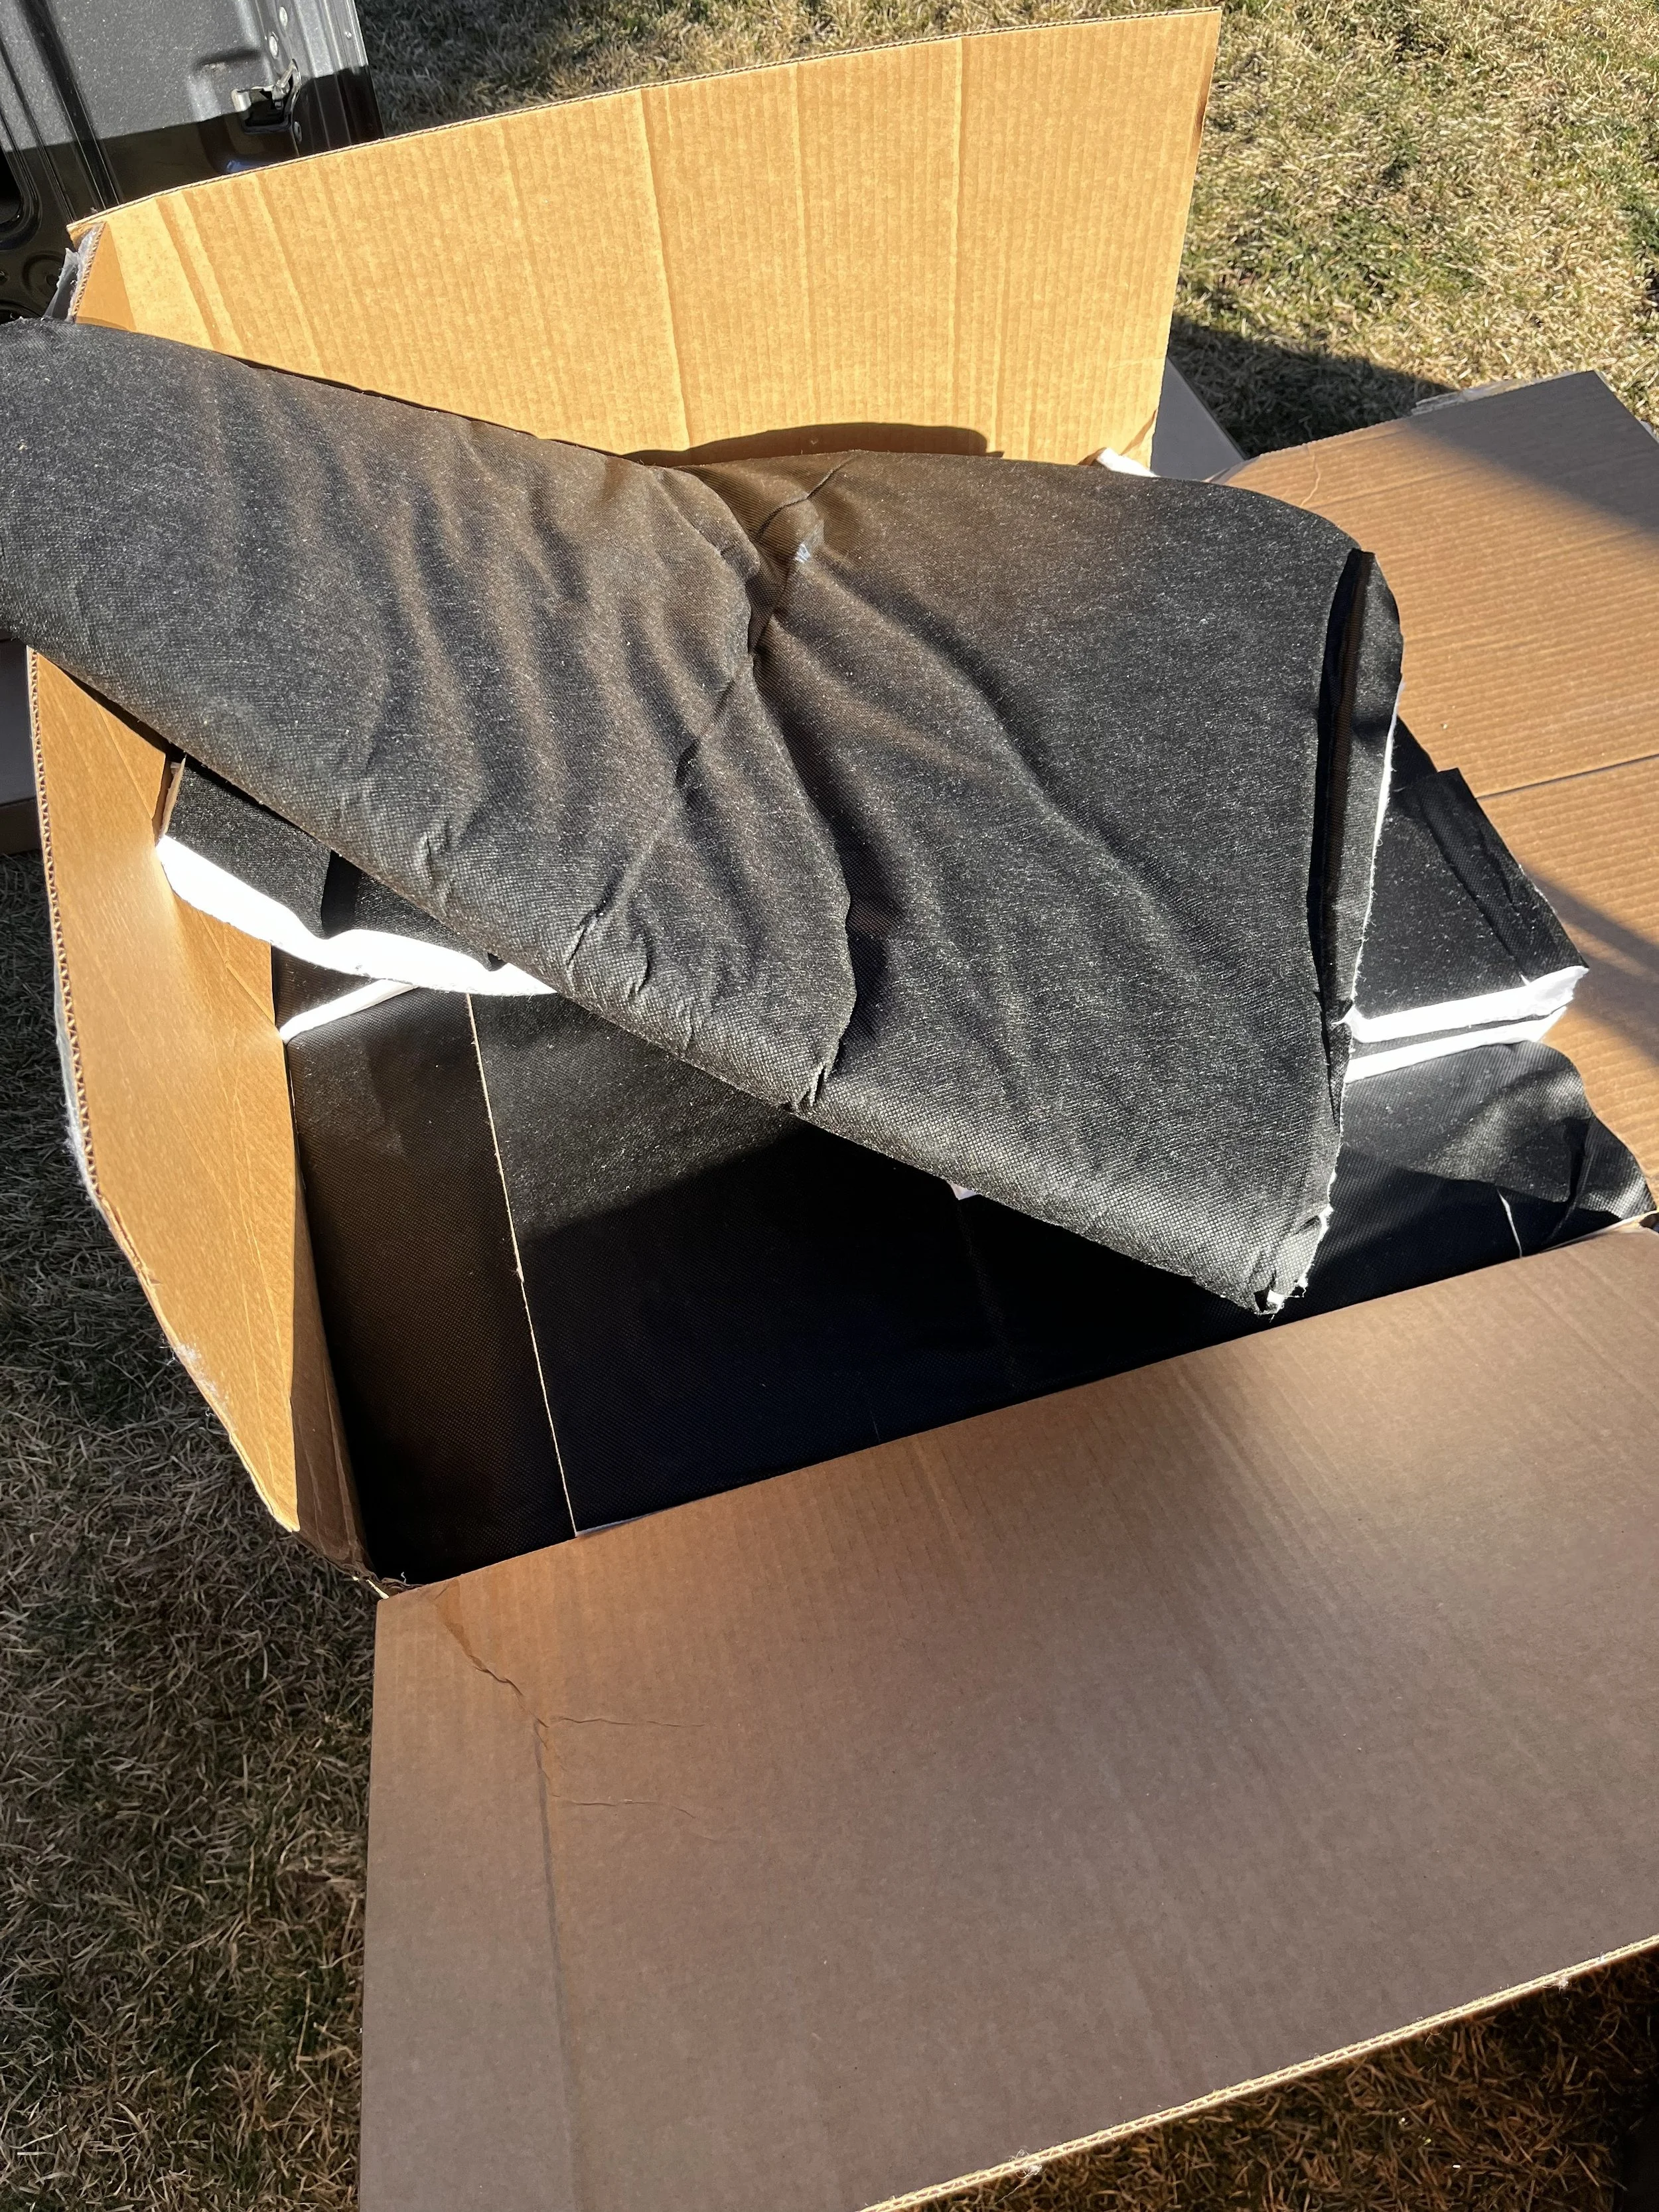
Installed 3M Thinsulate insulation using 3m 90 spray adhesive (we opted for a precut version like this, which was a massive time saver)
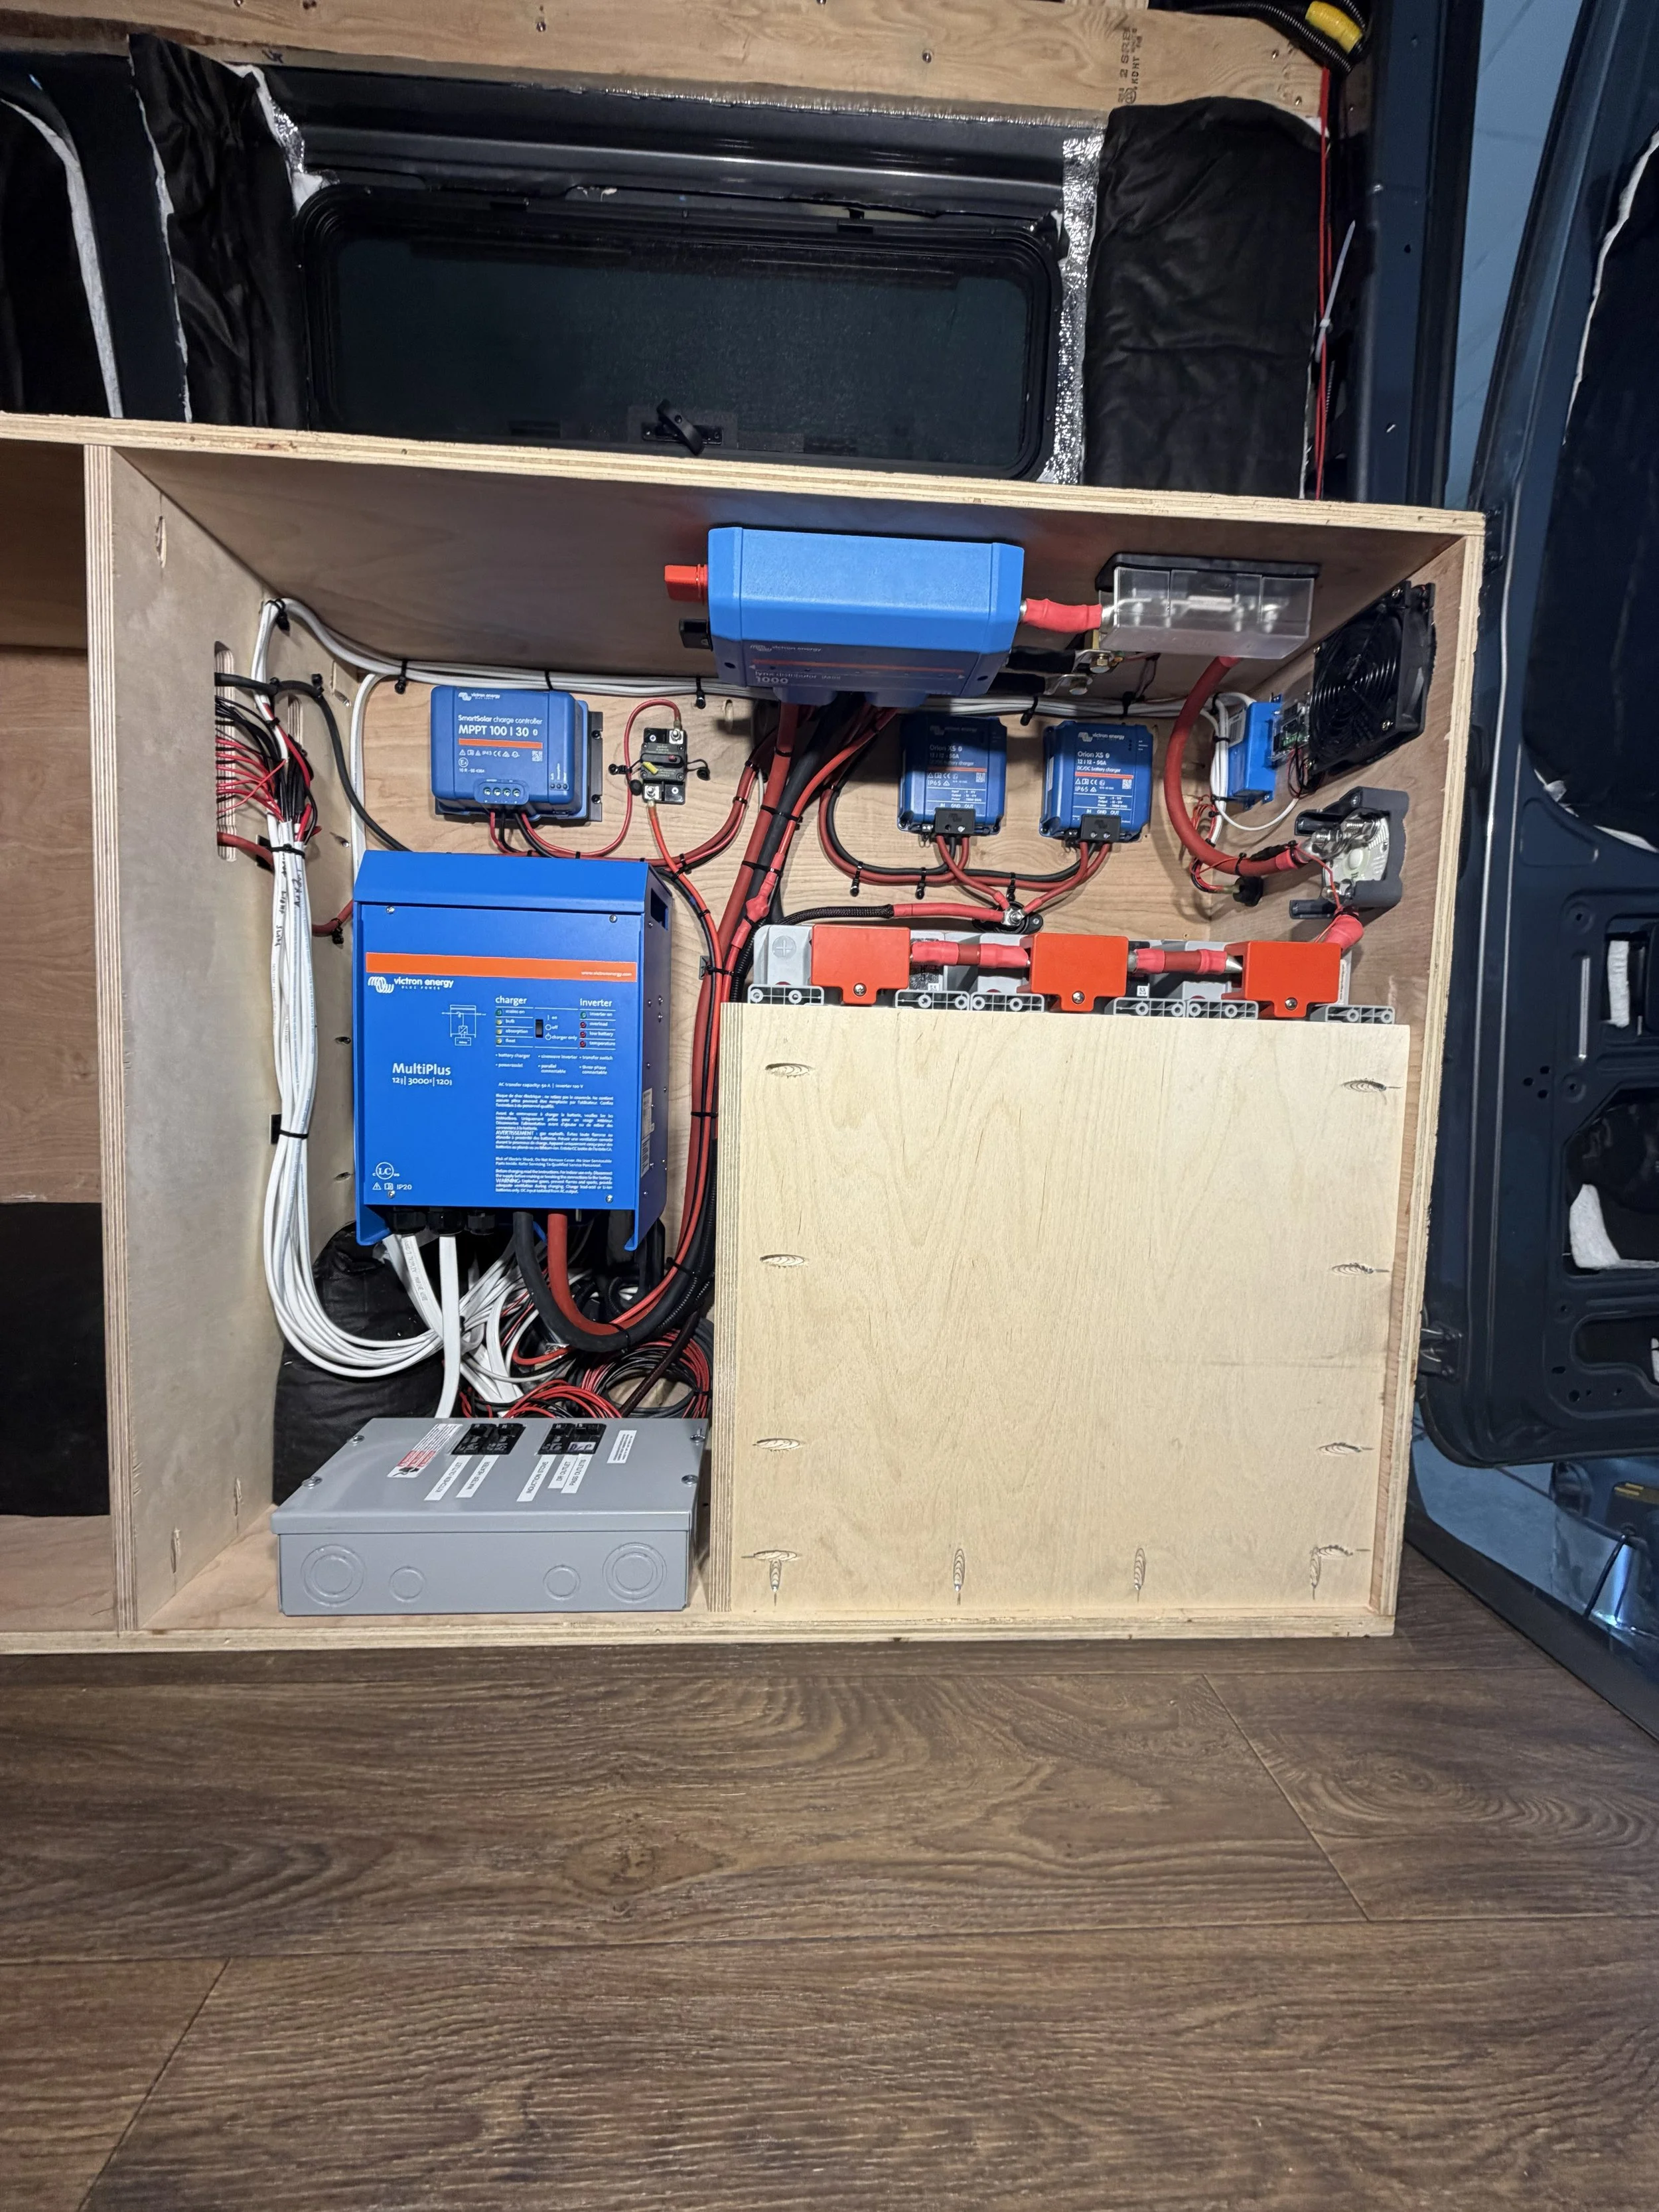
Planned and pre-wired the electrical system
Installed the diesel heater using Volcano Vans in Bend Oregon
Built the electrical cabinet and had the electrical “brain” put together by Volcano Vans in Bend Oregon
Each of these projects took days on their own, but they laid the foundation for everything that followed.
The Four Day Sprint (er van?)
The final four days were (mildly) controlled chaos.
Every morning started with a long to-do list that somehow grew longer throughout the day, and it always felt like there was never enough time to accomplish everything.
Here is a breakdown of each of the remaining projects we had to complete:
Installing the Reflectix and Interior Walls
We installed Reflectix as a radiant barrier before putting up our shiplap walls. Sounds simple enough, right? This should realistically be a fairly straightforward project. However, I ultimately removed the wall panels on the driver side 5 separate times. The first redo was due to forgetting to install the reflectix and the following redos were a result of having to redesign the floating bed (we’ll get into that more momentarily).
Except every single wall panel had to be measured, installed, removed, cut for windows, cut again for electrical outlets, routed with wiring, and then reinstalled. Tedious work, but truthfully not all that difficult in the end.
The only thing I would do differently here would be to angle the last board going into the ceiling rather than cutting it to fit around each ceiling rib. This would have helped create a cleaner ceiling finish I think.
It was having the walls up that made our build start to truly feel like a campervan! Overall, I am very pleased with how the walls turned out!
Wiring Every Outlet and Switch
This is where I should say this list of projects wasn’t completed in as linear of a fashion as it may seem. The outlets and switches were installed simultaneously with the walls. I cut, installed, and wired the outlets, switches, and control panels as I installed the wall panel they’d be mounted to. This just ensured I could verify all the electrical was functioning properly before I covered it up with the wall and made it more difficult to access in the event of something not working.
Thankfully, everything powered up exactly as planned. MASSIVE relief!
Designing a Floating Bed
One of the most difficult engineering challenges for our build was our floating bed frame.
Building a floating bed is actually quite easy and if you plan this out in the early stages of your van build, you can avoid the headaches I encountered. Simply install your support beams for the bed frame during the furring strip phase of the build, and boom! you will save yourself loads of time and headache.
Because the electrical cabinet had already been permanently installed, we couldn't support the bed the way we originally intended. The electrical cabinet could have been used as a support itself, but this then would have required us to build a cabinet of equal height to the other side. For most people, this may not be an issue. For us, having 2 people with many hobbies plus a dog, we were adamant about maximizing garage storage area. This meant that method wasn’t an option for us.
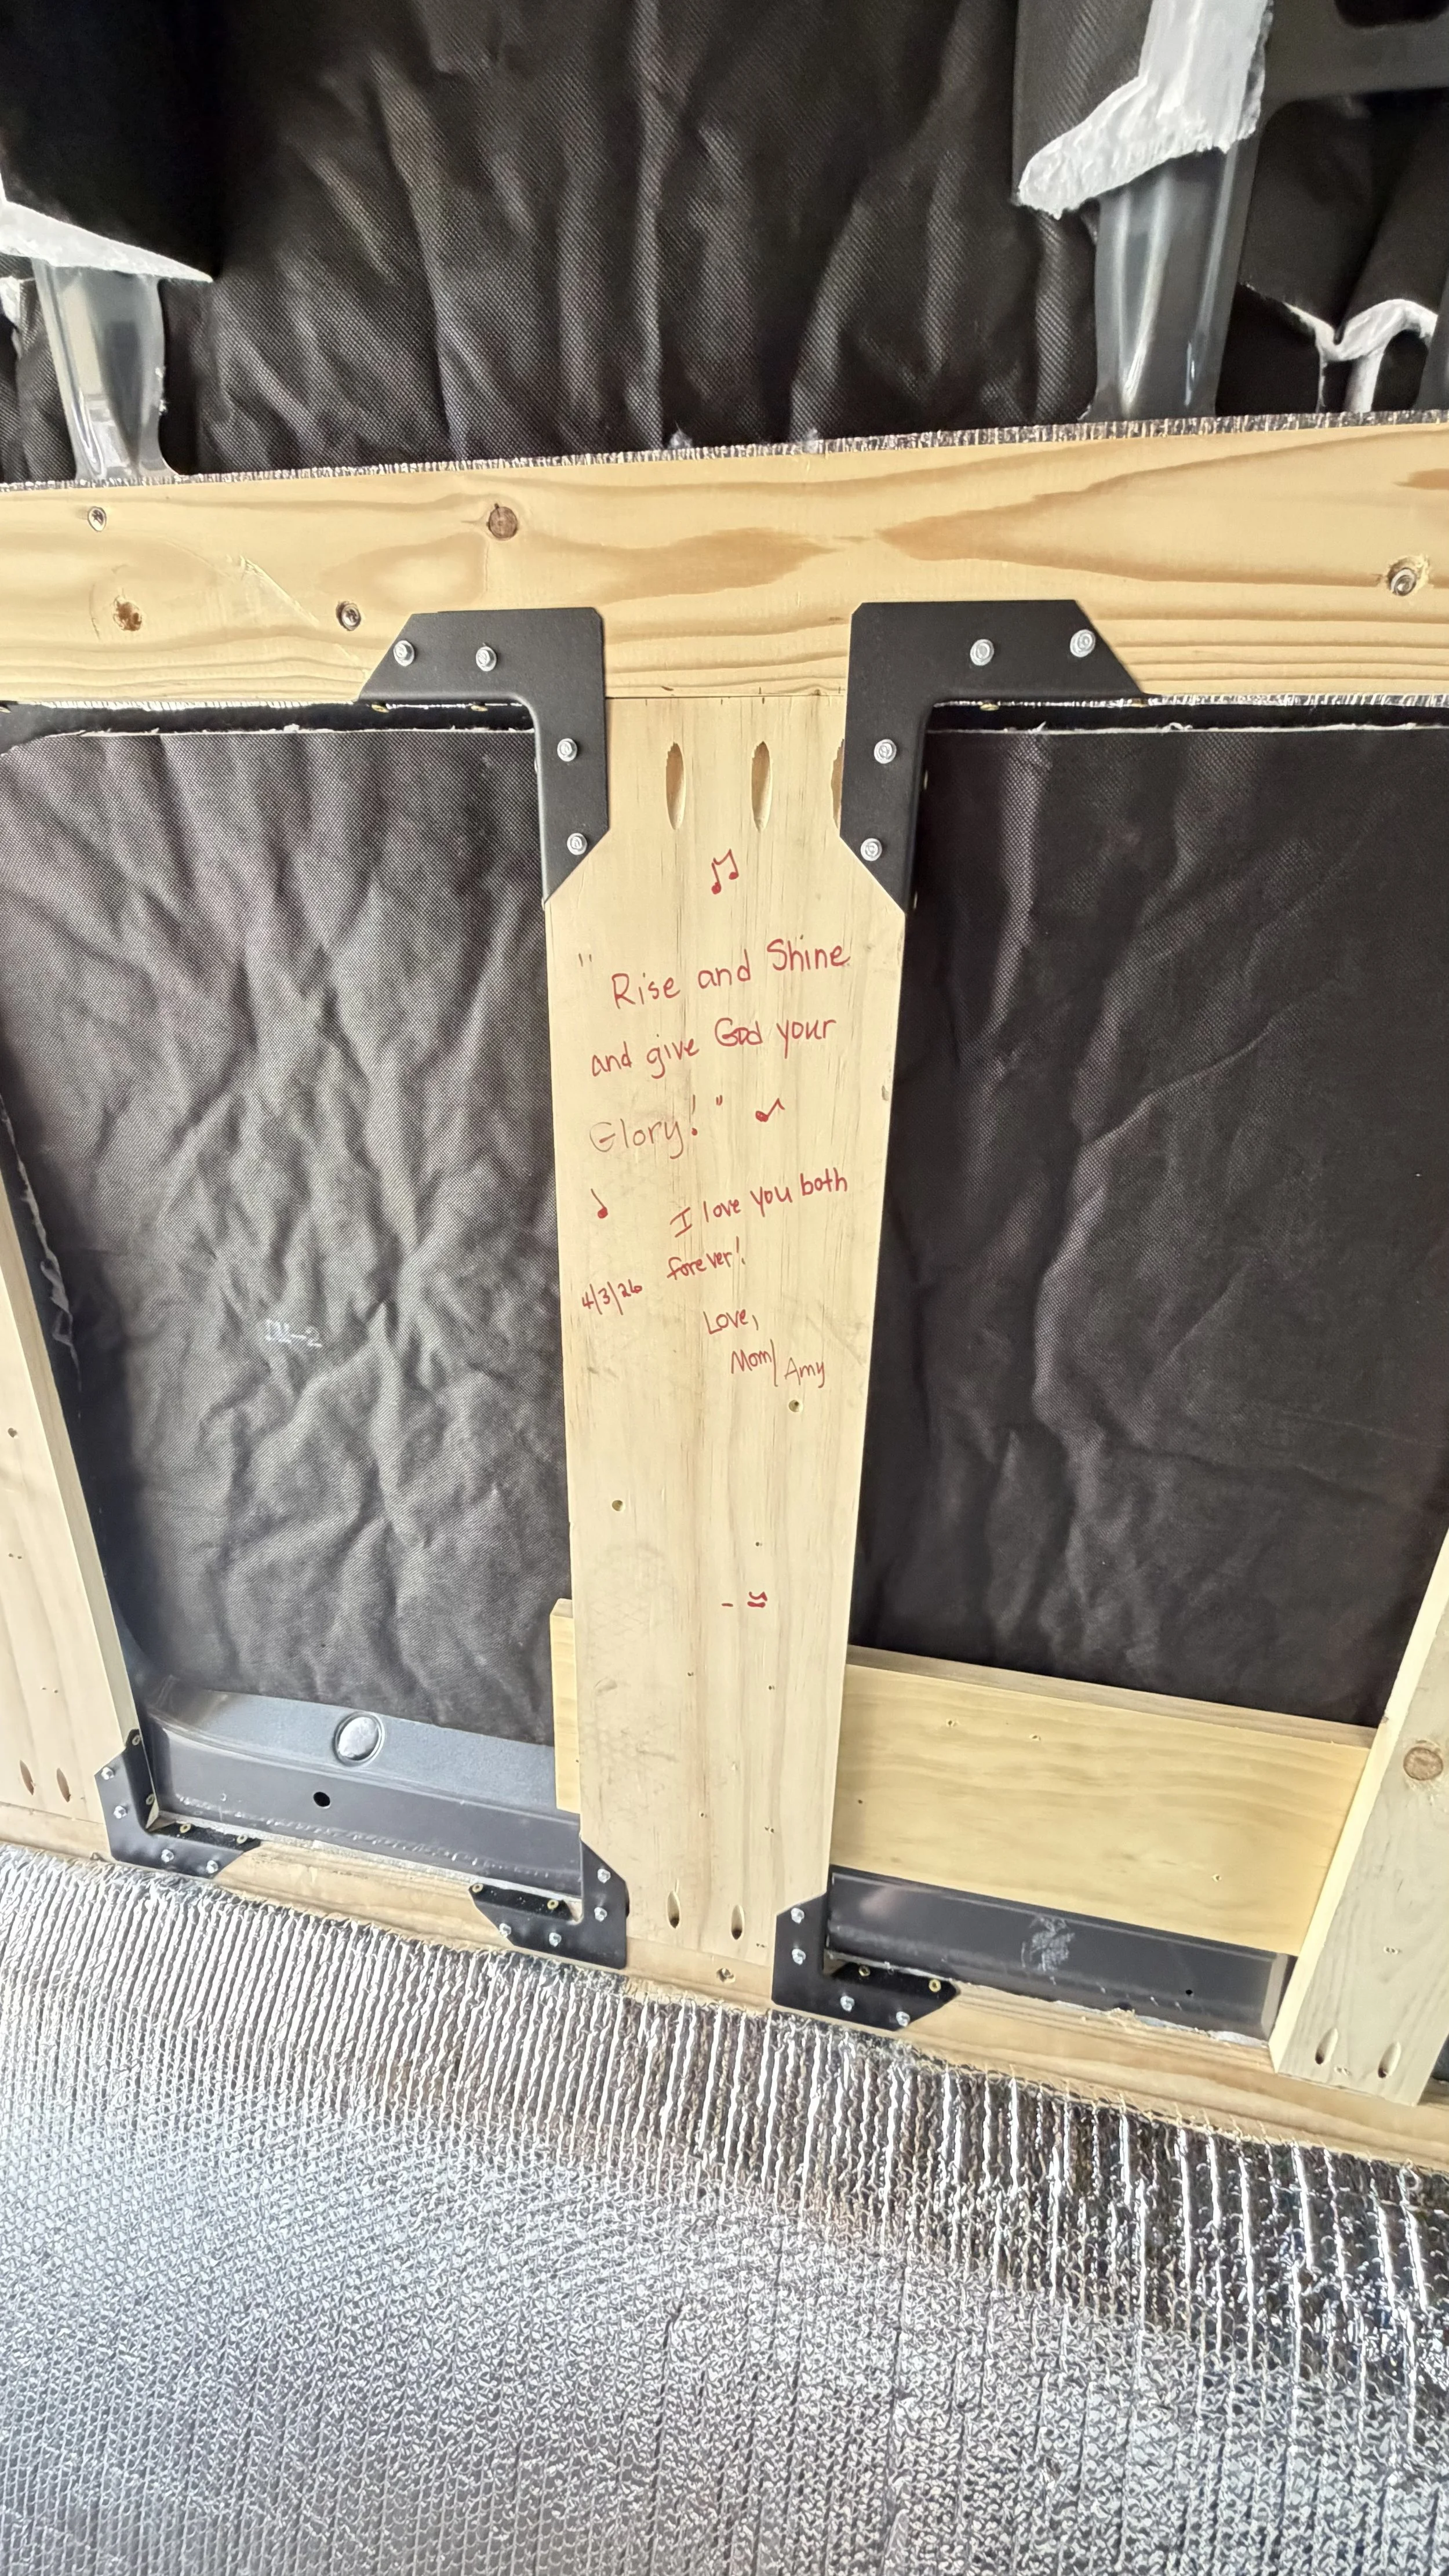
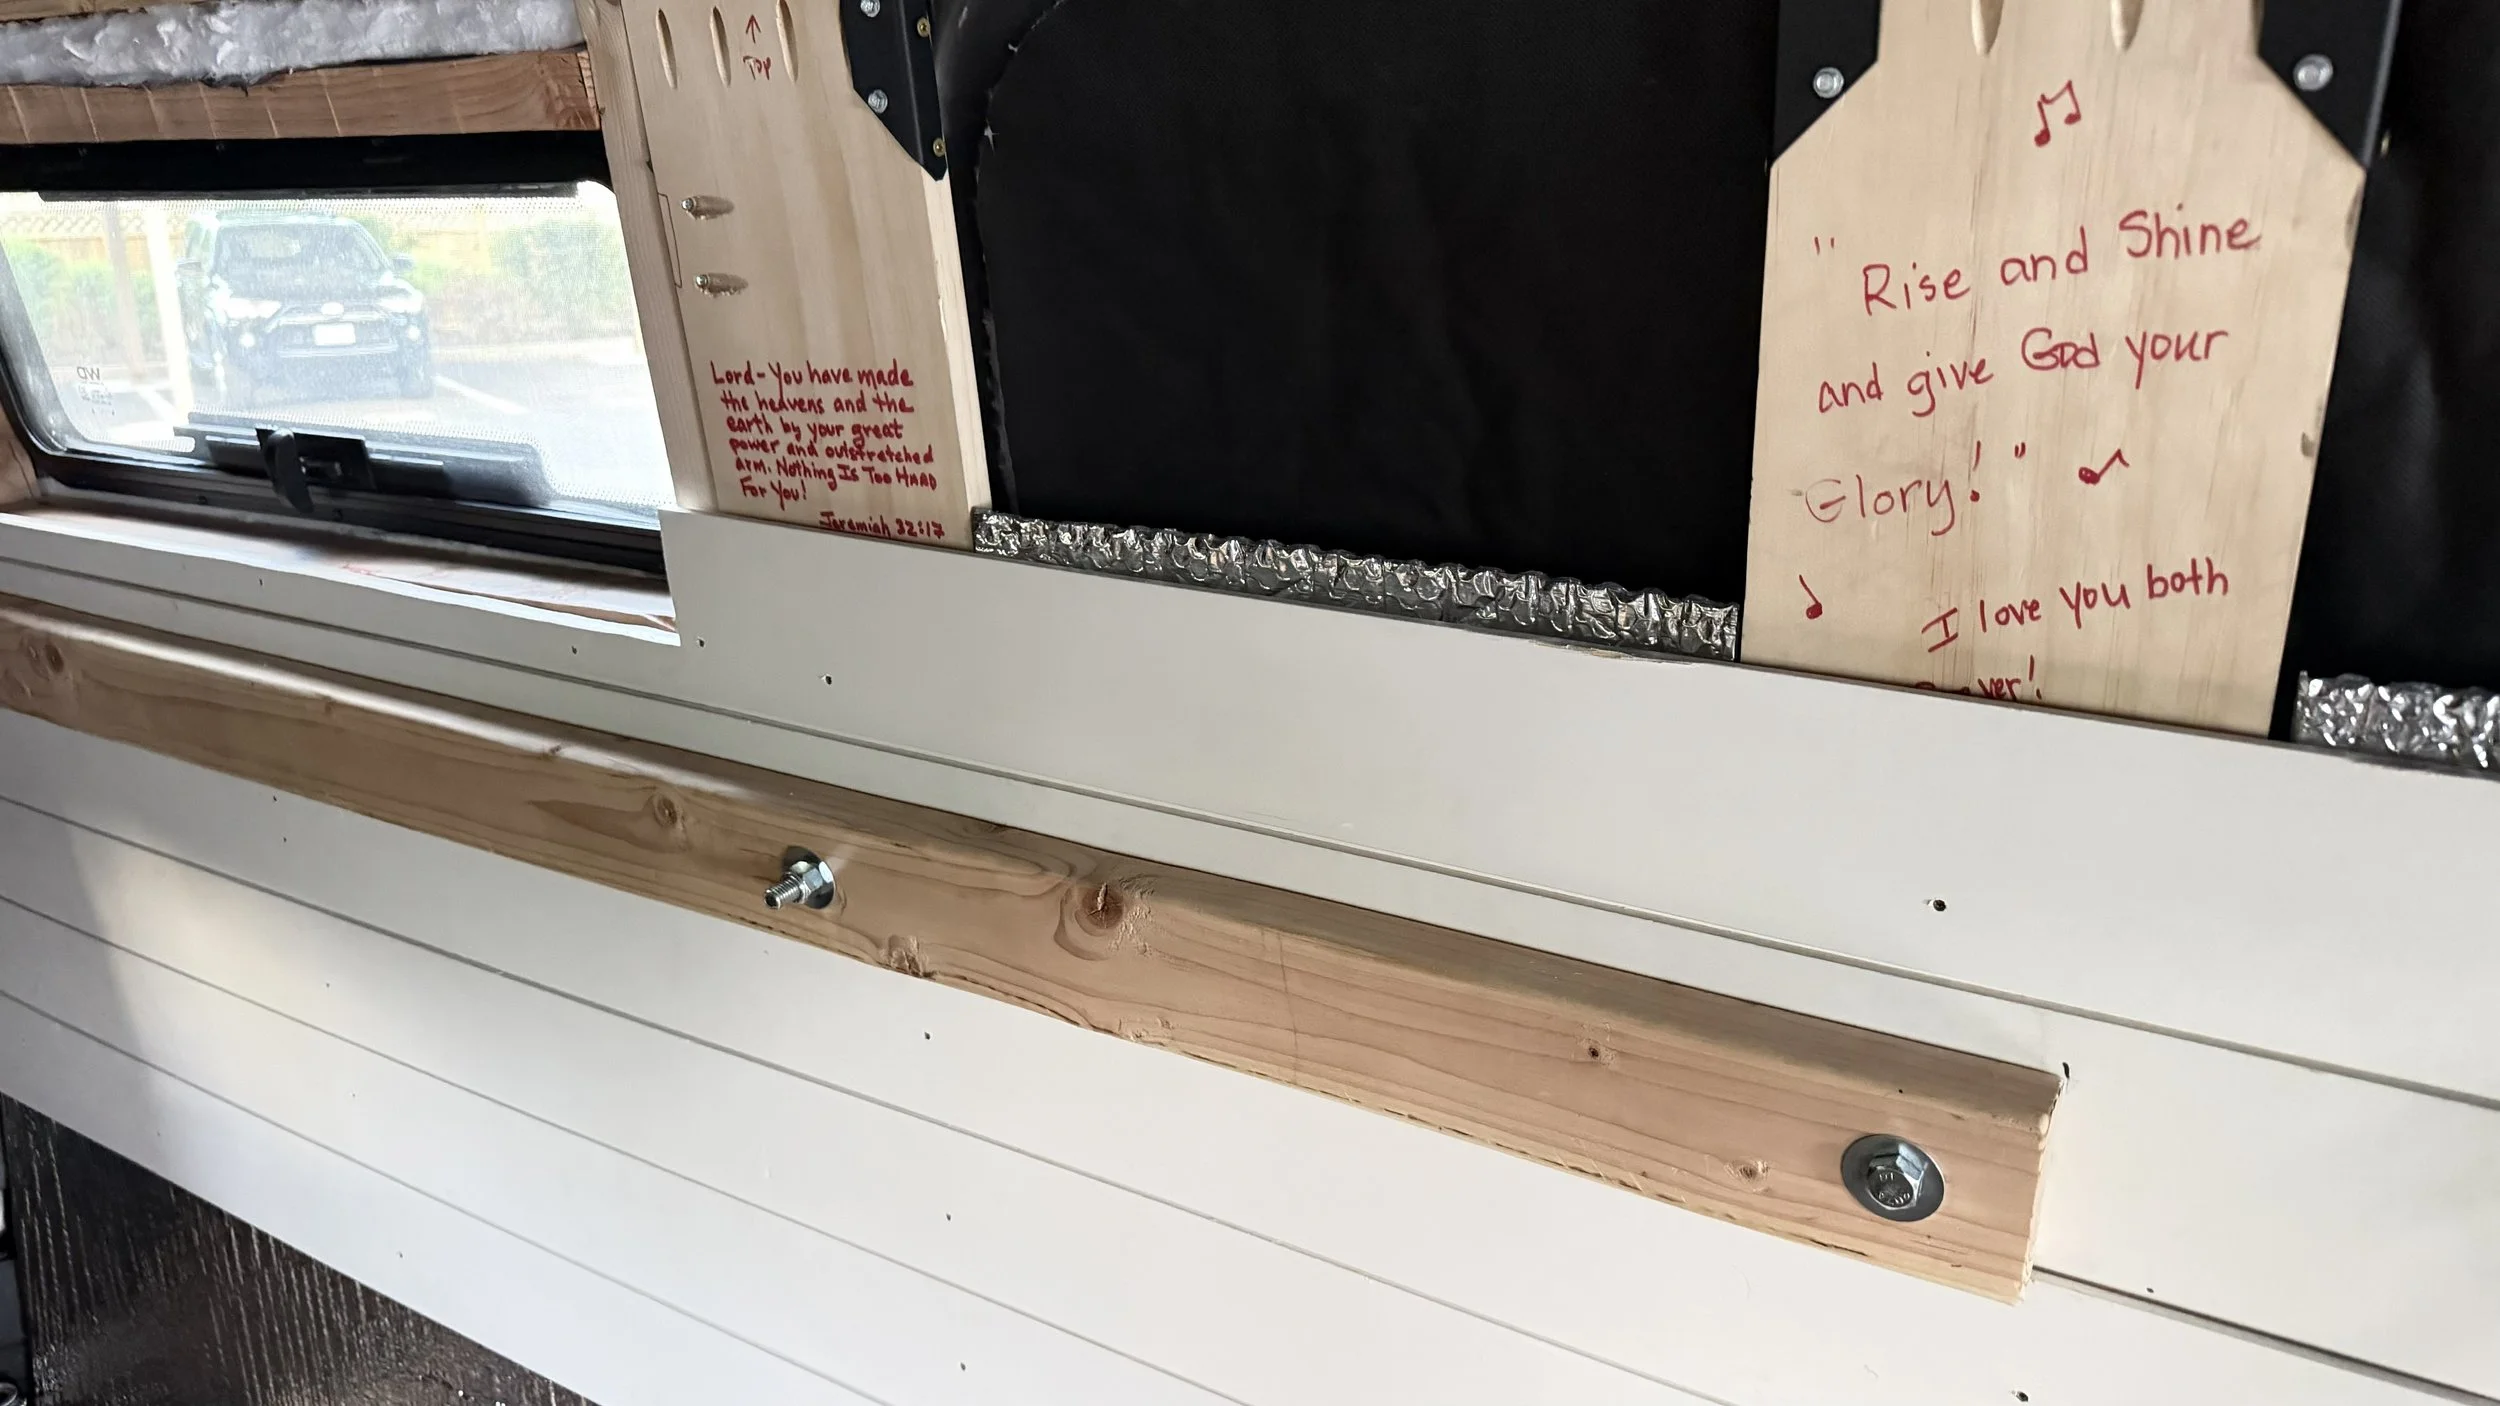
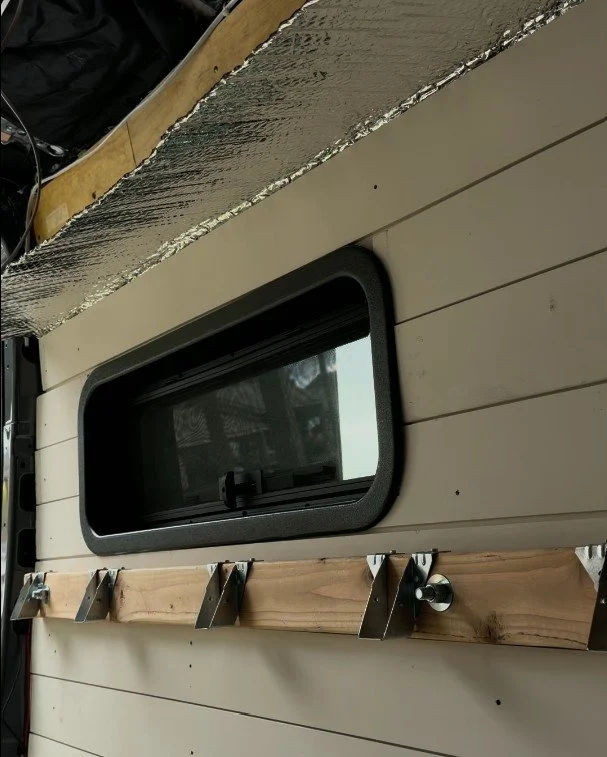
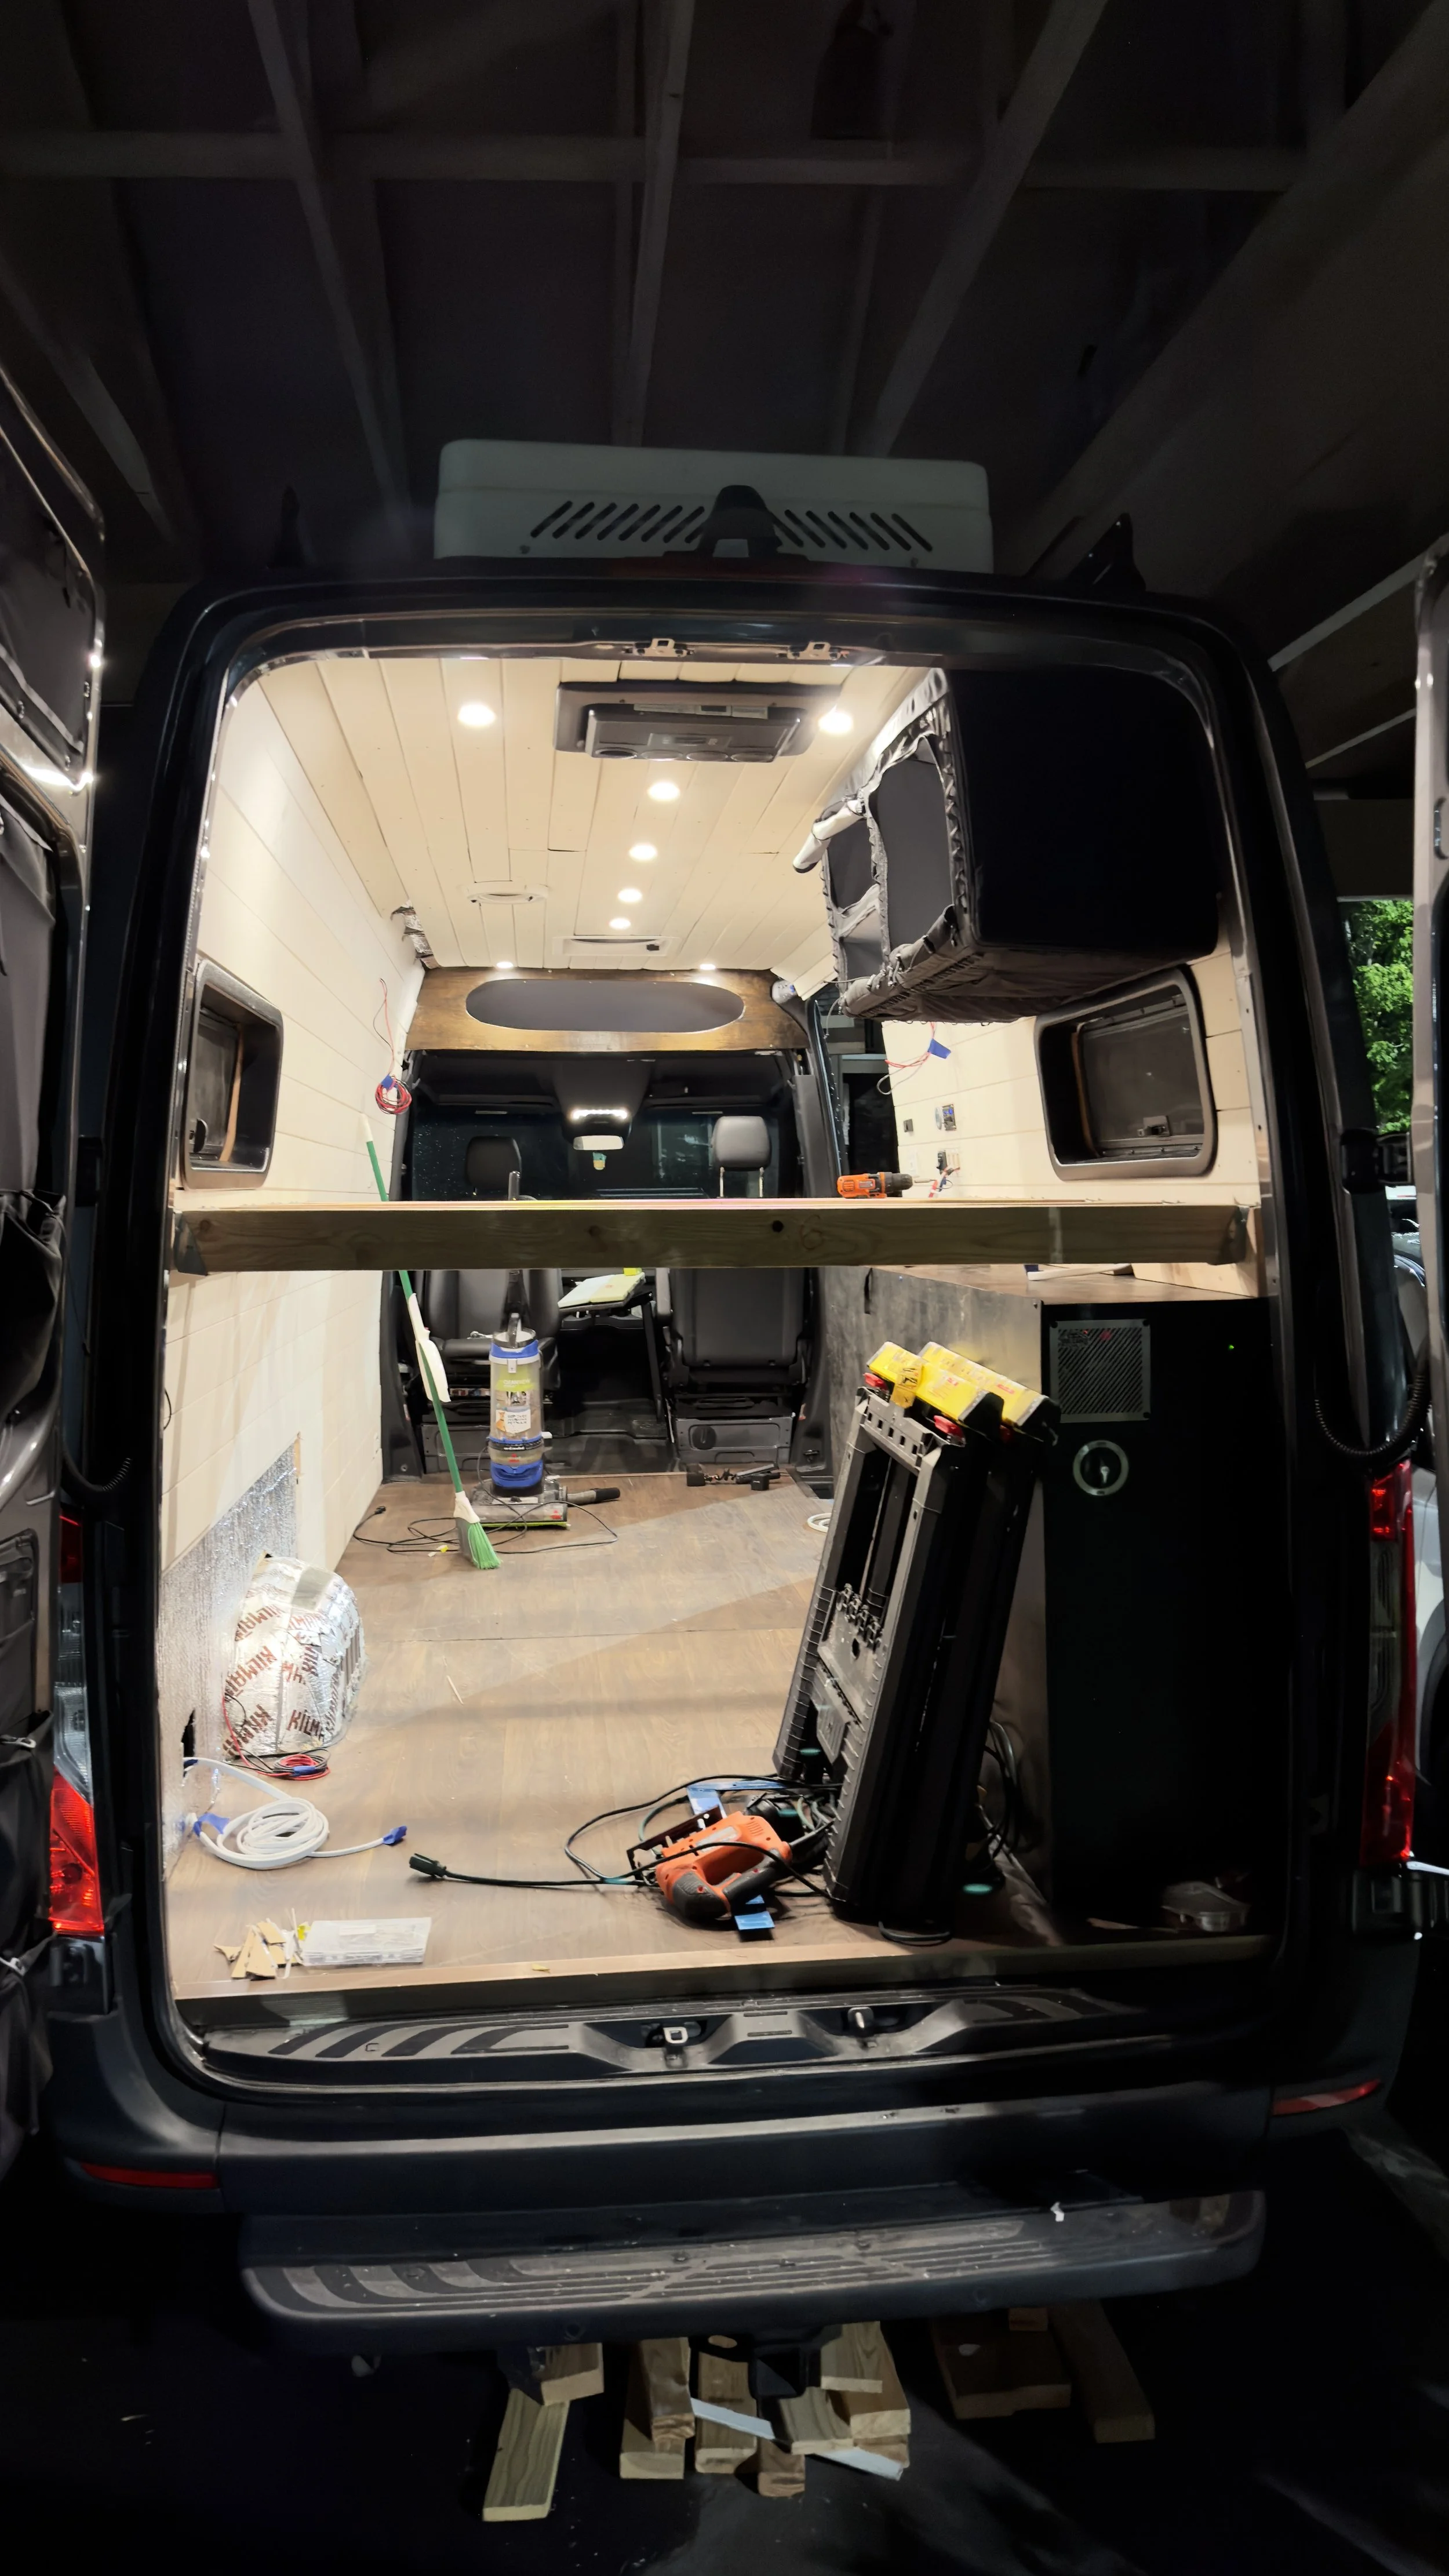
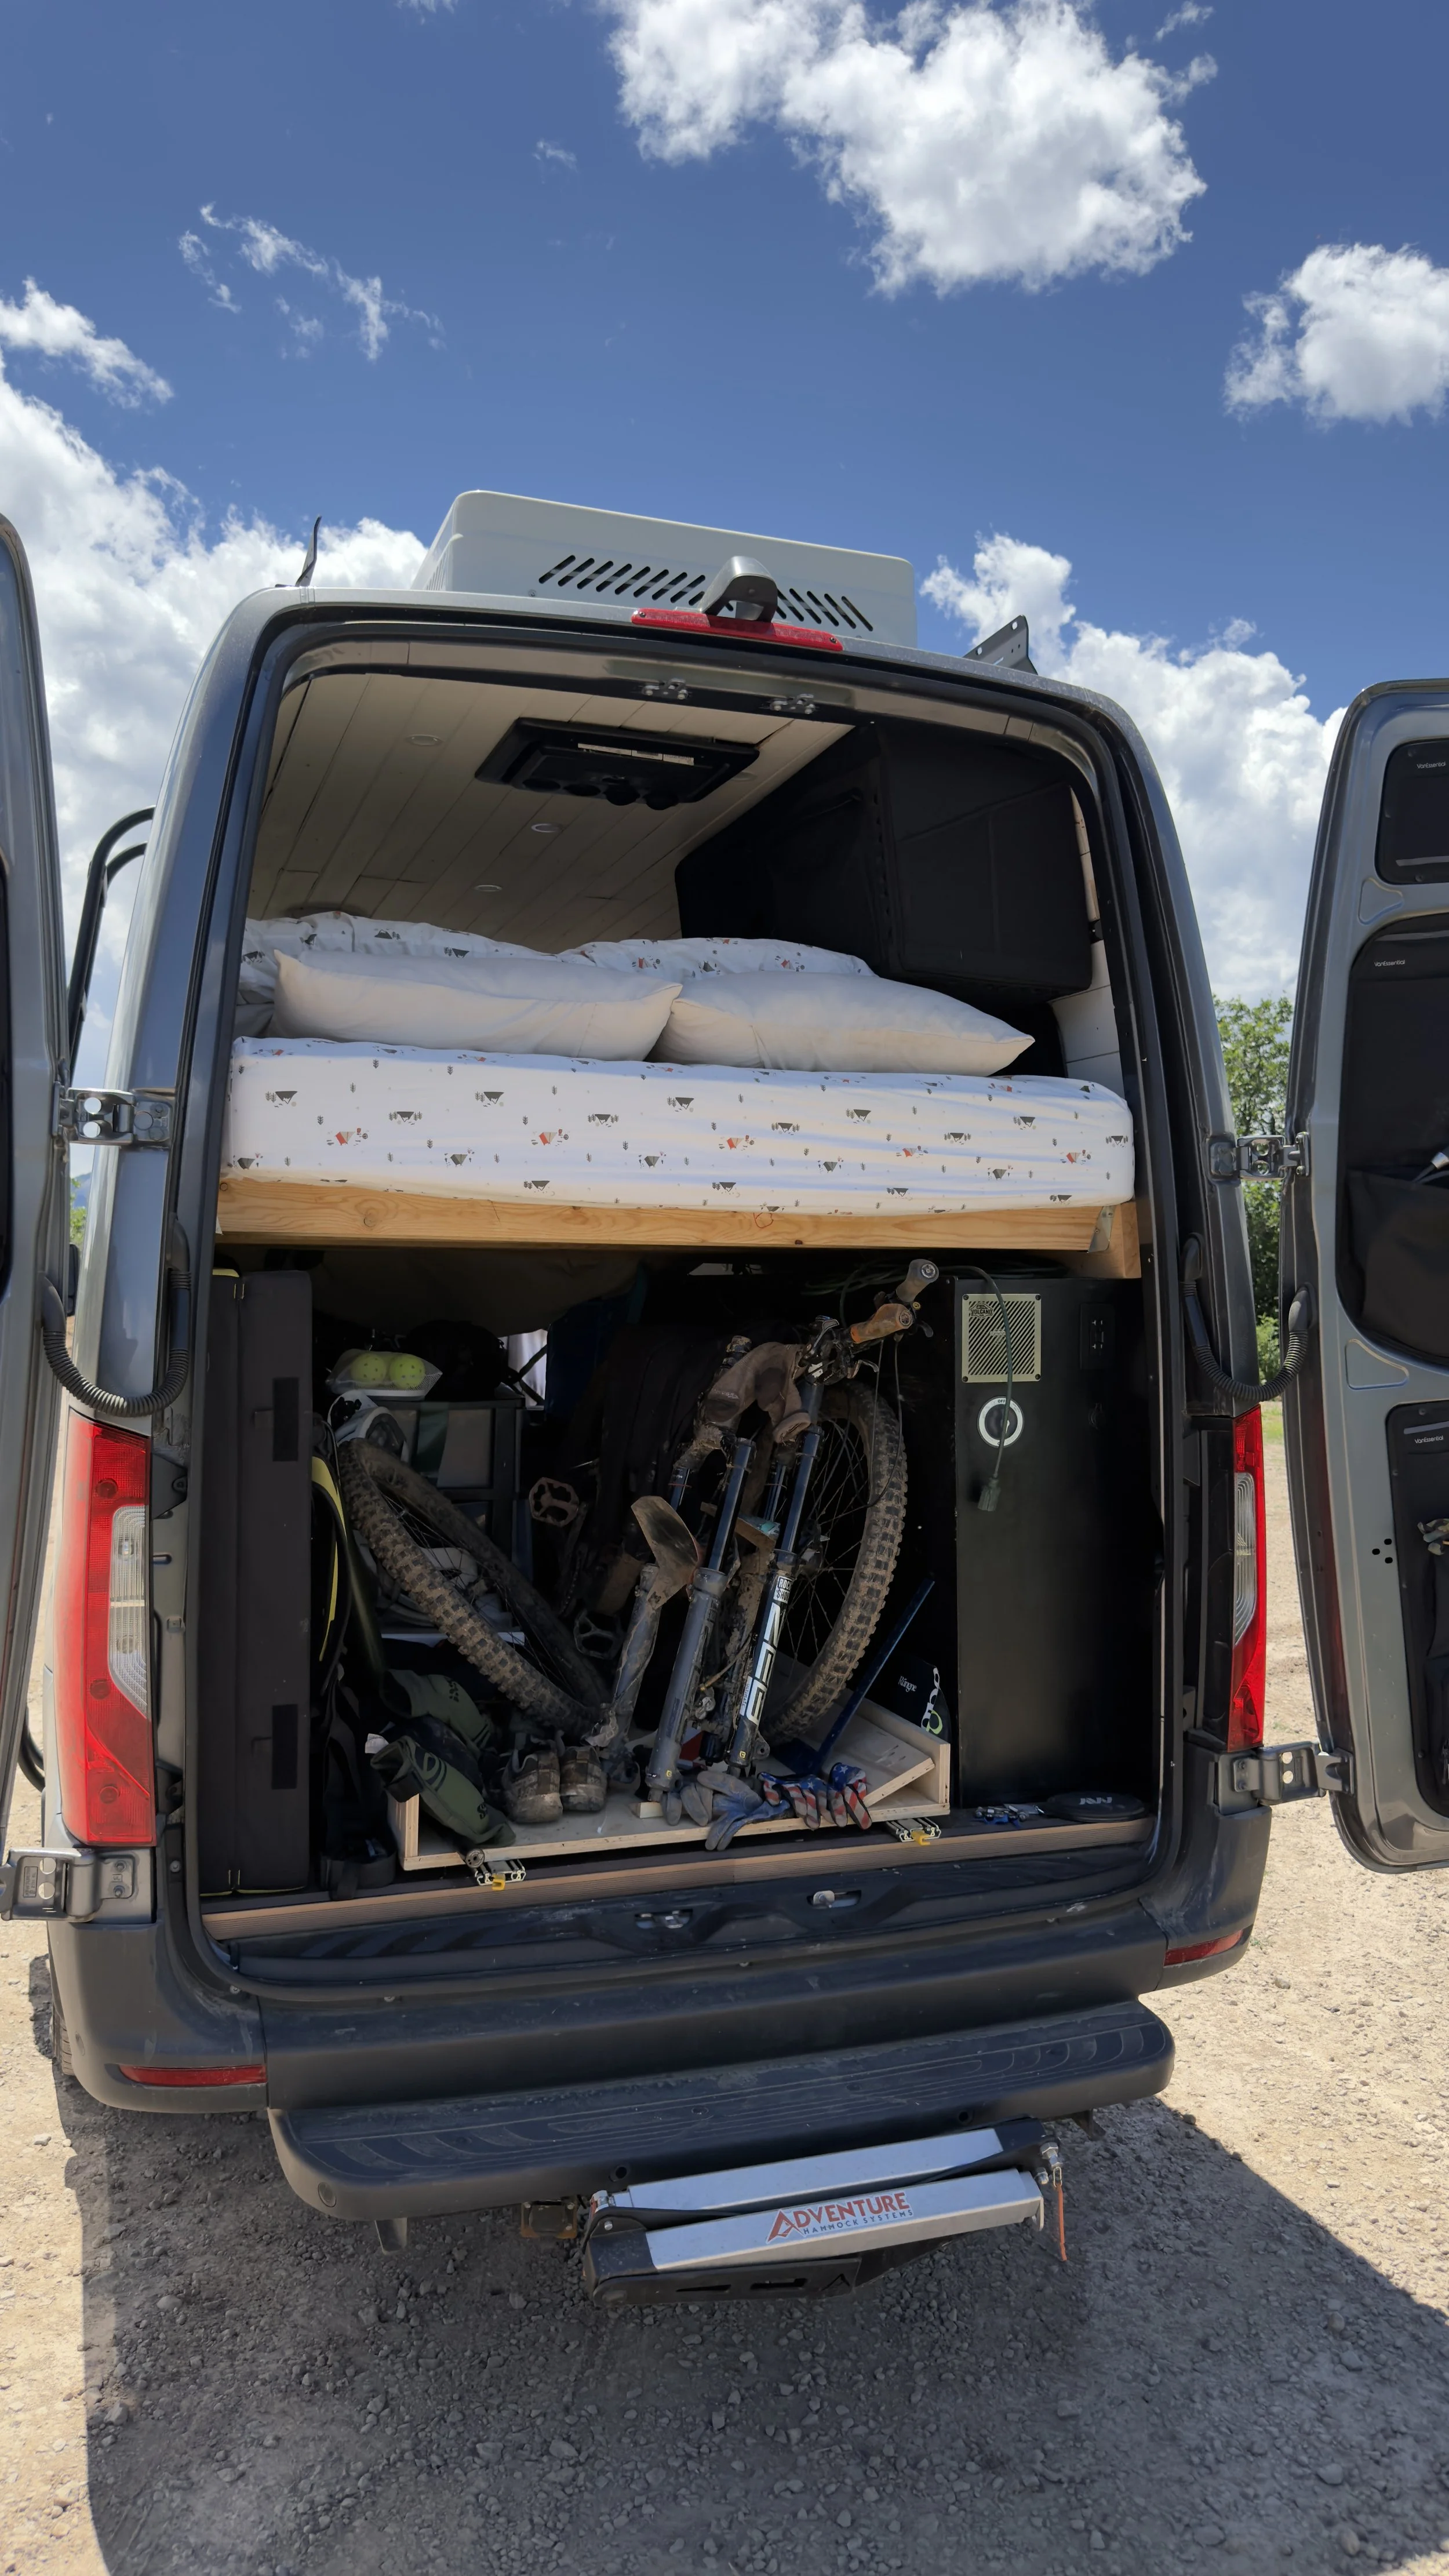
And so, I went to the drawing board. Ultimately, I installed 3 1×8-inch boards to both sides of the van to act as structural supports. I used pocket screws to attach to all the furring strips as well as Simpson Strong Tie corner braces in as many corners as I could access. I then planned to use a 2×4 on the driver side as the horizontal load carrier and a 2×6 on the passenger side above the cabinet (this allowed me to rest the 2×6 on the cabinet and use it as a sort of brace while also ensuring both sides were perfectly at the same height). To avoid doing weird cuts to our walls, I then returned to installing the walls up to the point where the bed frame horizontal load carriers would be installed. I then drilled a hole through each horizontal load carrier, wall, and vertical support beam and used ½ inch bolts with washers and lock nuts to secure everything together. I did this in all 6 vertical support locations. Next, I used 6 cross supports to hold the actual mattress up built out of 2×4s that I cut for a very tight fit (requiring a mallet to secure in place). I would consider using 2×3s as the cross sections to get an inch of head space back, but I am not all too confident this would hold the weight of 2 people and a dog? To secure the 2×4s to the horizontal supports, I used Simpson Strong Tie 2×4 hangers.
In short, I basically built the bed frame like a deck.
It was frustrating at the time, but after a month on the road using it, the final result is incredibly strong while keeping the garage underneath completely open for storage and high enough we can slide our bikes in underneath! Very satisfied with how this turned out!
The Ceiling Project I Would Never Do Again
If I could change one decision during this van build, it would be our ceiling.
We chose inexpensive tongue-and-groove boards. I cannot say it enough. This was a massive mistake for us. I have certainly seen builds where they made this work, and it looks really good. But we attempted to paint the boards and, in the process, ruined the tongue and groove piece of these boards. the result was that we could no longer fit the pieces together and with them being so fragile, breaking. The boards we were able to fit together we discovered to be warped and further created gaps.
Our finished ceiling isn't perfect. Far from it in fact. In fact, I hate the way the ceiling looks. But that's okay. One lesson I've learned throughout this build is that perfection isn't necessary to create something functional. Especially as a first timer in every single project I undertake.
If I redid this, I would use ¼ inch birch plywood sheets. Less seams and easier to work with. In fact, I may do this for the walls as well to save weight.
Building Claire's Mobile Office
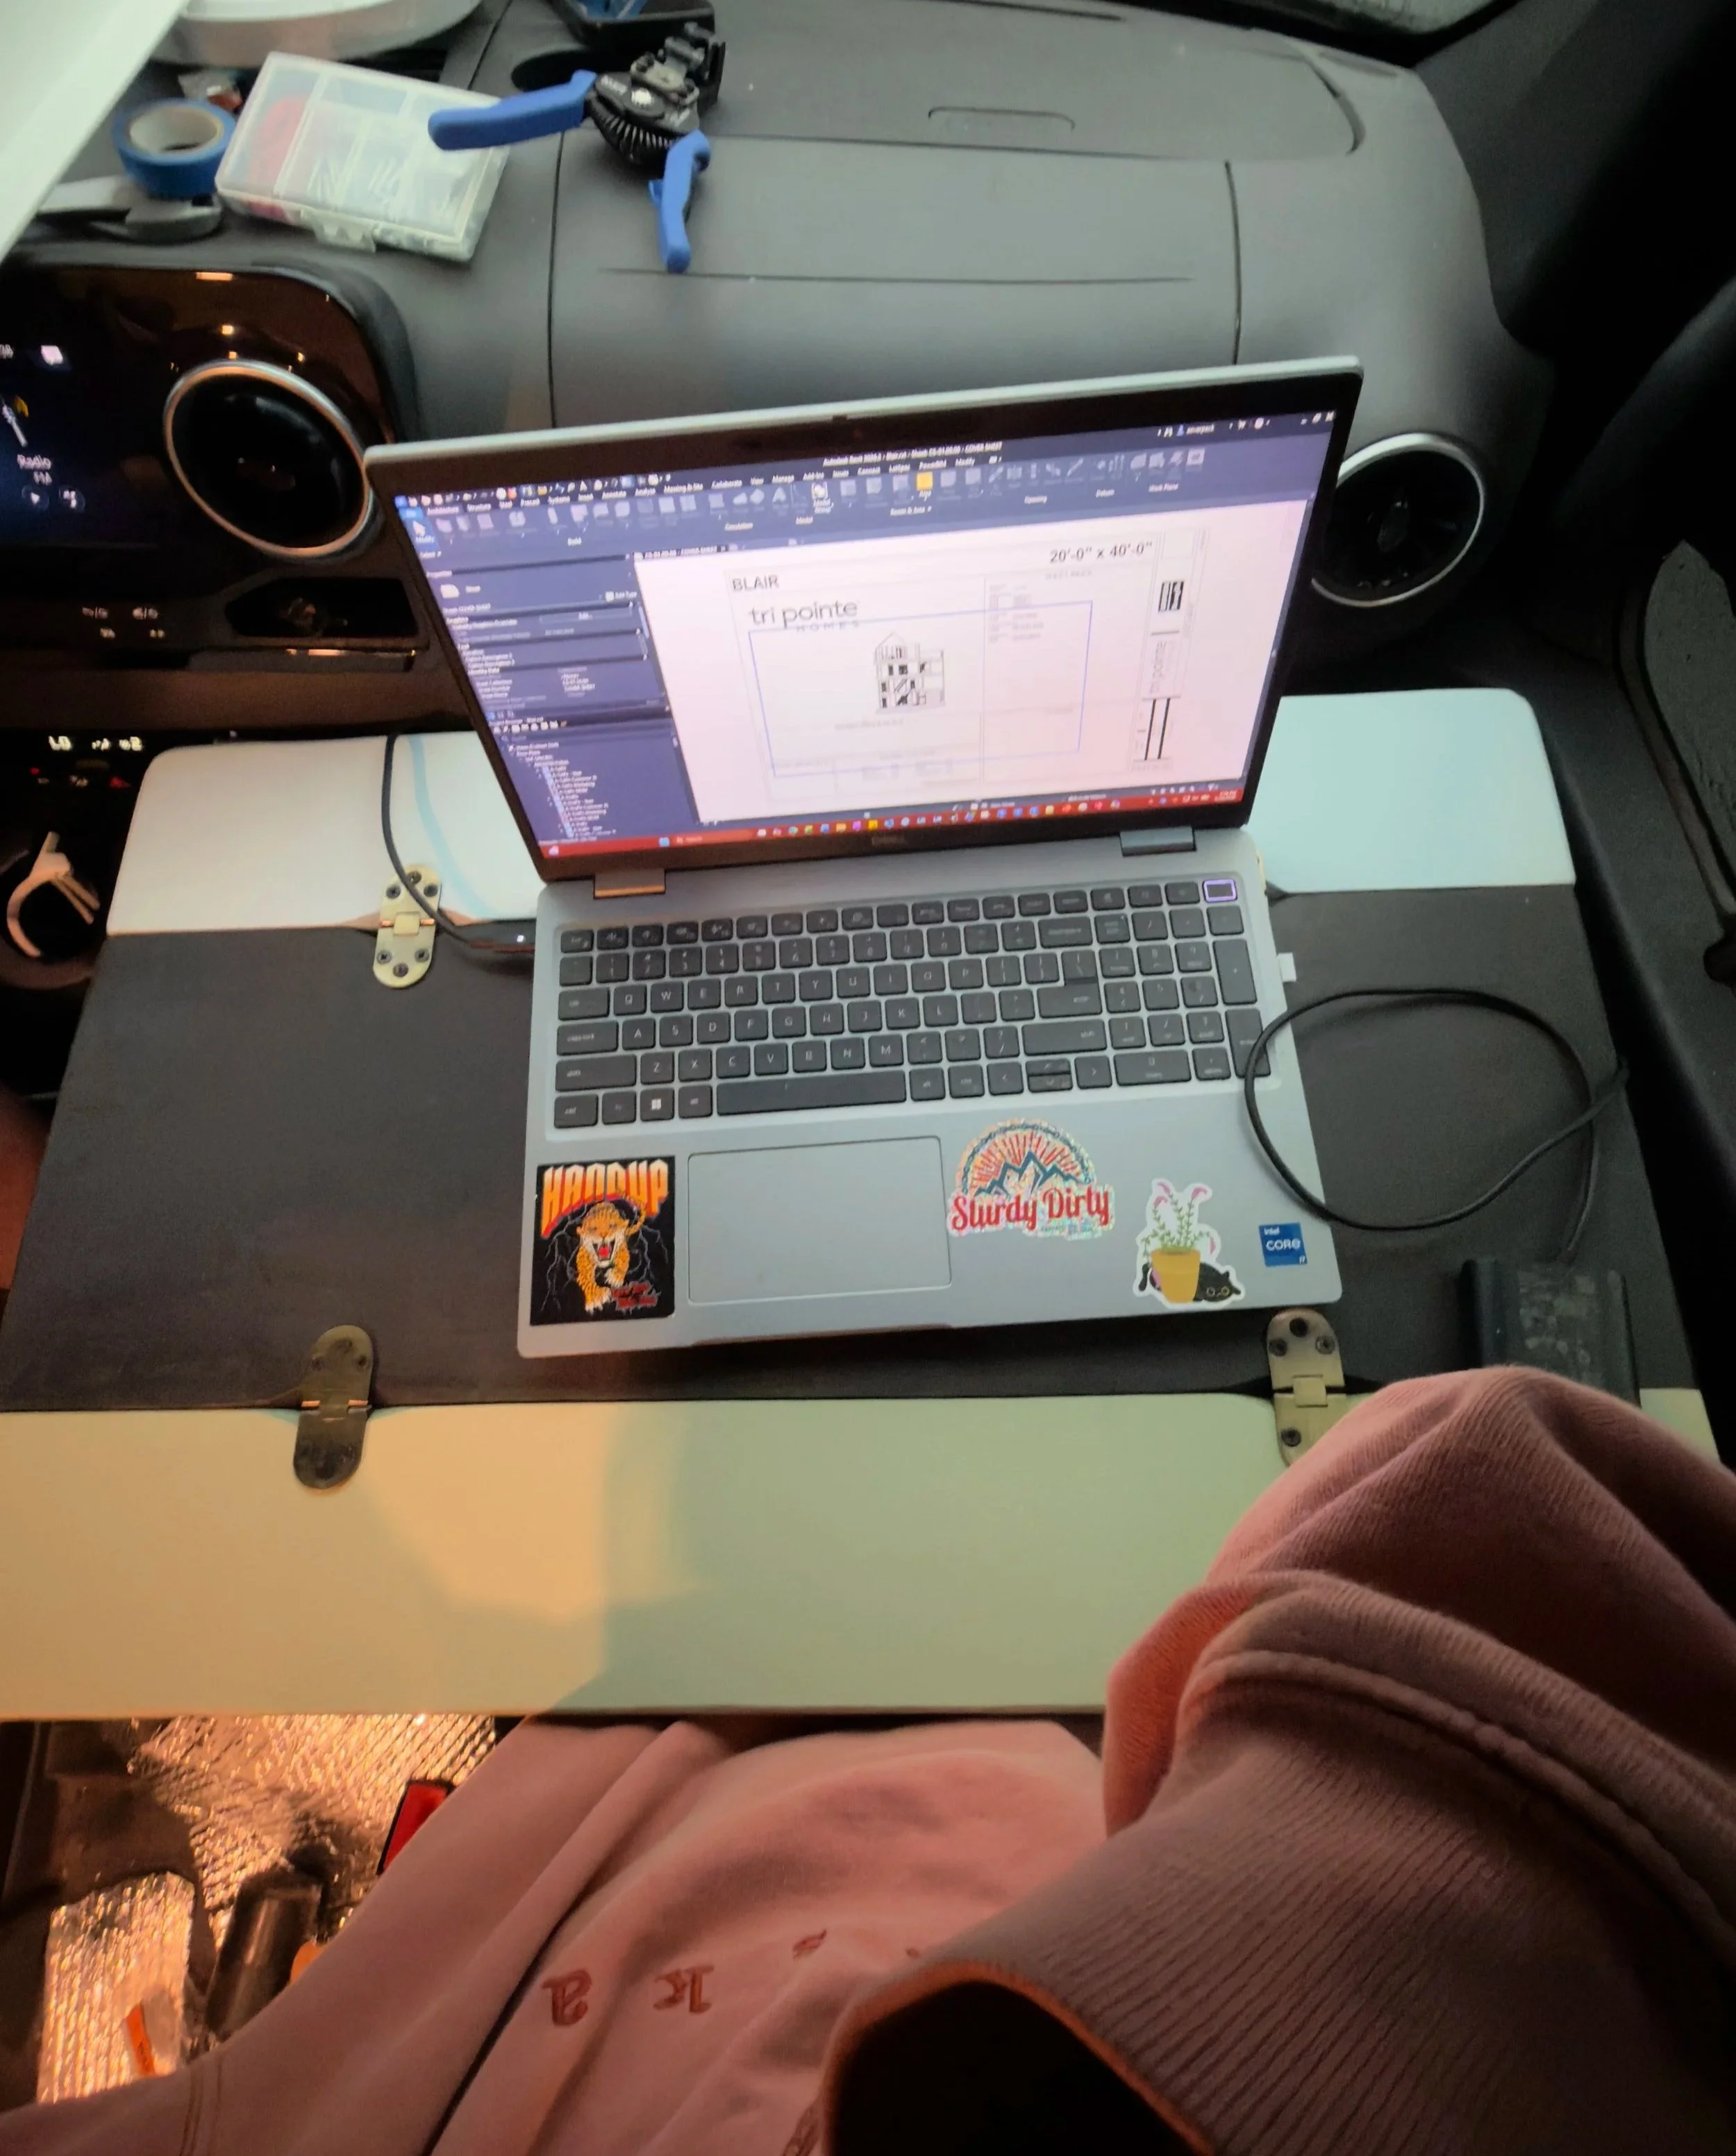
Since Claire works remotely, having a usable workspace wasn't optional. Where building a workspace to use from the driver side is very easy (simply a pop-up table from the counter), doing this to the passenger side isn’t an option as this would block access in and out of the van.
I installed a dedicated outlet in the headliner shelf before designing a removable swivel desk that mounts directly to the passenger seat. It simply is a lagoon table mount with a folding desk mounted to it. I installed one plate to the front to be used while driving and we will install another mount to the back of the chair to be used when stationary and facing backwards in the chair.
VanEssential To The Rescue- Storage That Changed Everything
One thing we knew we wouldn't finish before leaving was dedicated cabinetry, counters, and any type of permanent storage space.
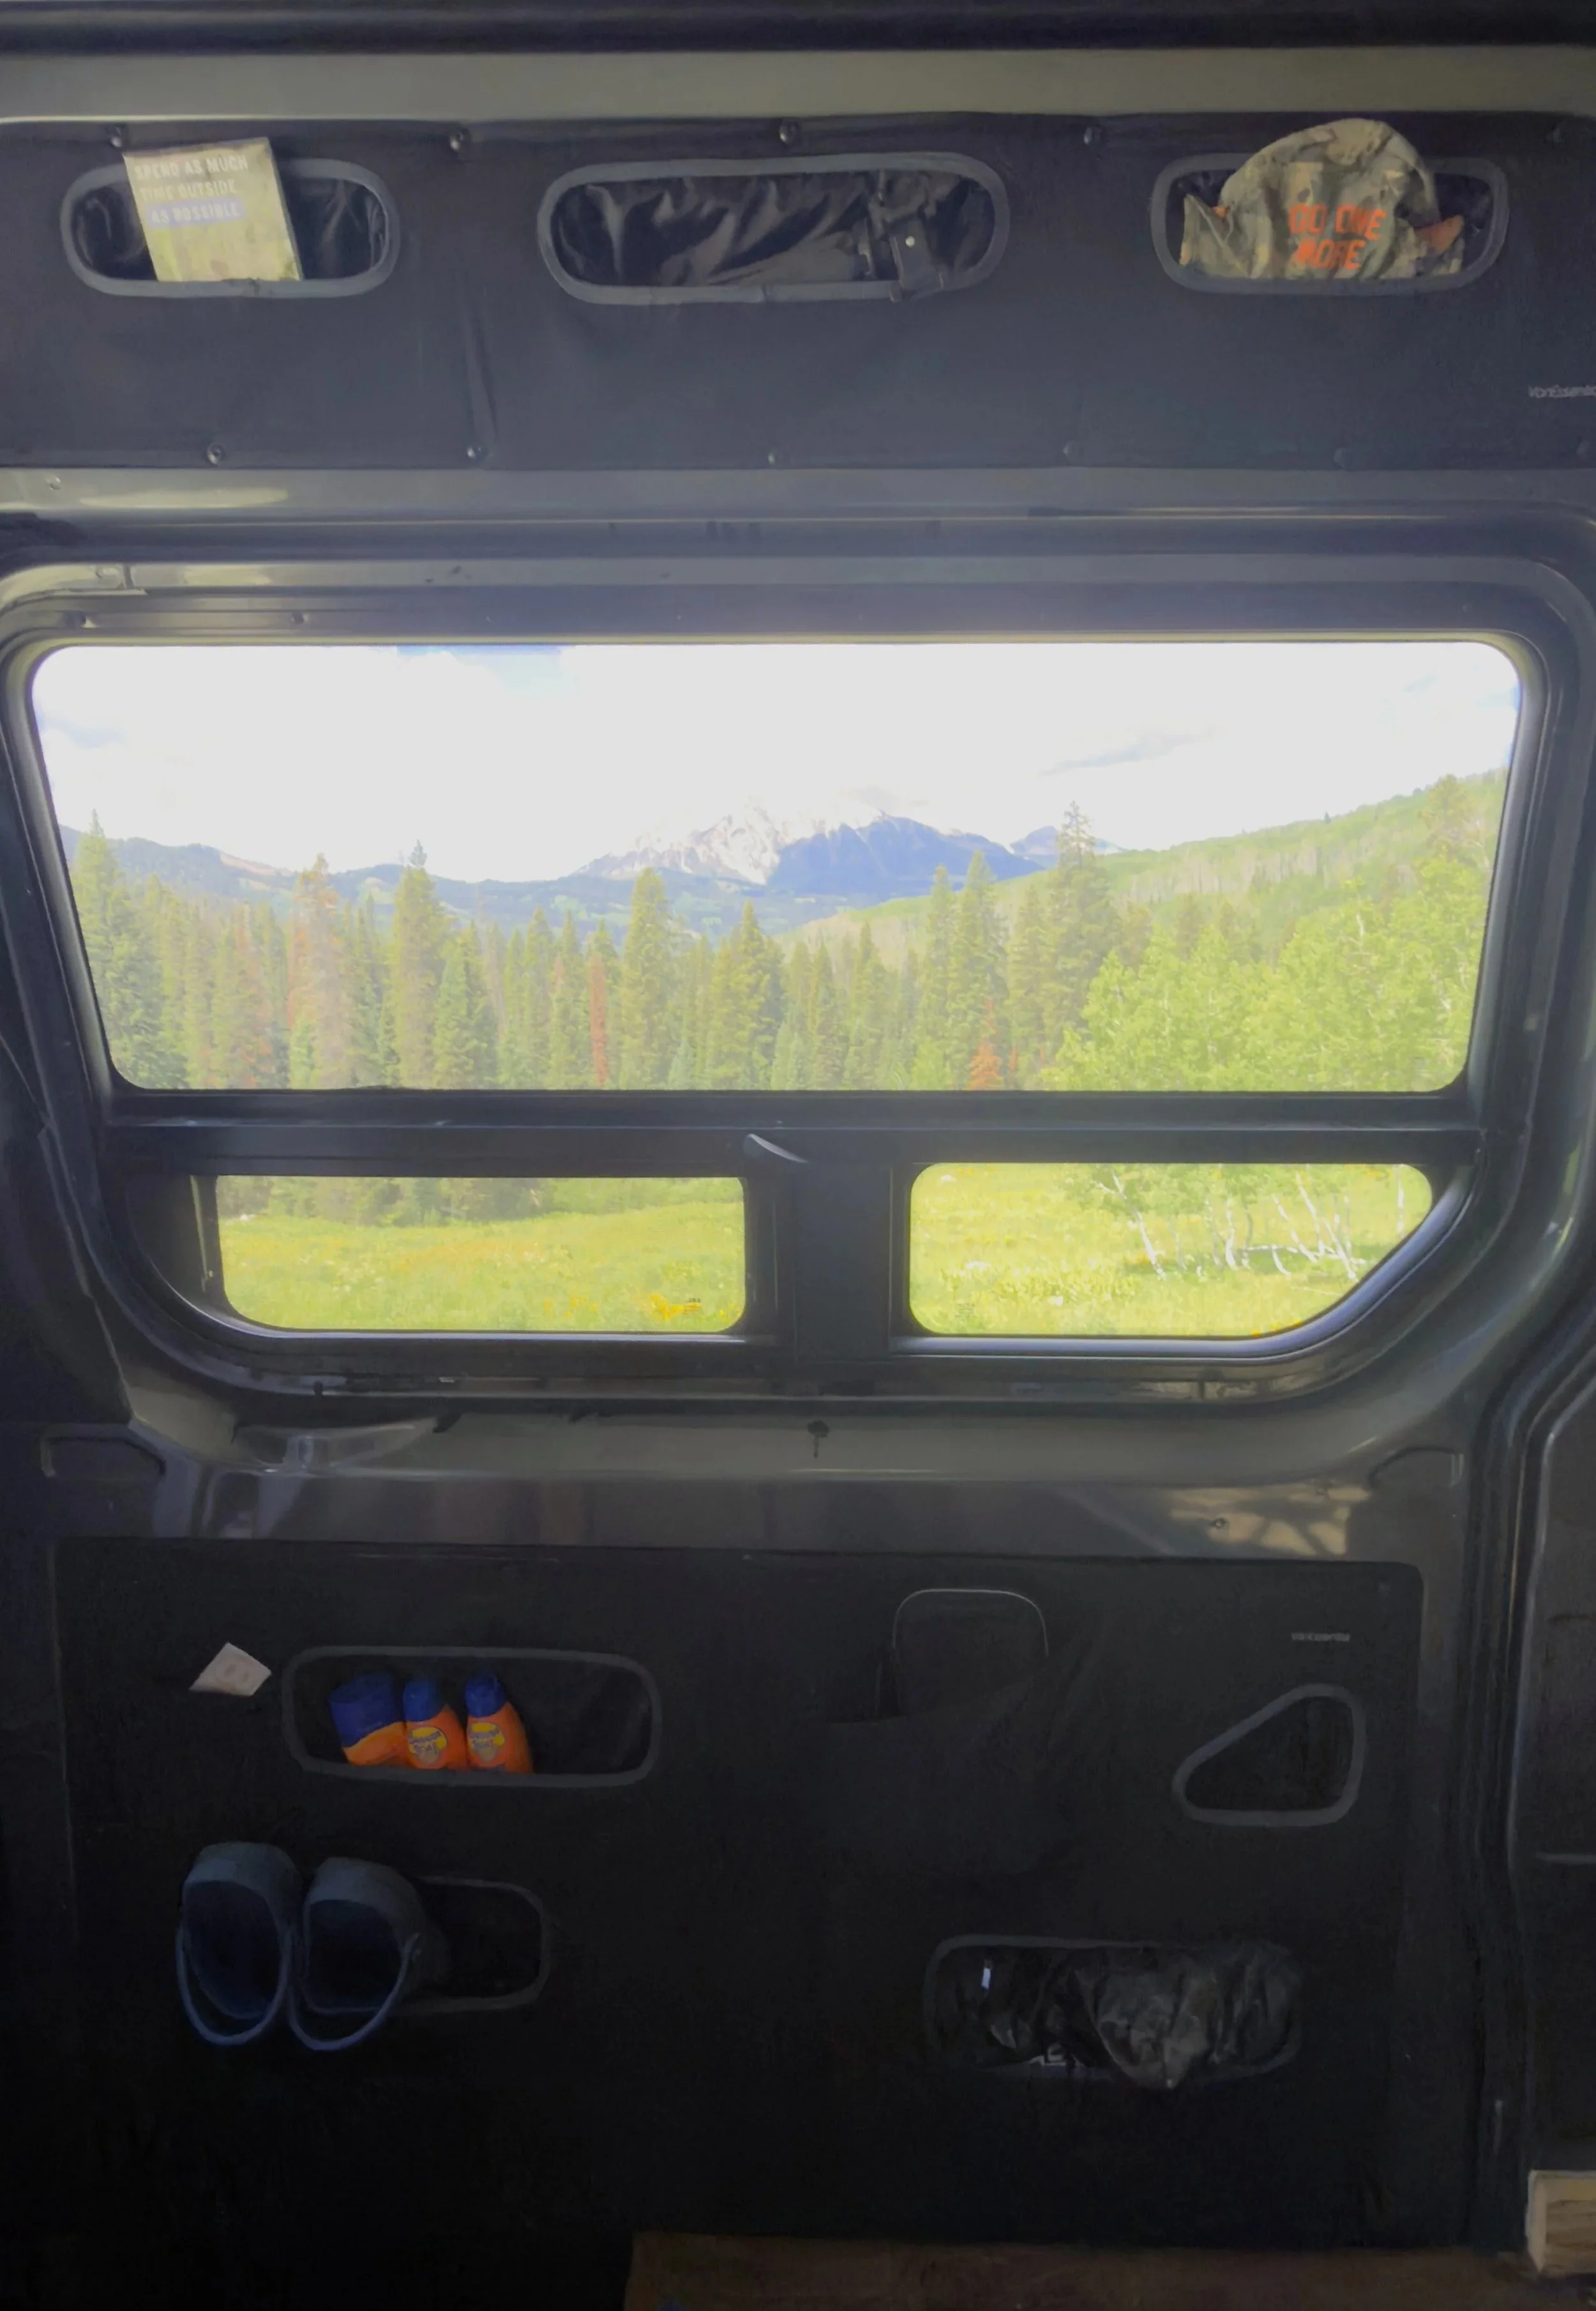
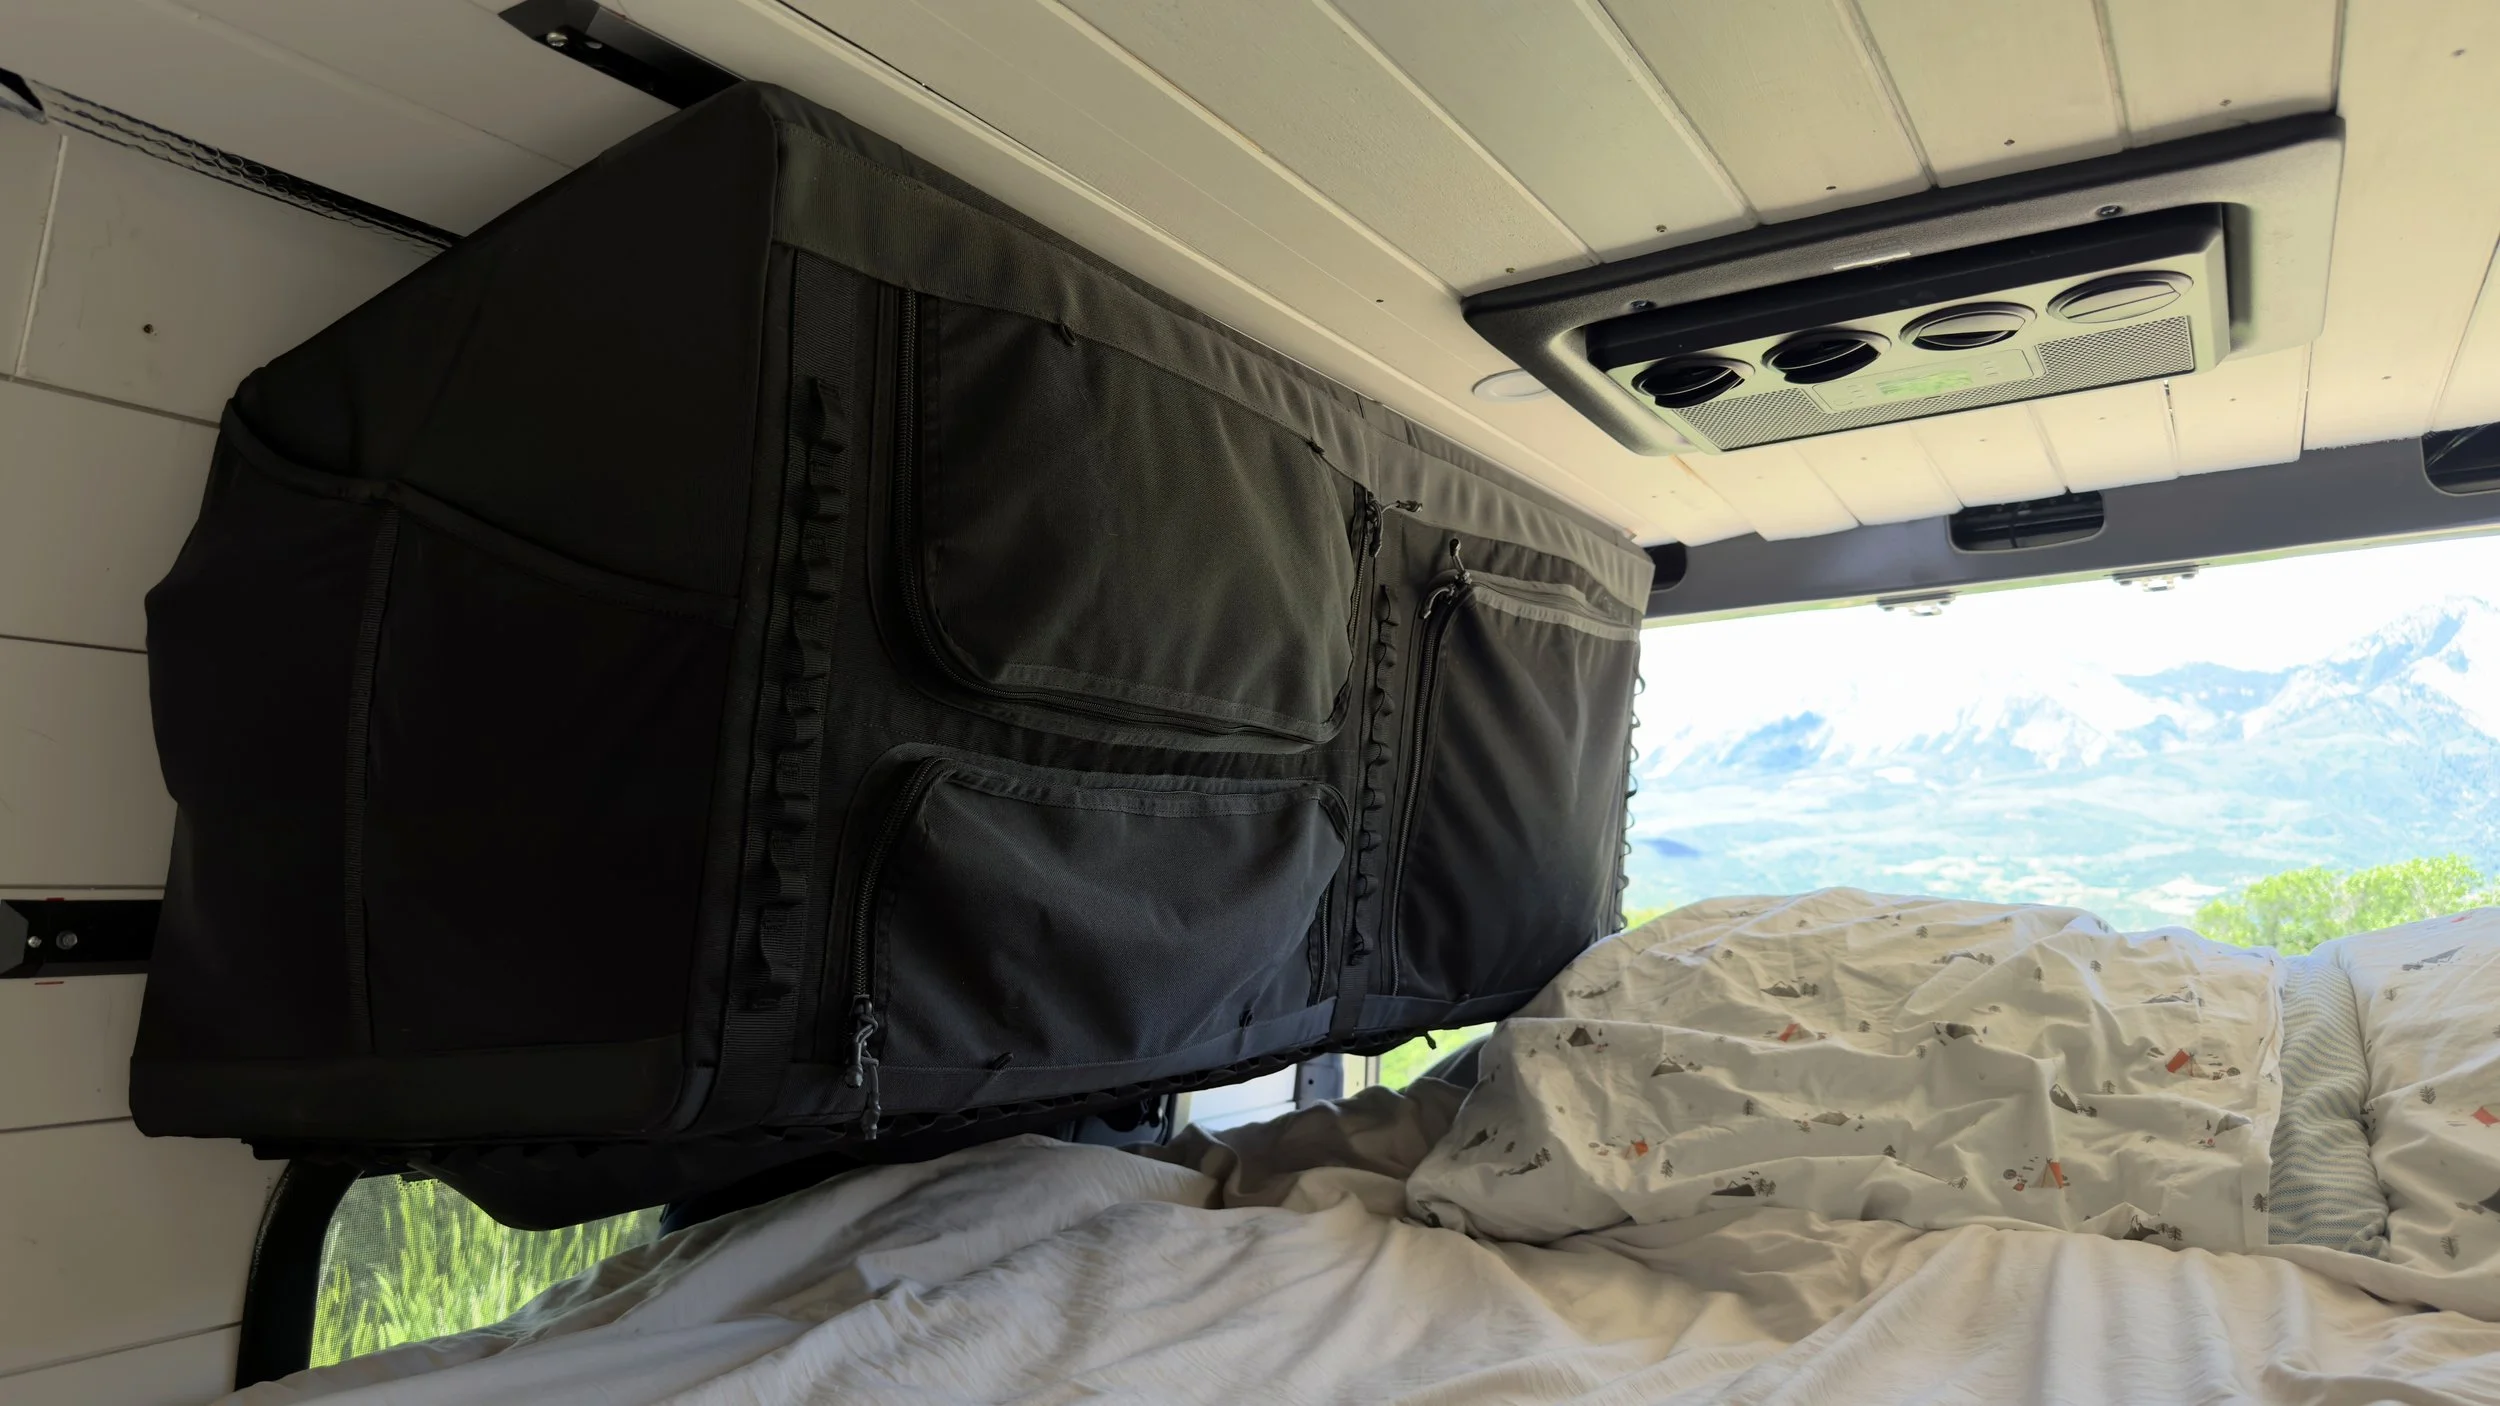
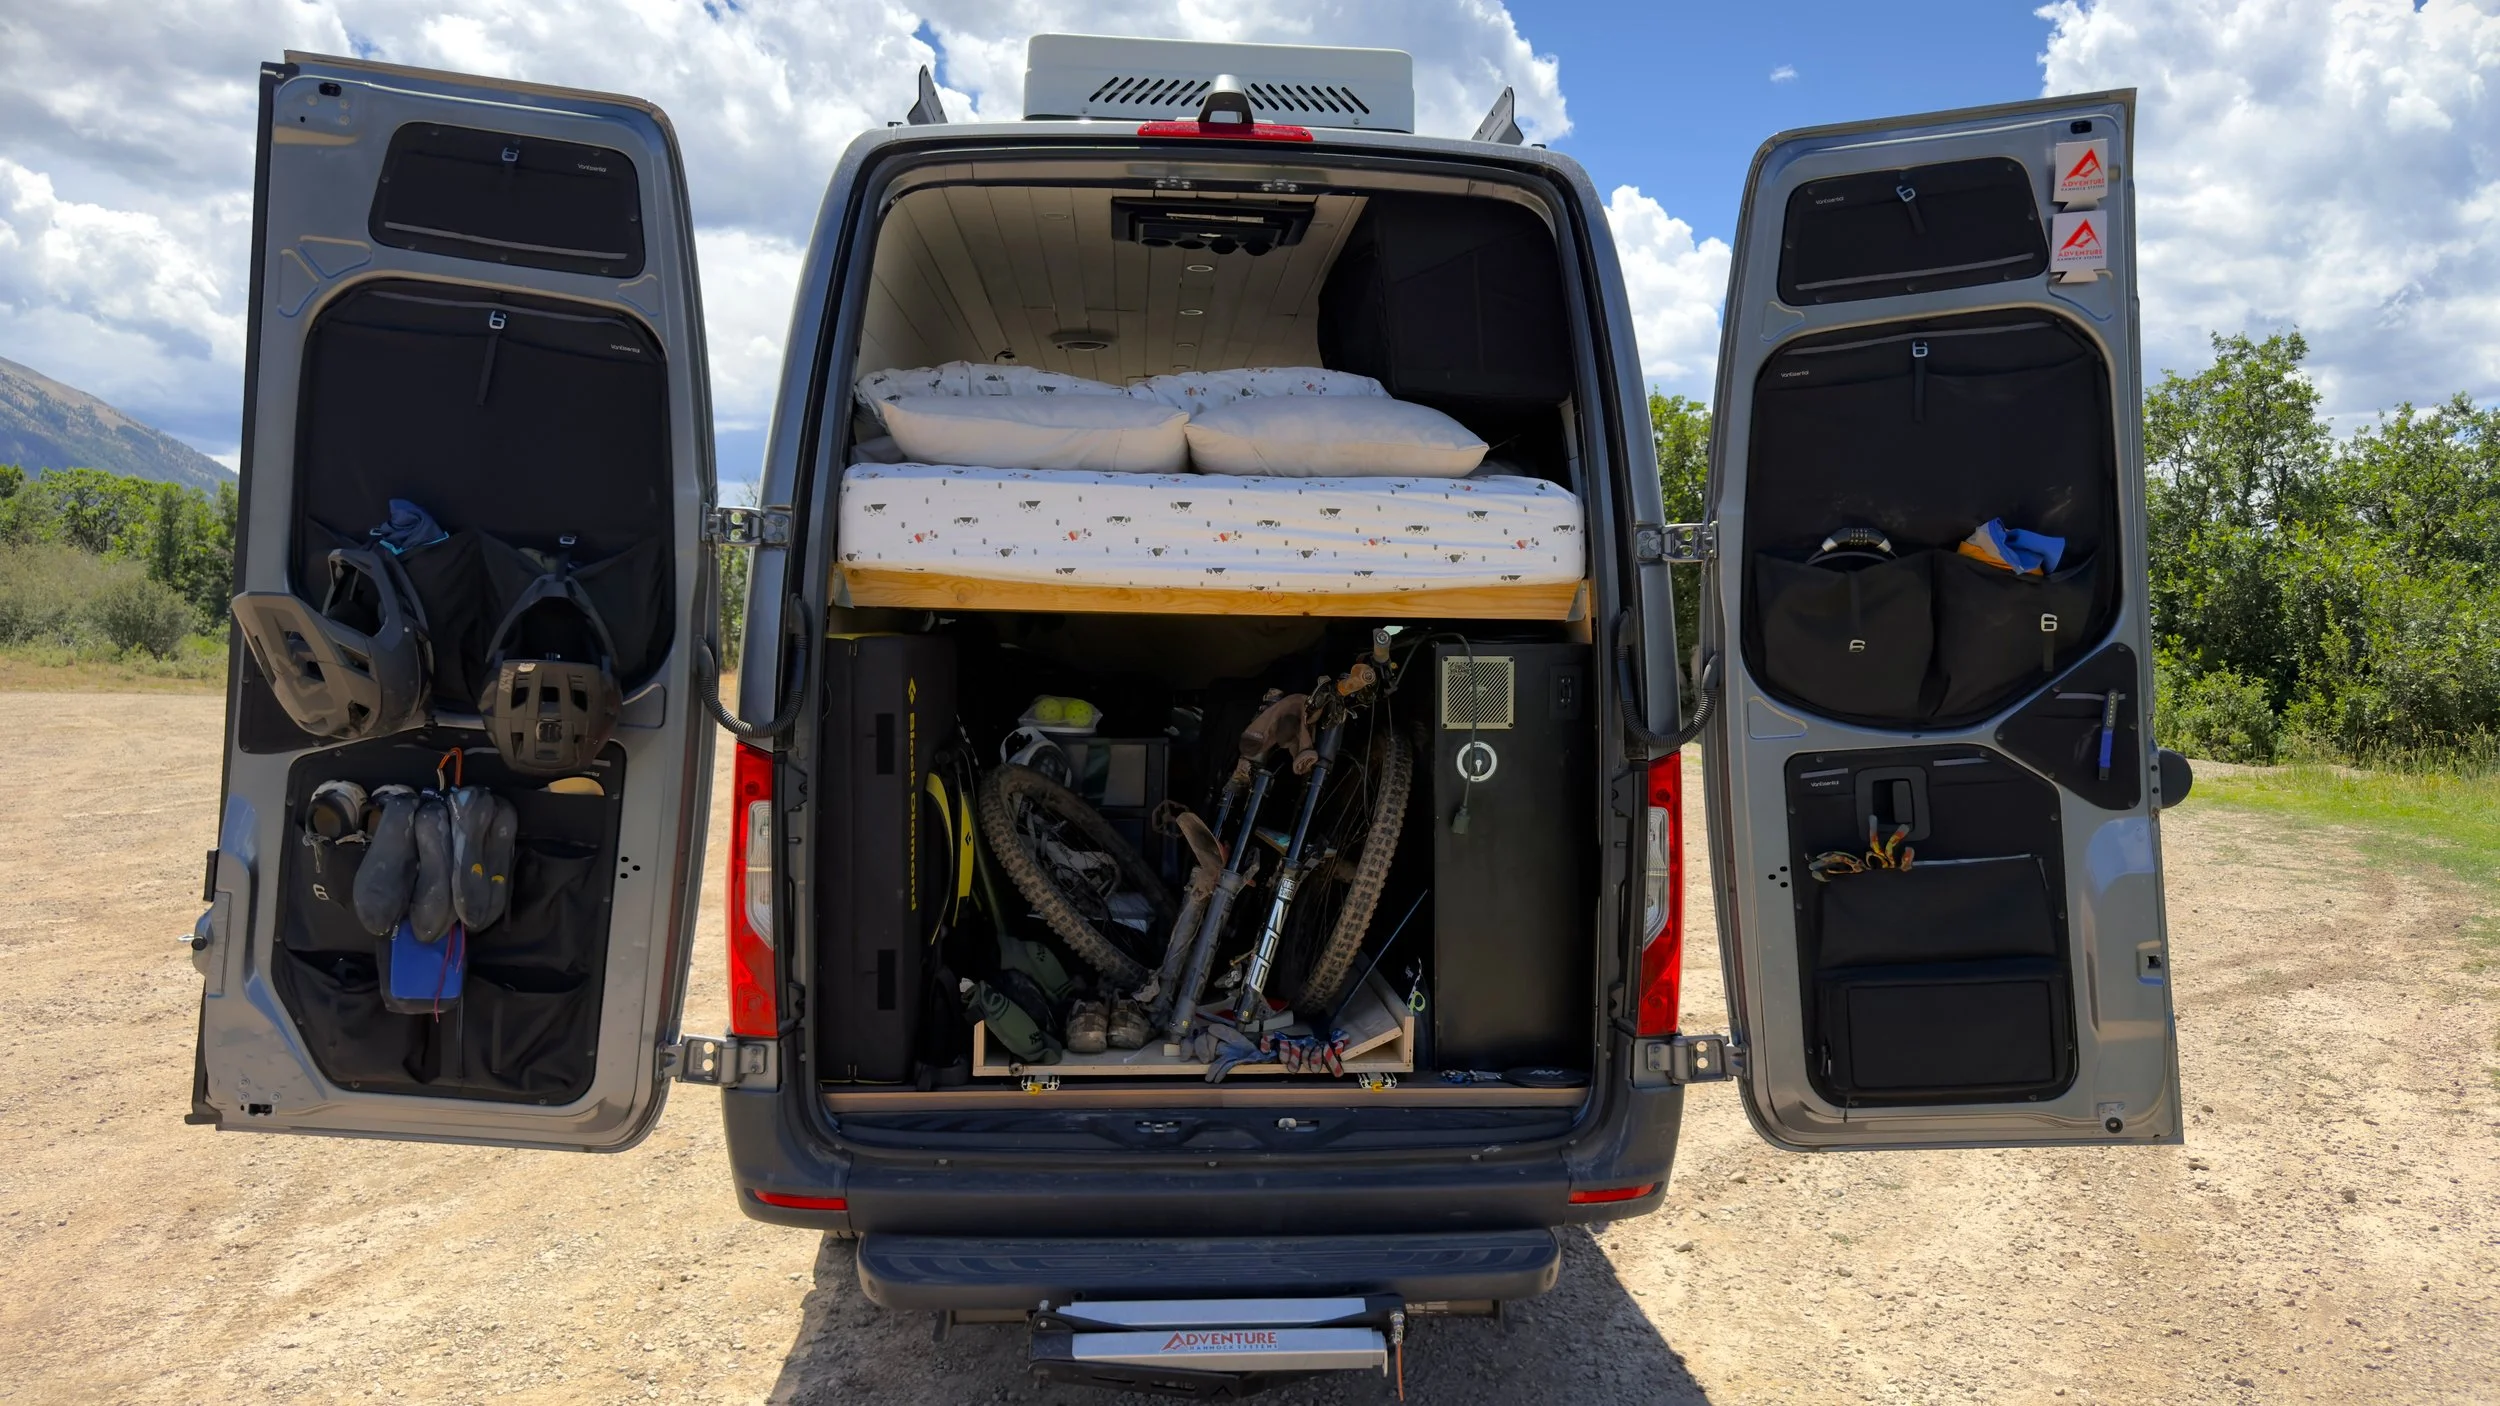
After a bit of research on options, we reached out to VanEssential with our upcoming trip and campervan plans and they were happy to help us maximize our limited space by sending us their 48-inch upper storage cabinet, sliding door storage panels, and us purchasing the rear door storage modules.
The bottom line up front is that all 3 storage solutions have been absolutely game changing for us and will remain a part of our build. They look great, are incredibly functional, and were wildly easy to install! For a complete breakdown of each storage piece go checkout my dedicated article here or go watch my YouTube video covering these storage solutions here! Lastly, please go show VanEssential some love over on their website! They have some truly amazing and innovative products for your campervan build!
Venture Flex 48-inch Upper Storage Cabinet
Upper and Lower Sliding Door Storage Modules
Thank you again VanEssential for sending those over to us! You were a massive help in making our road trip so much more enjoyable!
An Expected (But Untimely) Problem Before Departure
As if the schedule wasn't already stressful enough, our Sprinter developed another battery issue just days before departure. The short version of the story is a few months prior we learned one of the seats had been wired incorrectly from eh manufacturer causing the van battery to experience a parasitic draw and die rapidly. While the van was getting its wiring fixed, we asked to get the vehicle battery replaced knowing this would have caused damaged to it. We were told they couldn’t replace the battery until the battery actually had an issue… Lo and behold a couple months later the battery can’t hold a charge for more than a day.
Thankfully, Mercedes quickly diagnosed the problem, completed the warranty repair, and had us back on the road almost immediately. The Bend Mercedes location was absolutely wonderful to work with in resolving all the issues!
All that said, we are glad this happened prior to our departure rather than once we were in the middle of nowhere…
The Reality of DIY Van Builds
Watching a completed van build online can make the process look straightforward. Almost easy even. It isn't. Especially if you've never built anything like this before (or really anything ever).
For every project you see, there are countless trips to Home Depot, forgotten hardware, redesigns, mistakes, broken drill bits, wrong measurements, and moments where you seriously question whether this was a good idea.
But they're a huge part of the experience nobody really talks about. But as anything in life, the challenge of the experience is what makes it valuable. And where we have MANY more projects to complete on the build, and subsequently more headaches to overcome, I could not be more proud of our build with all its imperfections and mistakes.
We Somehow Made It
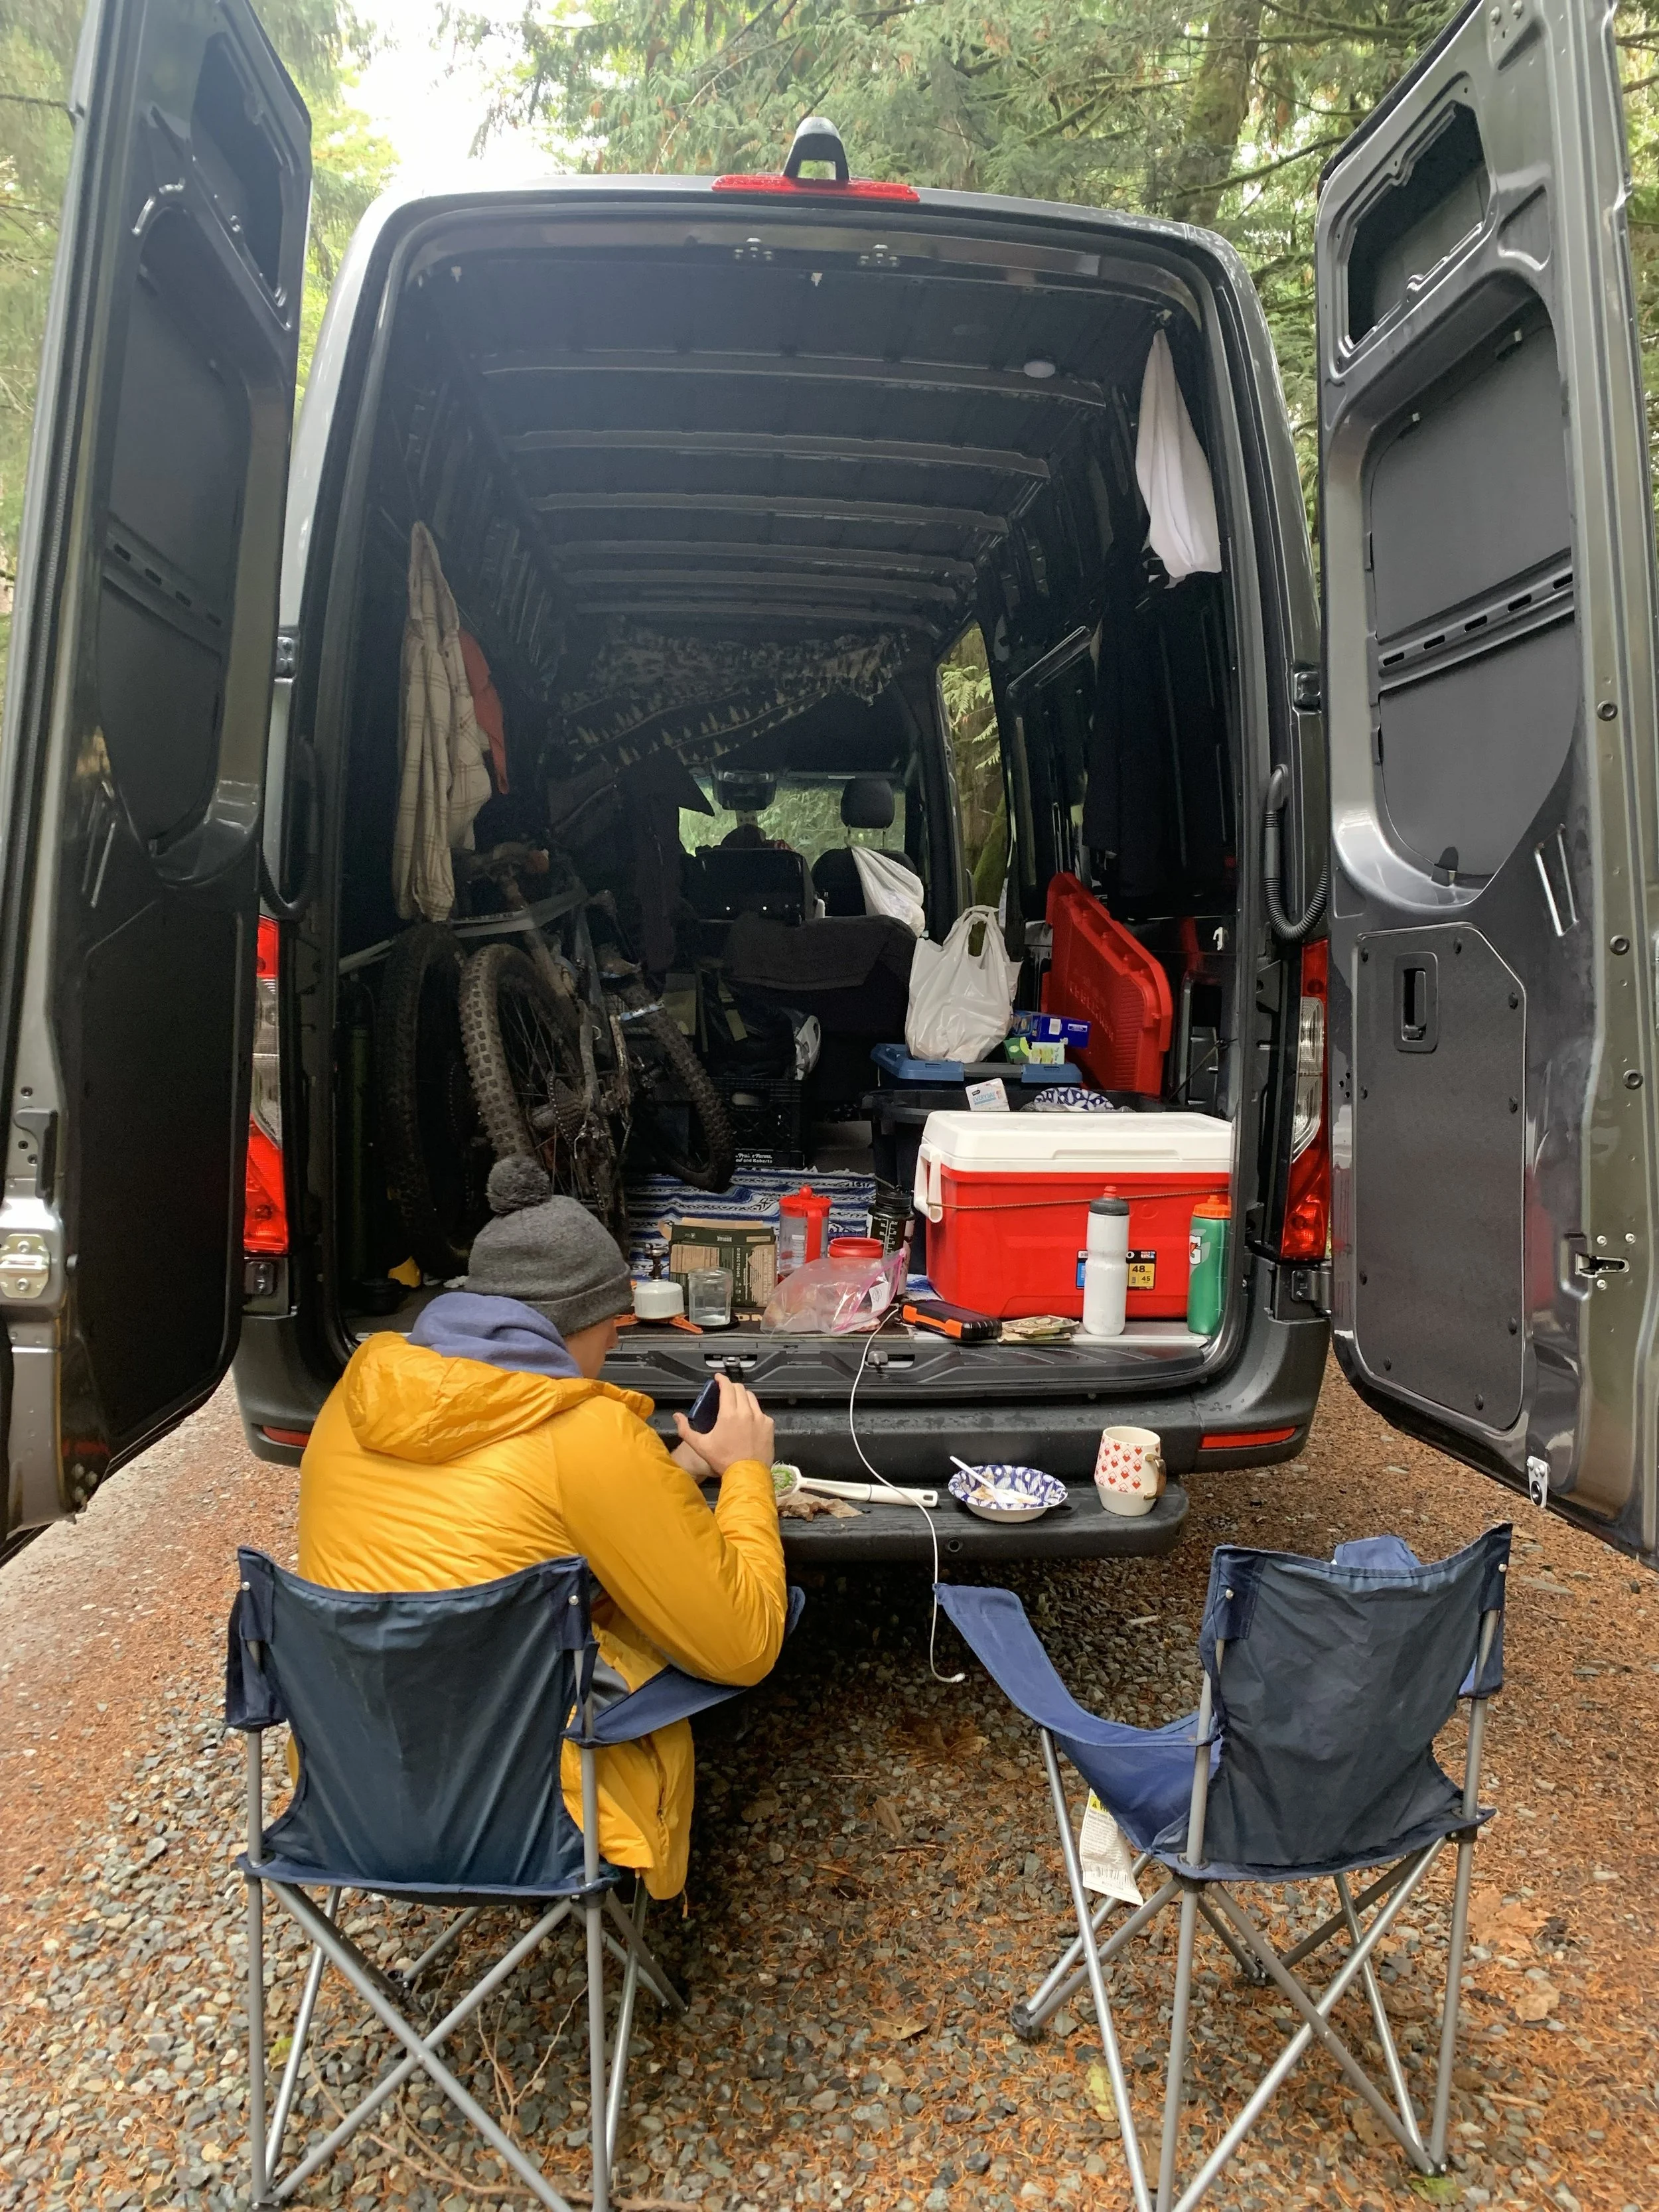
After countless late nights, hardware store runs, problem solving, and more frustration than I'd like to admit. Plus, after a very chaotic and rainy morning of packing, we hit the road. The van far from finished but finished enough to begin the journey we'd been dreaming about. And sometimes, that's all you need.
We had a long 9 hour drive that first day and got to where we planned to hunker down for the night very late. But when we woke up the next morning, parked in a beautiful location with nowhere we had to be except our next adventure, it all felt worth it.
But that’s a story for next week…
Follow Along on the Journey
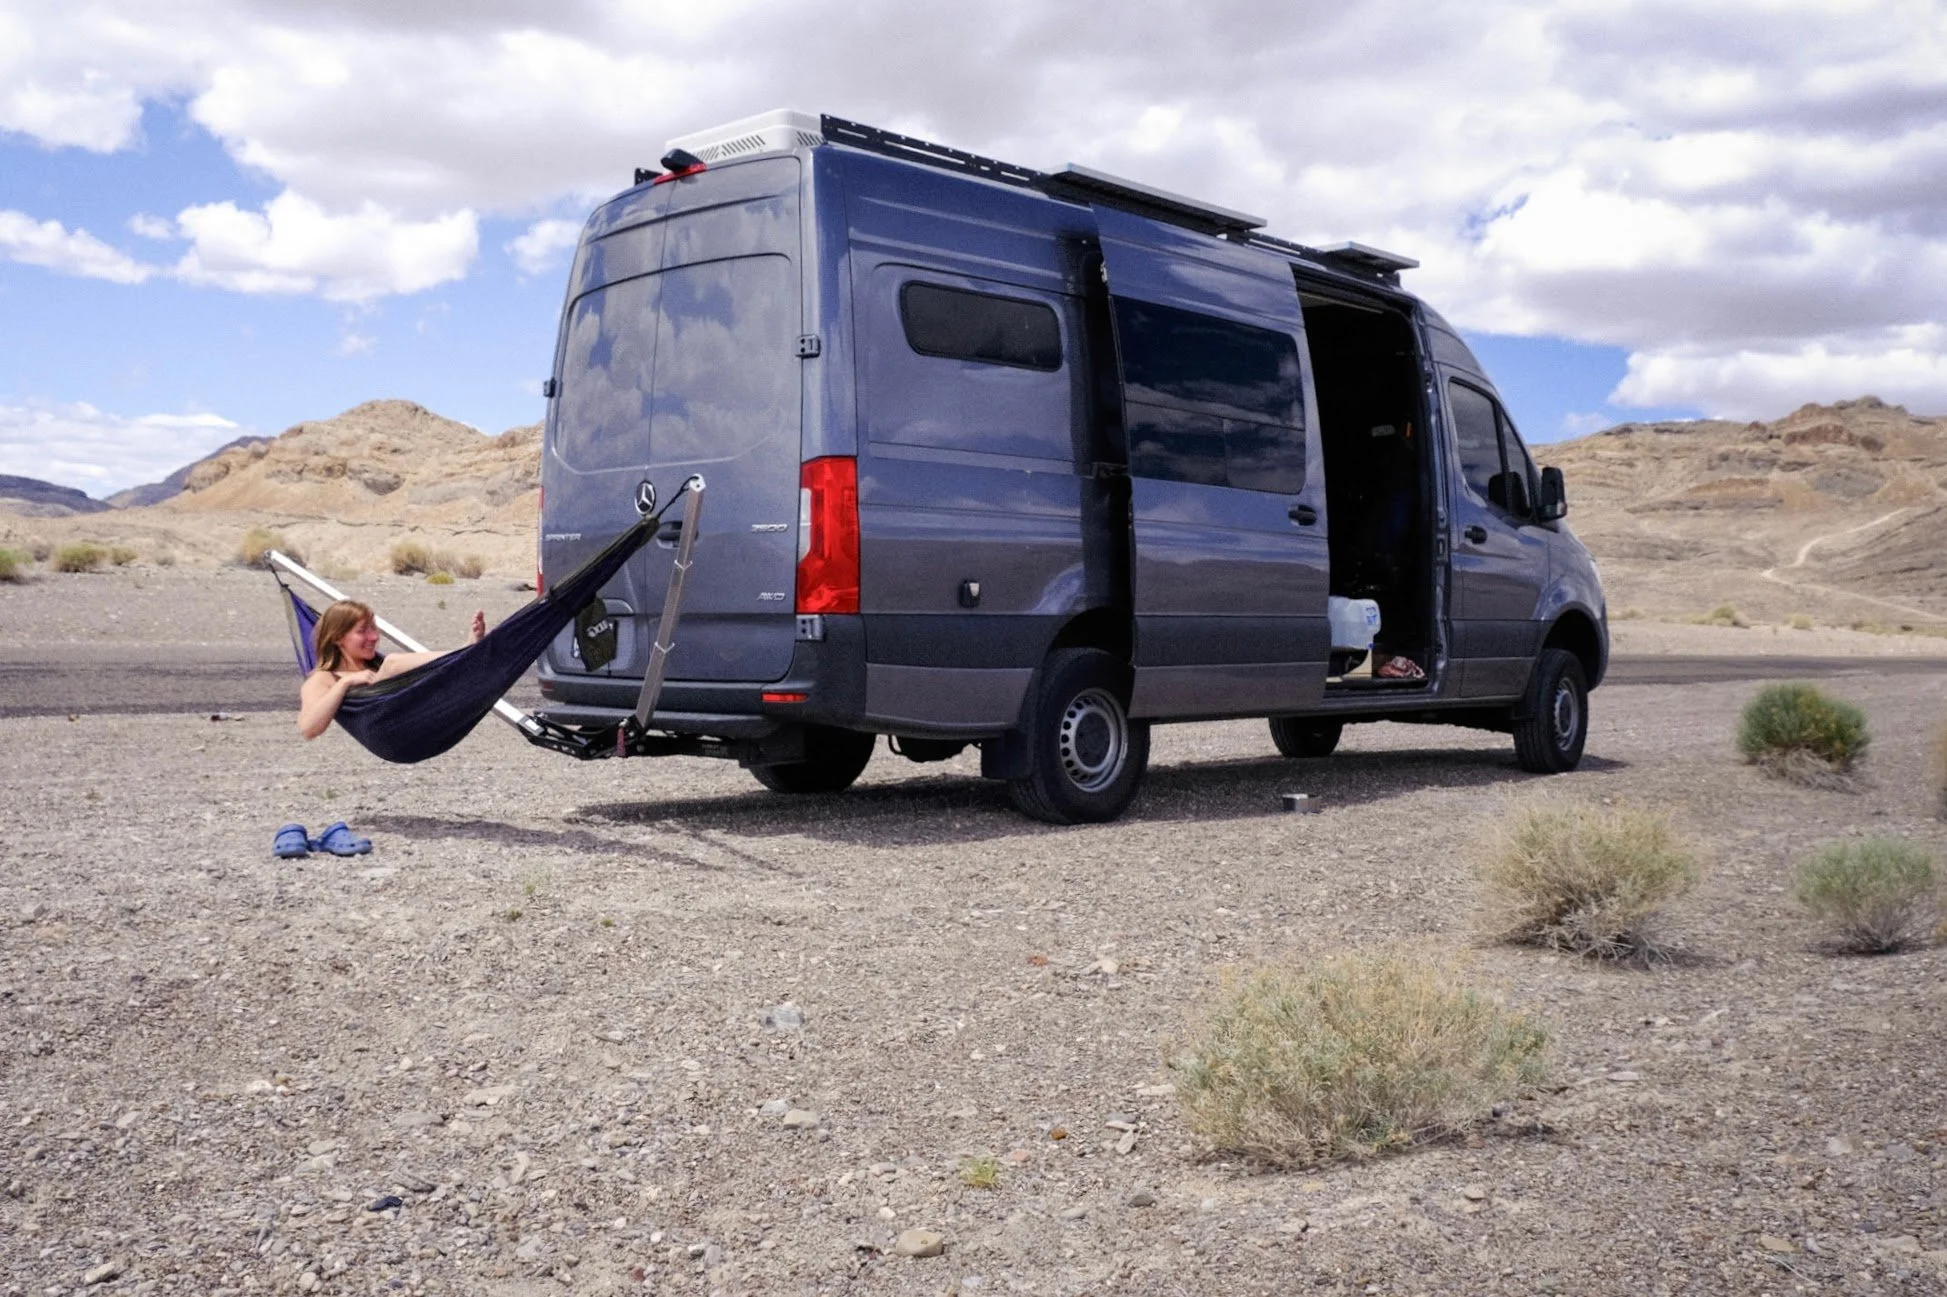
This four-day sprint was only the beginning of our cross-country adventure.
Over the coming months we'll continue documenting the van build, mountain bike trails, photography adventures, and everything that comes with living full-time on the road with our dog Spoke.
If you'd like to follow along, be sure to subscribe to our YouTube channel and check back here on the blog as we continue sharing the road ahead.
Resources That Helped Us With Our Build:
Electrical Planning Tool: https://faroutride.com/van-electrical-calculator/
A great planning tool for your build in general: https://faroutride.com/
and also: DIY Van Building and Van Life Resources • Engineers who Van Life
Volcano Vans: https://volcanovans.com/
VanEssential Sliding Door Storage Module: https://vanessential.com/collections/mercedes-sprinter-van-storage/products/sprinter-sliding-door-storage-bundle
VanEssential 48-inch Upper Storage Cabinet: https://vanessential.com/collections/mercedes-sprinter-van-storage/products/cabinet-bundle-48
VanEssential Rear Door Storage Module: https://vanessential.com/collections/mercedes-sprinter-van-storage/products/sprinter-premium-door-storage-bundle
If you want to stay up to date with the BEST information to build your next adventure or you just want to see more of my adventures and photography, follow along on Instagram @martins_migration or subscribe to the newsletter below, and subscribe to my YouTube Channel!
Check Out More Articles You’ll Enjoy!


This past week on The Migration has been a BLAST! We hiked one of the most beautiful waterfall hikes I have ever seen, conquered new bouldering sets we found, and got back on one of the local’s favorite mountain bike trails! And, of course, we had to do another cold plunge for redemption! With Spring weather arriving and snow melting, adventures that have been hidden beneath the snow are returning.