

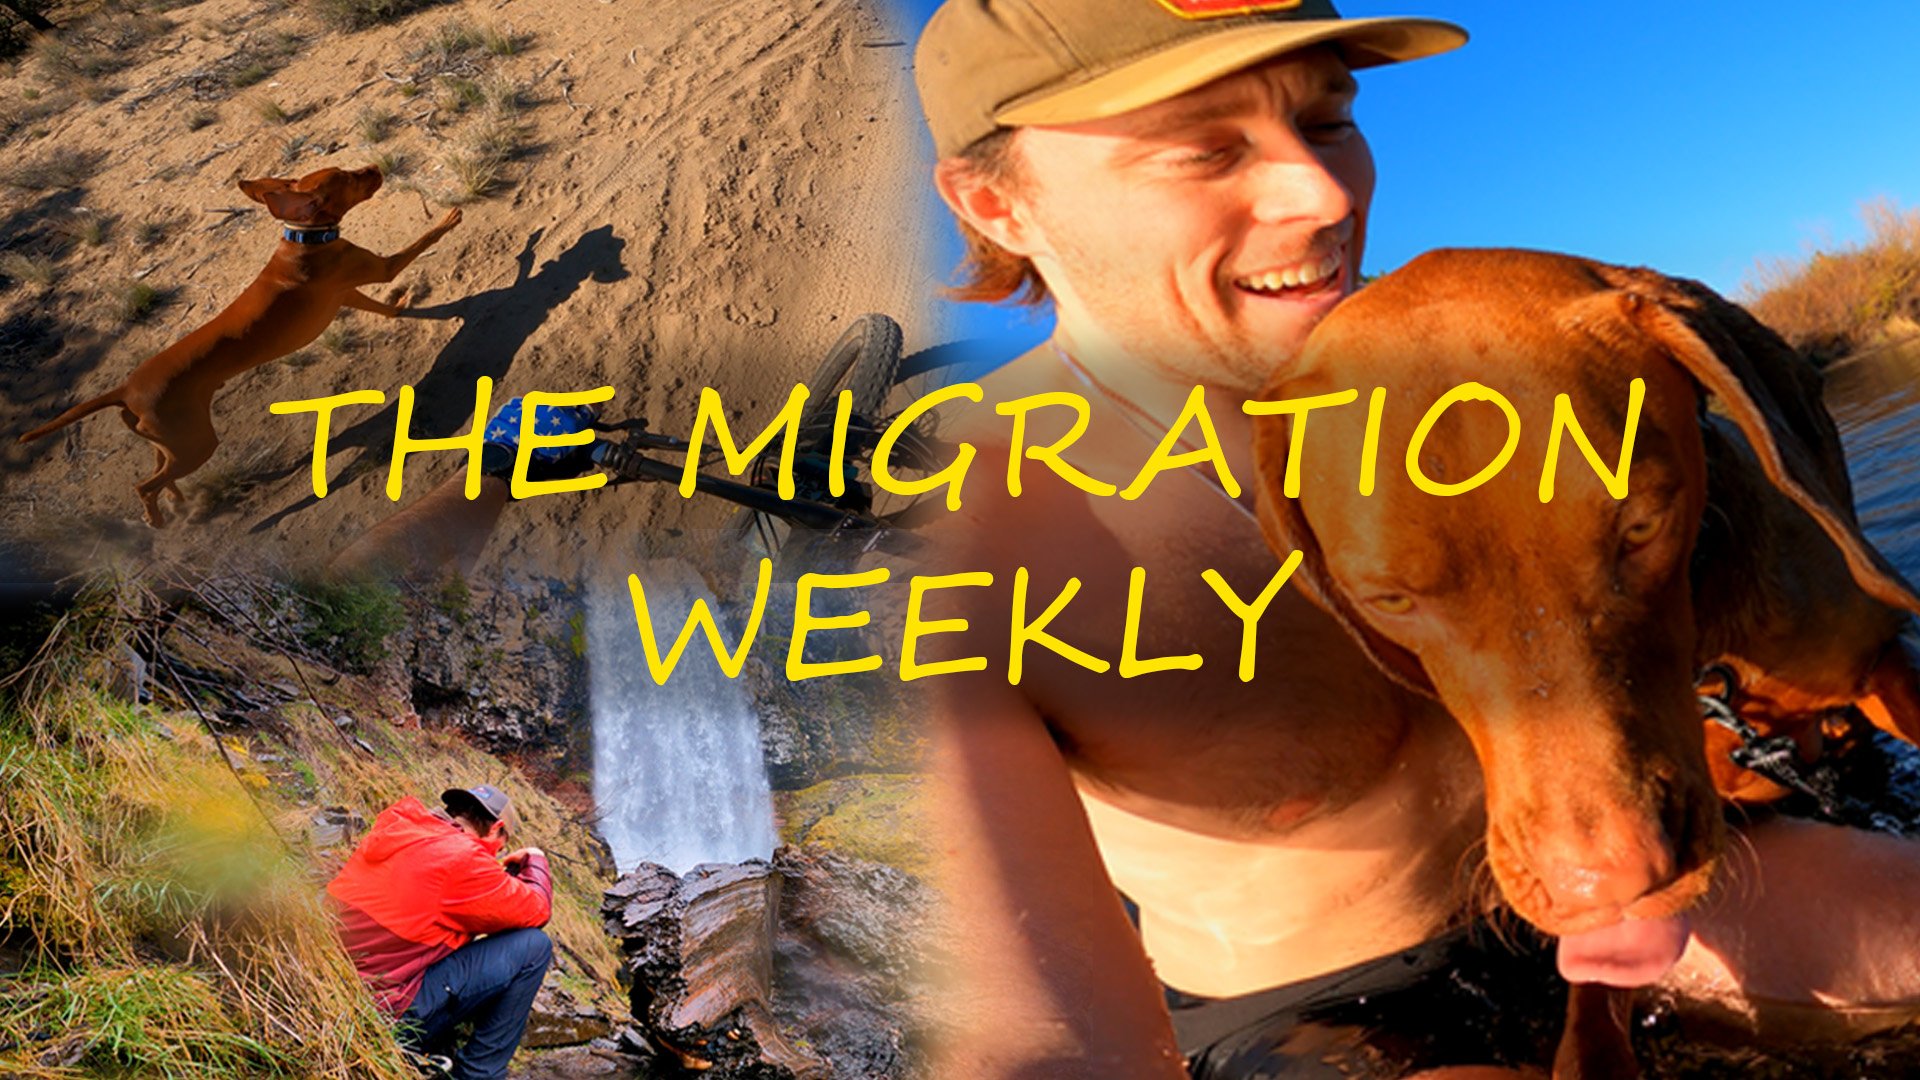
The Migration Weekly: Photographing and Mountain Biking Polar Opposites in Bend Oregon
Today’s video marks a new era for the migration! I am going to be doing weekly recap videos over all the various adventures that have taken place. My hope is this will better help you as the viewer get an idea of how much adventure awaits in 1 location. Be sure to drop a comment on the video as I would love to hear your thoughts on this new style!
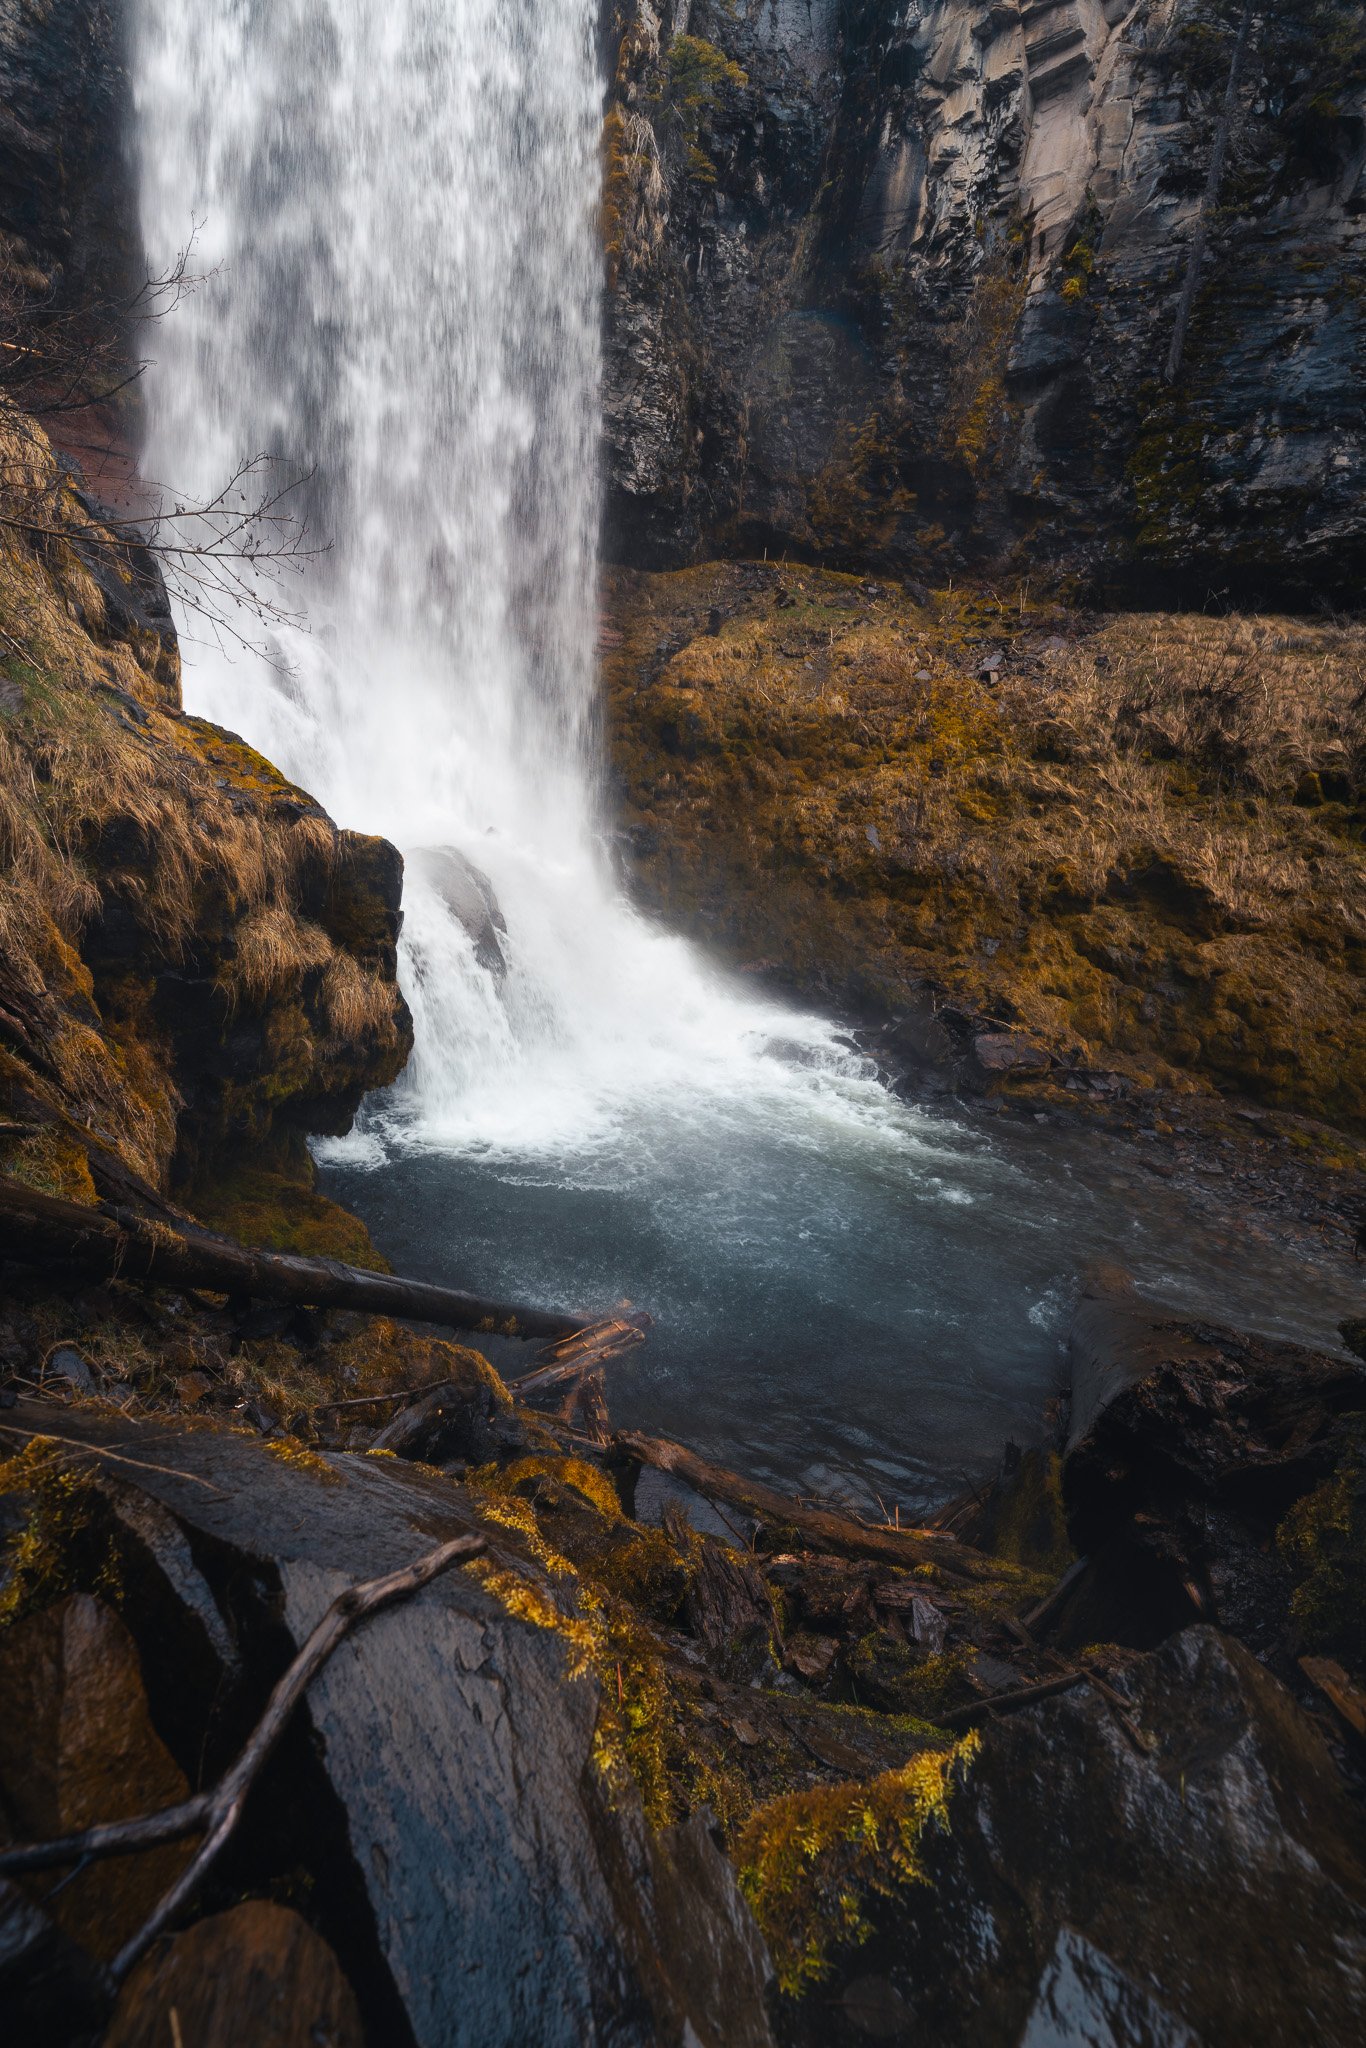
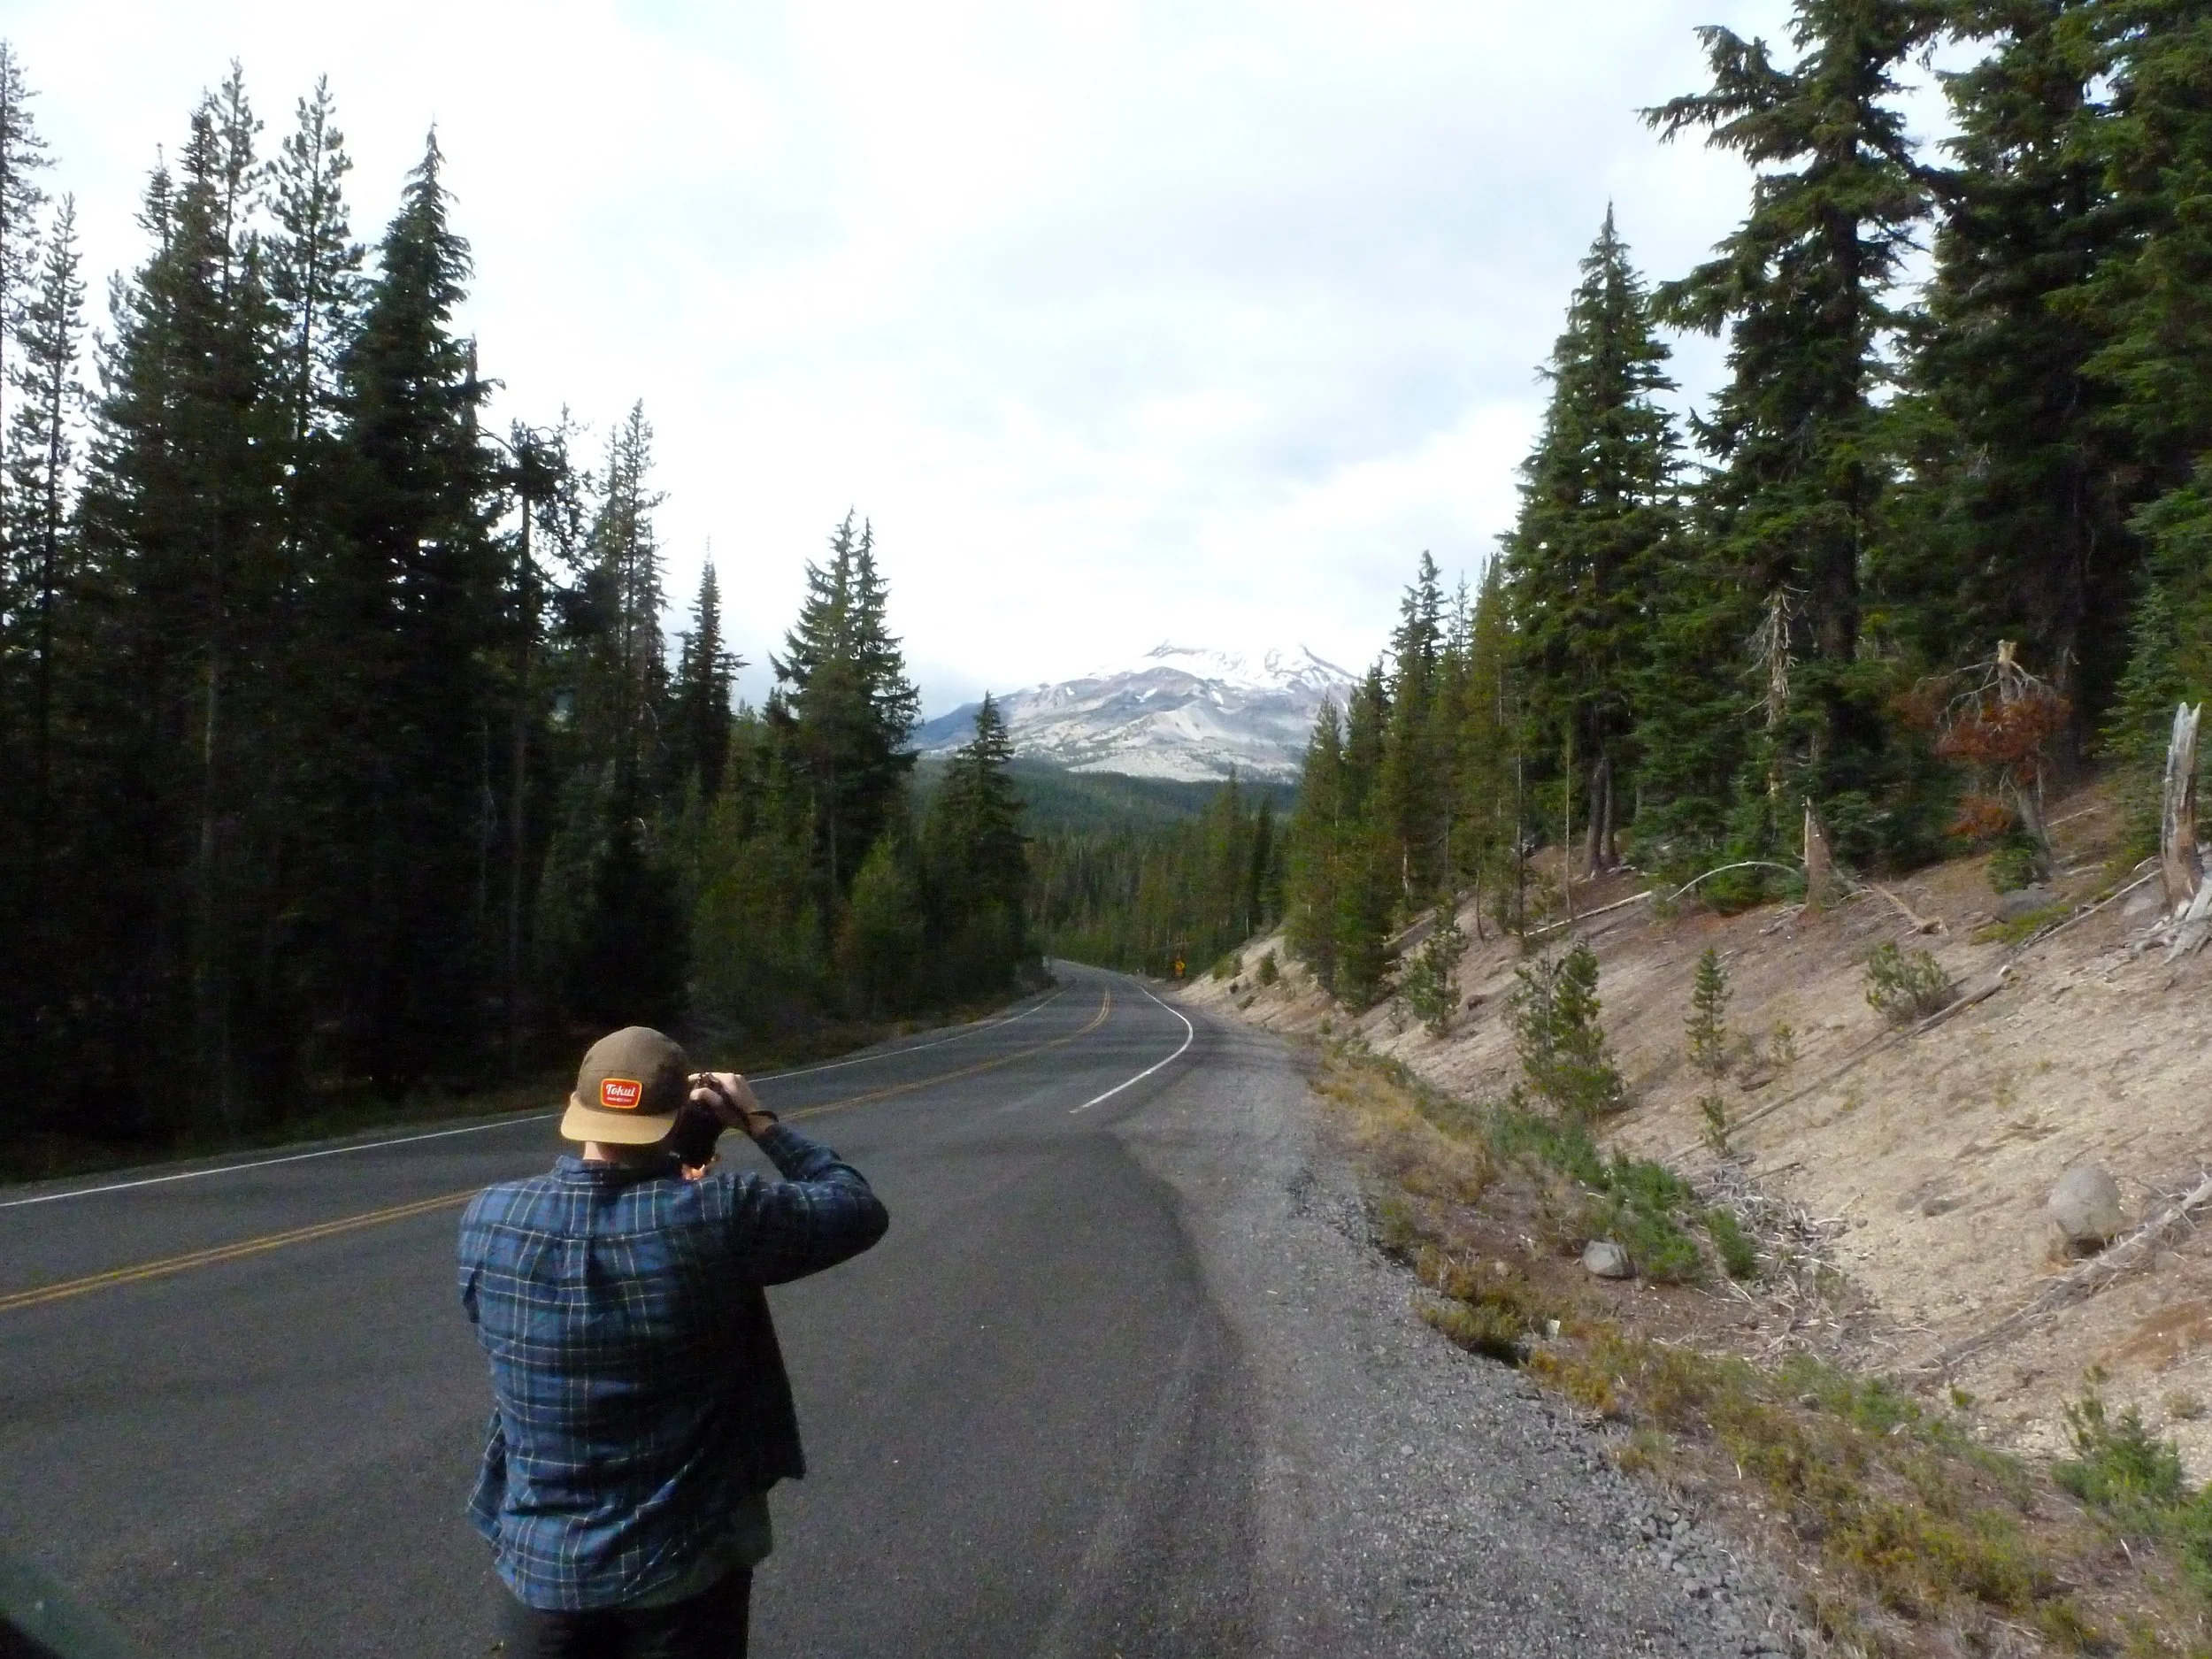
This week was a blast and was loaded with fun photography ideas and self-imposed challenges. I set out to challenge myself with a bit of waterfall photography at what is likely the most photographed and visited waterfall in the Bend Oregon area. Do you think I was able to capture Tumalo Falls in a slightly different way? Where the hike was a blast and the waterfall was roaring, I was not quite prepared for the weather that awaited me… A theme that held true the entire week. The next day, I decided to head to the exact opposite side of Bend and venture into the High Dessert where I knew heat and sand was waiting for me this time instead of frozen fingers. Man is it nice to be mountain biking under a warm sun again though! But my body hasn’t quite adapted to it yet… Along the way I had an idea on how to capture self-portraits while mountain biking. I explained in the video how I went about capturing them, so here is my opinion on their results. Here are the 2 photos i captured:
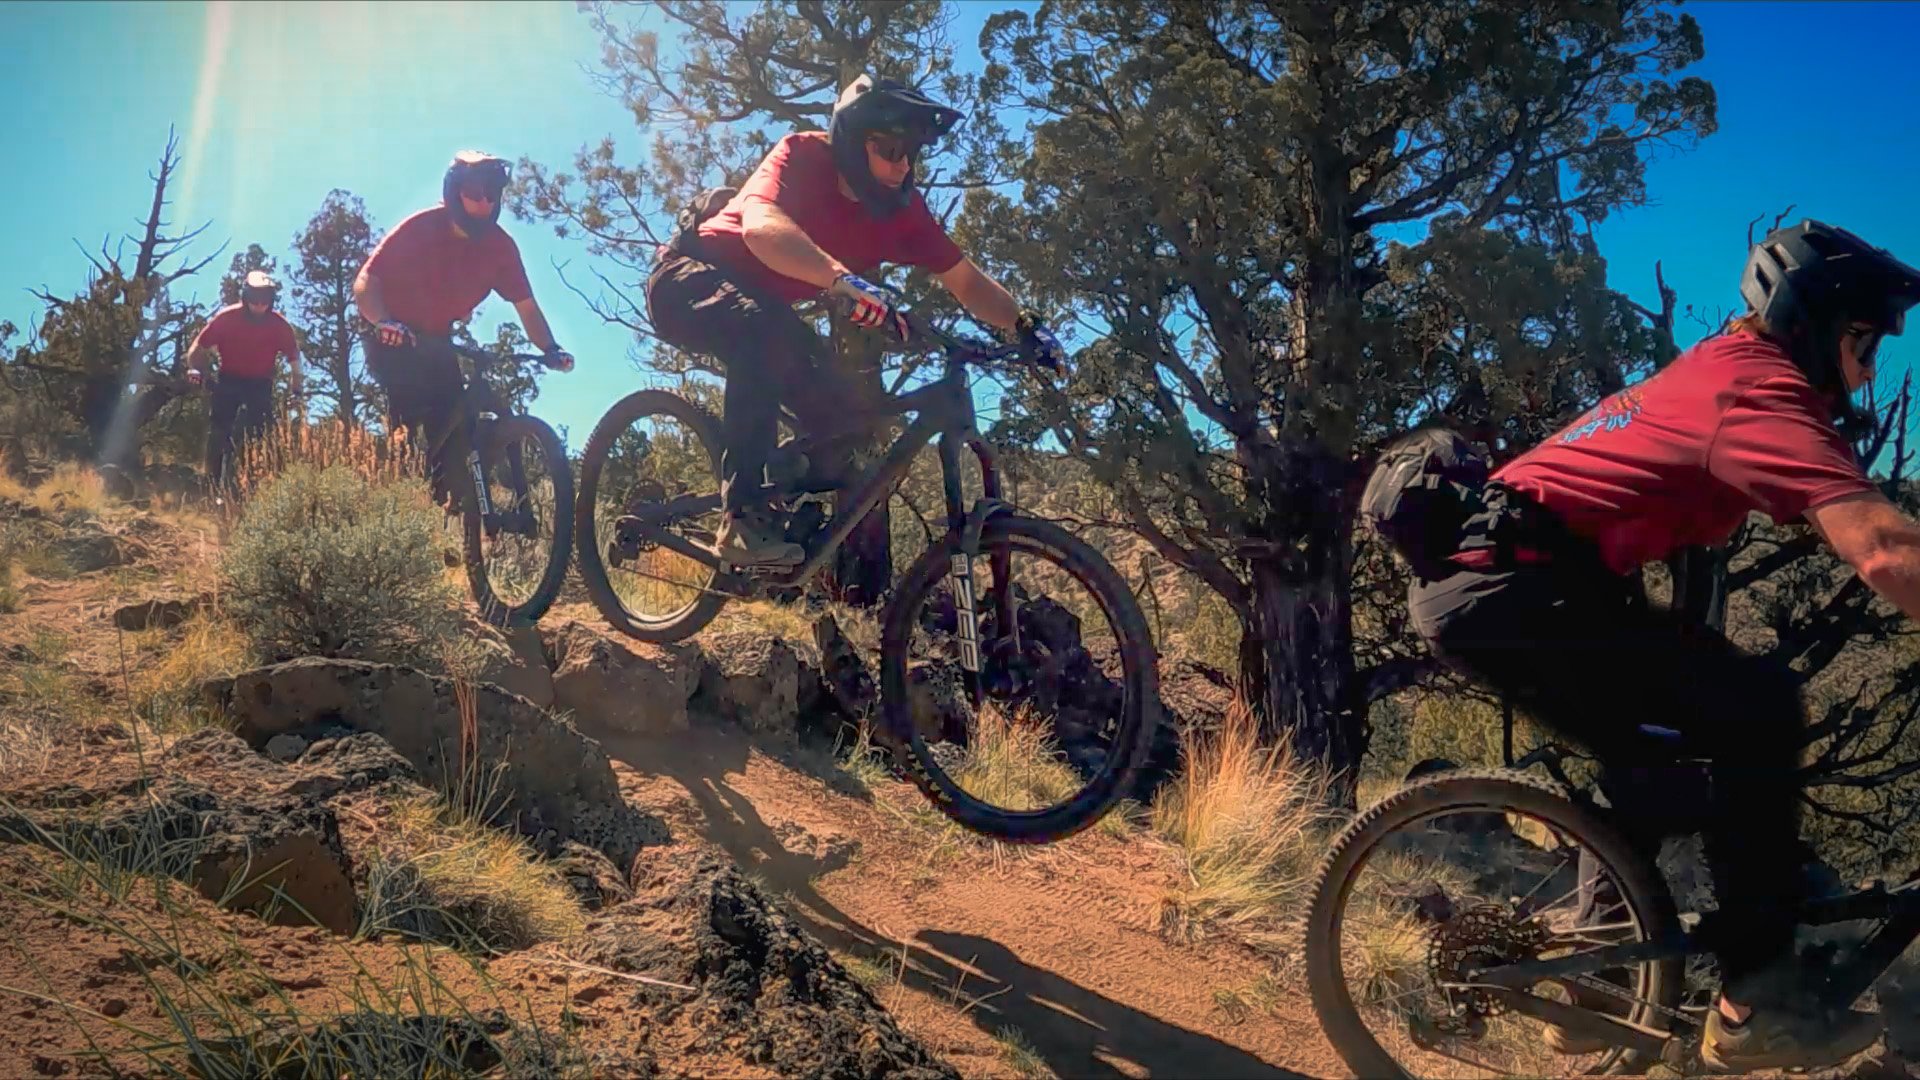
Test #1 shot at 120FPS at 1440p on GoPro Hero 9 Black, edited in Lightroom and Photoshop
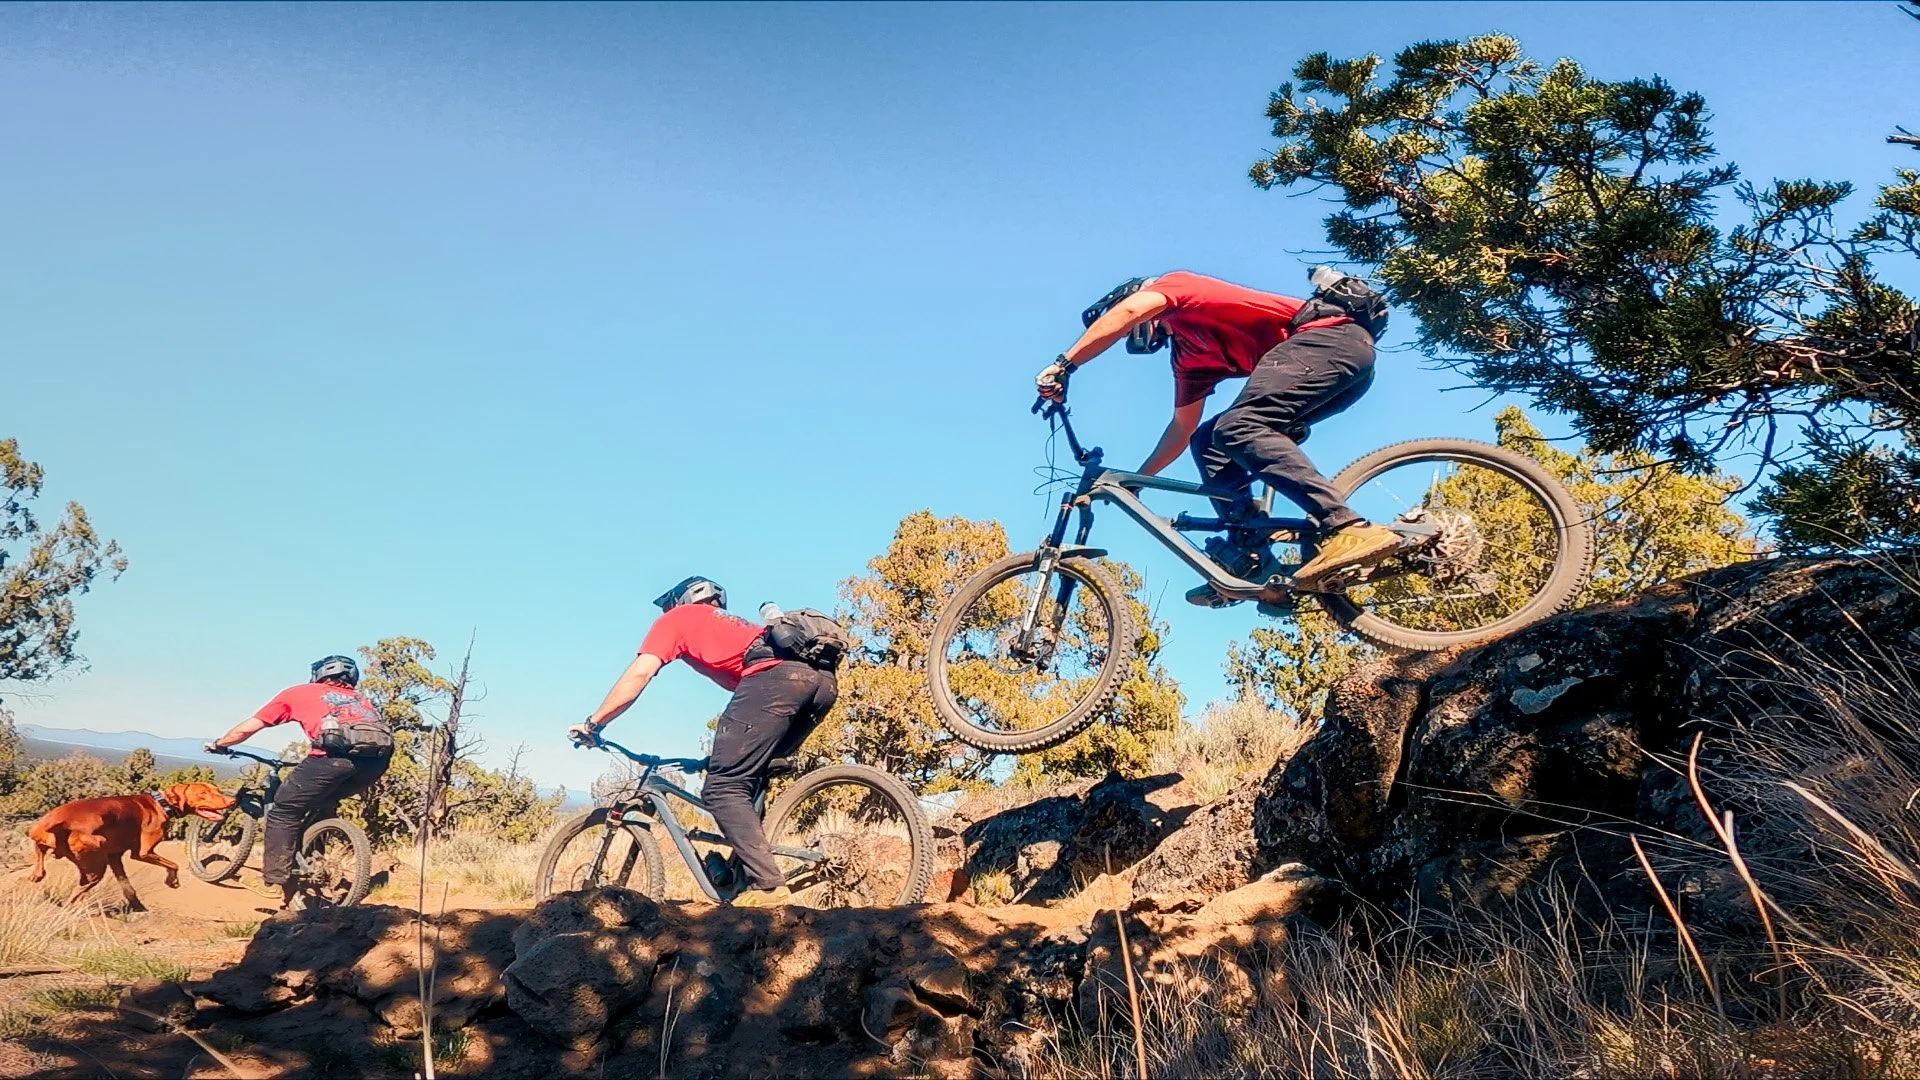
Test #2 shot at 120FPS at 1440p on GoPro Hero 9 Black, edited in Lightroom and Photoshop
Bottom line up front, I wouldn’t post these to my professional gallery. BUT, I do think they are good enough to post to social media, share with friends, or simply just to have for yourself to look at how cool you are. I DO THINK this is a very intruging option that I will continue to explore. I think it is worth testing different cameras, settings, and methods within this technique before I make any final judgements.
What’s good about it? The process of capturing them is fairly straight forward and most certainly the easiest method, in my opinion, of capturing photos of yourself mid action. I used a GoPro Hero 9 Black to capture this, so packing that with you on a ride is lightweight and affordable when compared to a nice DSLR/ mirrorless camera setup. Extracting a still frame (using a FREE software like Davinci Resolve) is as simple as opening the footage in the software, going to the color tab, dragging the slider to the exact frame or frames you want to extract, and right click and choose “Grab Still”. No subscription to complex editing software required.
What’s bad about it? As I mentioned in the video, quality was my big concern. And unfortunately, I think I was right. When extracting a still from the video and then moving it into Lightroom like I did, you are editing a TIFF file. Traditionally this wouldn’t be an issue if you were working on a photo from a nice camera that has say, 42 megapixels. But doing this process on an older GoPro that certainly isn’t capturing footage with massive amounts of data, your room for editing becomes quite limited. I could only make very minor edits to the stills I extracted, or I risked adding copious amounts of “artifacting” into the image (that weird blocky texture that forms on an image being pushed too hard)
To wrap the week up, I decided to cool off with a cold plunge down on the Deschutes River. BAD IDEA! Water temps were 44 degrees… I might have been a bit of a baby with it, so make sure to tune it next week and see if I was able to redeem myself with another plunge in colder water…
Be sure to drop some comments on the video if you enjoyed it, thoughts on all the photos, or if you have any adventure ideas you want to see me do!
Be Sure to Like and Subscribe to my YouTube Channel and be sure to hit the bell icon to get alerts of new posts!
See you next week!
Cheers!
f/ 8, ISO 100, 1/60 sec

f/ 11, ISO 100, 1/25 sec
GEAR IN THIS EPISODE!
Photography Equipment:
Camera- Sony a7rii
Action Camera- GoPro Hero 9 Black
Lens- Tamron 17-28 f/2.8 Di III RXD
Lens Accesory- Breakthrough Photography X2 CPL Circular Polarizer- 67mm for Tamron Lenses mentioned above
Camera Bag- Shimoda Action X30
Tripod- Leofoto LS-324CEX Carbon Fiber CF 4(my exact model does not appear to be for sale but this is the newer model)
Tripod Head- Leofoto VH-30R (Tripod Head)(my exact model does not appear to be for sale but this is the newer model)
Mountain Biking Equipment:
Bike- 2018 YT Jeffsy CF
Helmet- IXS Trigger Full Face Helmet
POC Kneepads (my current)
HANDUP Gloves (I love their gloves and shirts)
Good Day Optics Steph Polychromic Sunglasses
OneUp Components V2 Dropper 170mm
If you want to stay up to date with the BEST information to build your next adventure or you just want to see more of my adventures and photography, follow along on Instagram @martins_migration or subscribe to the newsletter below, and subscribe to my YouTube Channel!
Check Out More Articles You Might Enjoy!
This past week on The Migration has been a BLAST! We hiked one of the most beautiful waterfall hikes I have ever seen, conquered new bouldering sets we found, and got back on one of the local’s favorite mountain bike trails! And, of course, we had to do another cold plunge for redemption! With Spring weather arriving and snow melting, adventures that have been hidden beneath the snow are returning.